Introduction
Create a new LXC in Proxmox; you can use the Helper Script below to make it easier.
bash -c "$(wget -qLO - https://github.com/tteck/Proxmox/raw/main/ct/debian.sh)"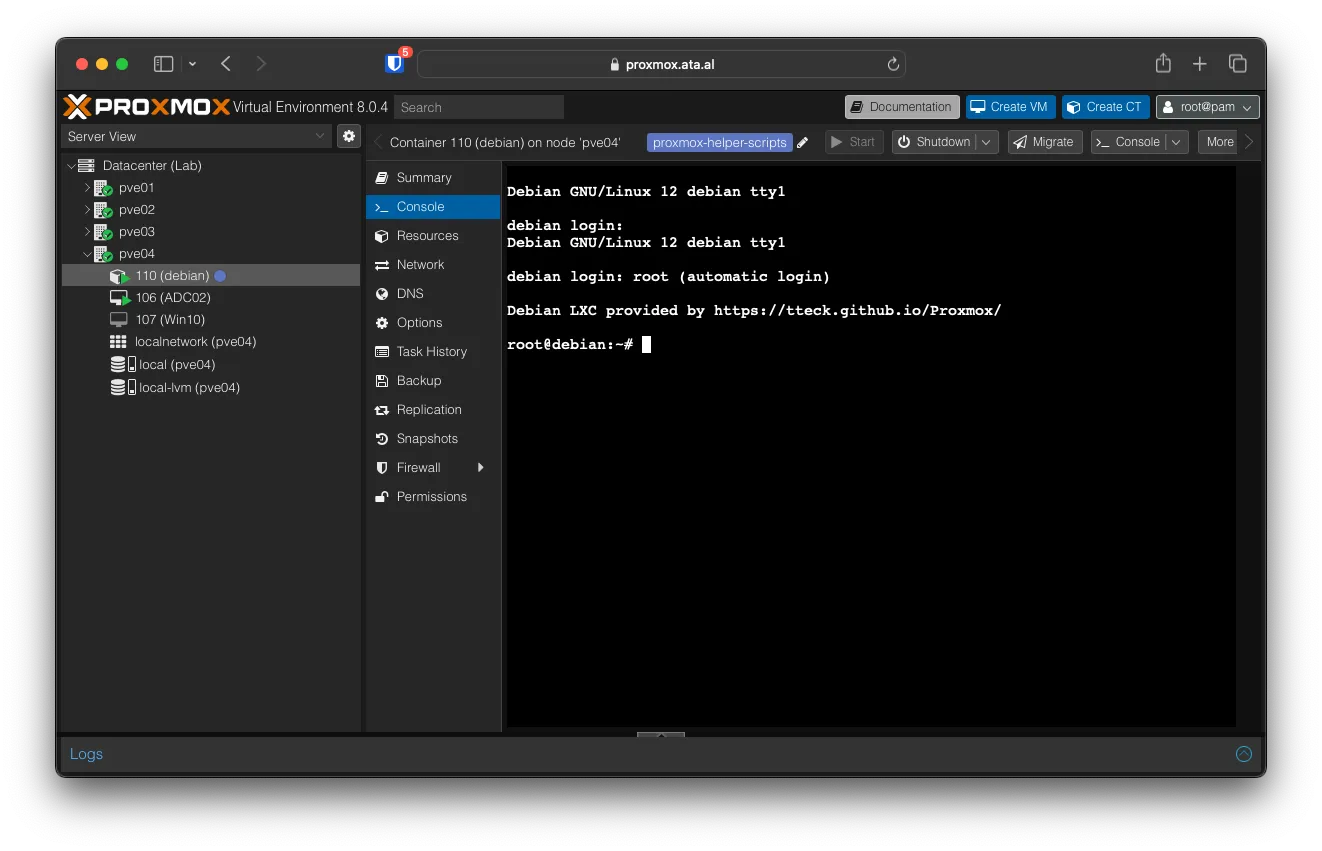
Install Krill
After creating the LXC, run the following to add the Krill packages.
update all the packages on the LXC
sudo apt updateInstall the prerequisites
sudo apt install \
  ca-certificates \
  curl \
  gnupg \
  lsb-release
add the GPG key from NLnet
curl -fsSL https://packages.nlnetlabs.nl/aptkey.asc | sudo gpg --dearmor -o /usr/share/keyrings/nlnetlabs-archive-keyring.gpgChoose the main repo with the following
echo \
"deb [arch=$(dpkg --print-architecture) signed-by=/usr/share/keyrings/nlnetlabs-archive-keyring.gpg] https://packages.nlnetlabs.nl/linux/debian \
$(lsb_release -cs) main" | sudo tee /etc/apt/sources.list.d/nlnetlabs.list > /dev/null
finally, install Krill
sudo apt update
sudo apt install krill
After it is installed, use nano to open the config file to get the admin_token and, if needed, change the service_url
nano /etc/krill.confAfter recording the admin_token start Krill as a service with sudo systemctl enable --now krill
Install Caddy
run the following in the LXC to add and install Caddy
sudo apt install -y debian-keyring debian-archive-keyring apt-transport-https curl
curl -1sLf 'https://dl.cloudsmith.io/public/caddy/stable/gpg.key' | sudo gpg --dearmor -o /usr/share/keyrings/caddy-stable-archive-keyring.gpg
curl -1sLf 'https://dl.cloudsmith.io/public/caddy/stable/debian.deb.txt' | sudo tee /etc/apt/sources.list.d/caddy-stable.list
sudo apt update
sudo apt install caddy
First, stop the background caddy instance with Caddy stop, then launch the internal reverse proxy with the following
caddy reverse-proxy \
--from :80 \
--to https://localhost:3000 \
--internal-certs \
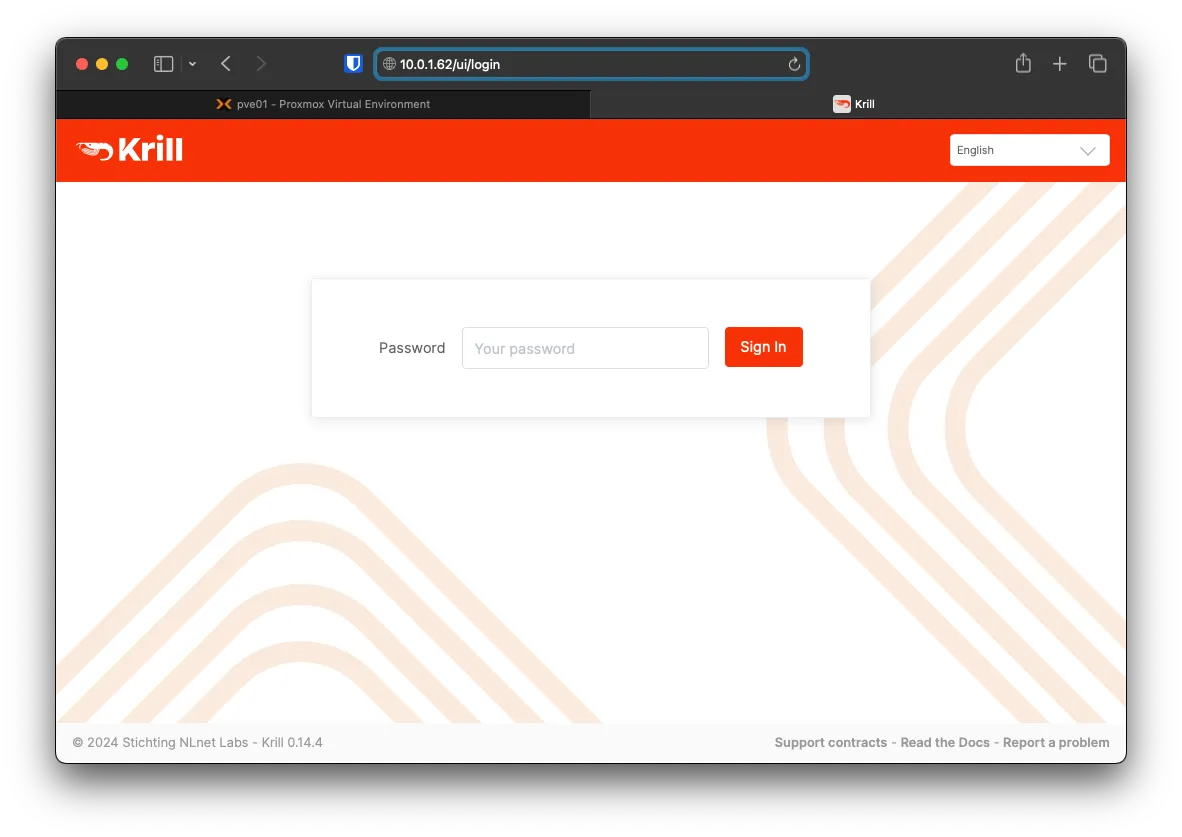
--insecureAfter starting, you should be able to visit the Krill WebGui with the LCX’s IPv4 address
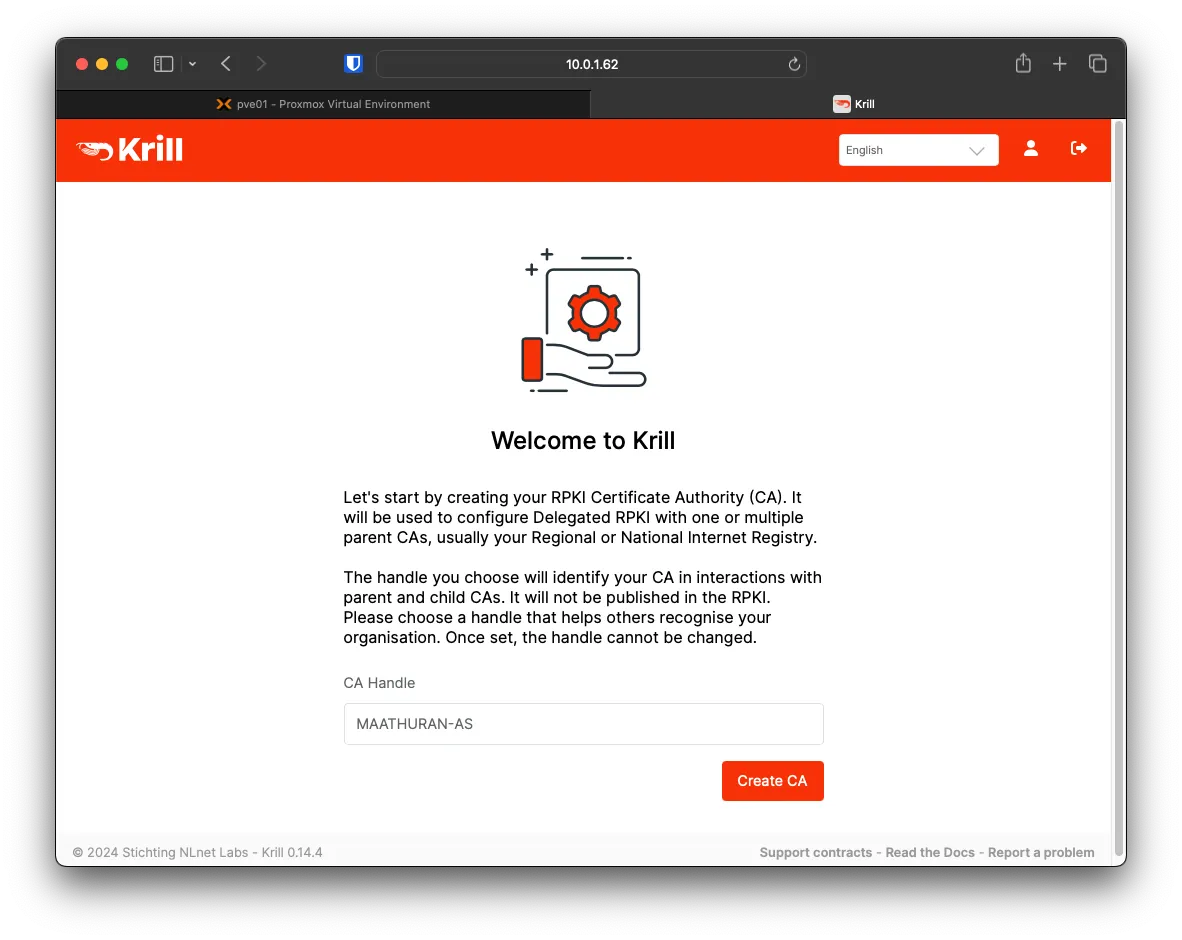
For the CA Handle, you can call it anything; I will be using as-name from RIPE.
You will need to add RIPE’s Repository to publish the ROA’s and the Parent to import the IPv6/ASN.
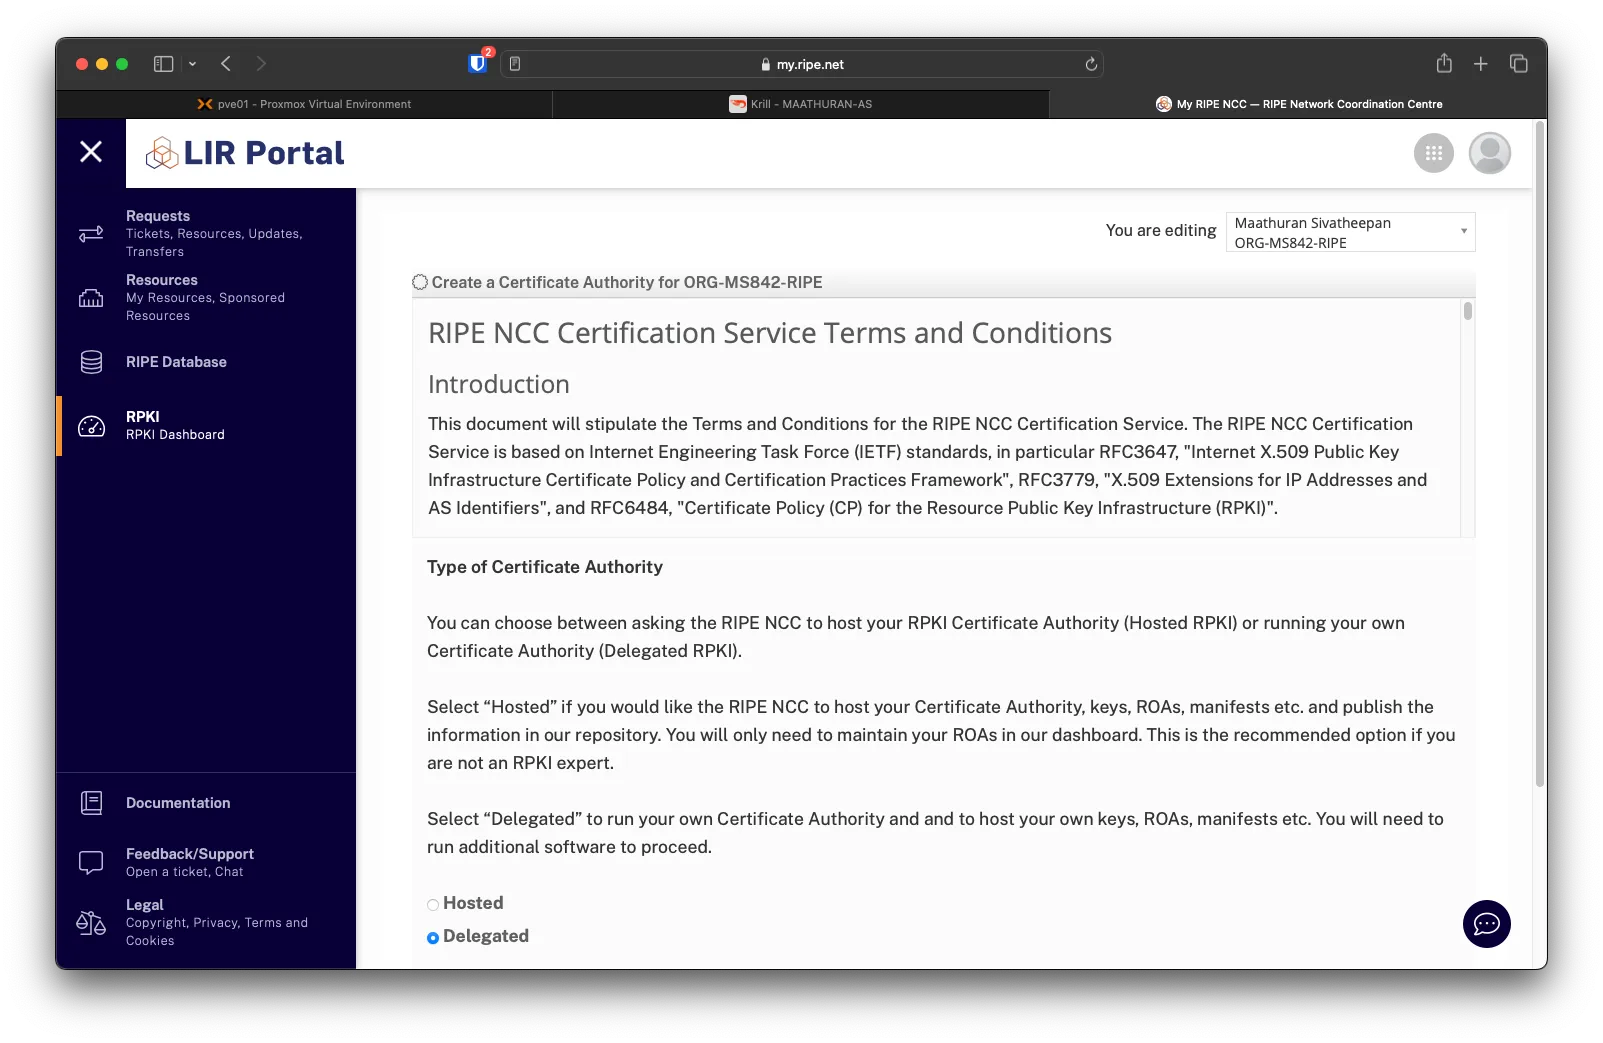
RIPE setup
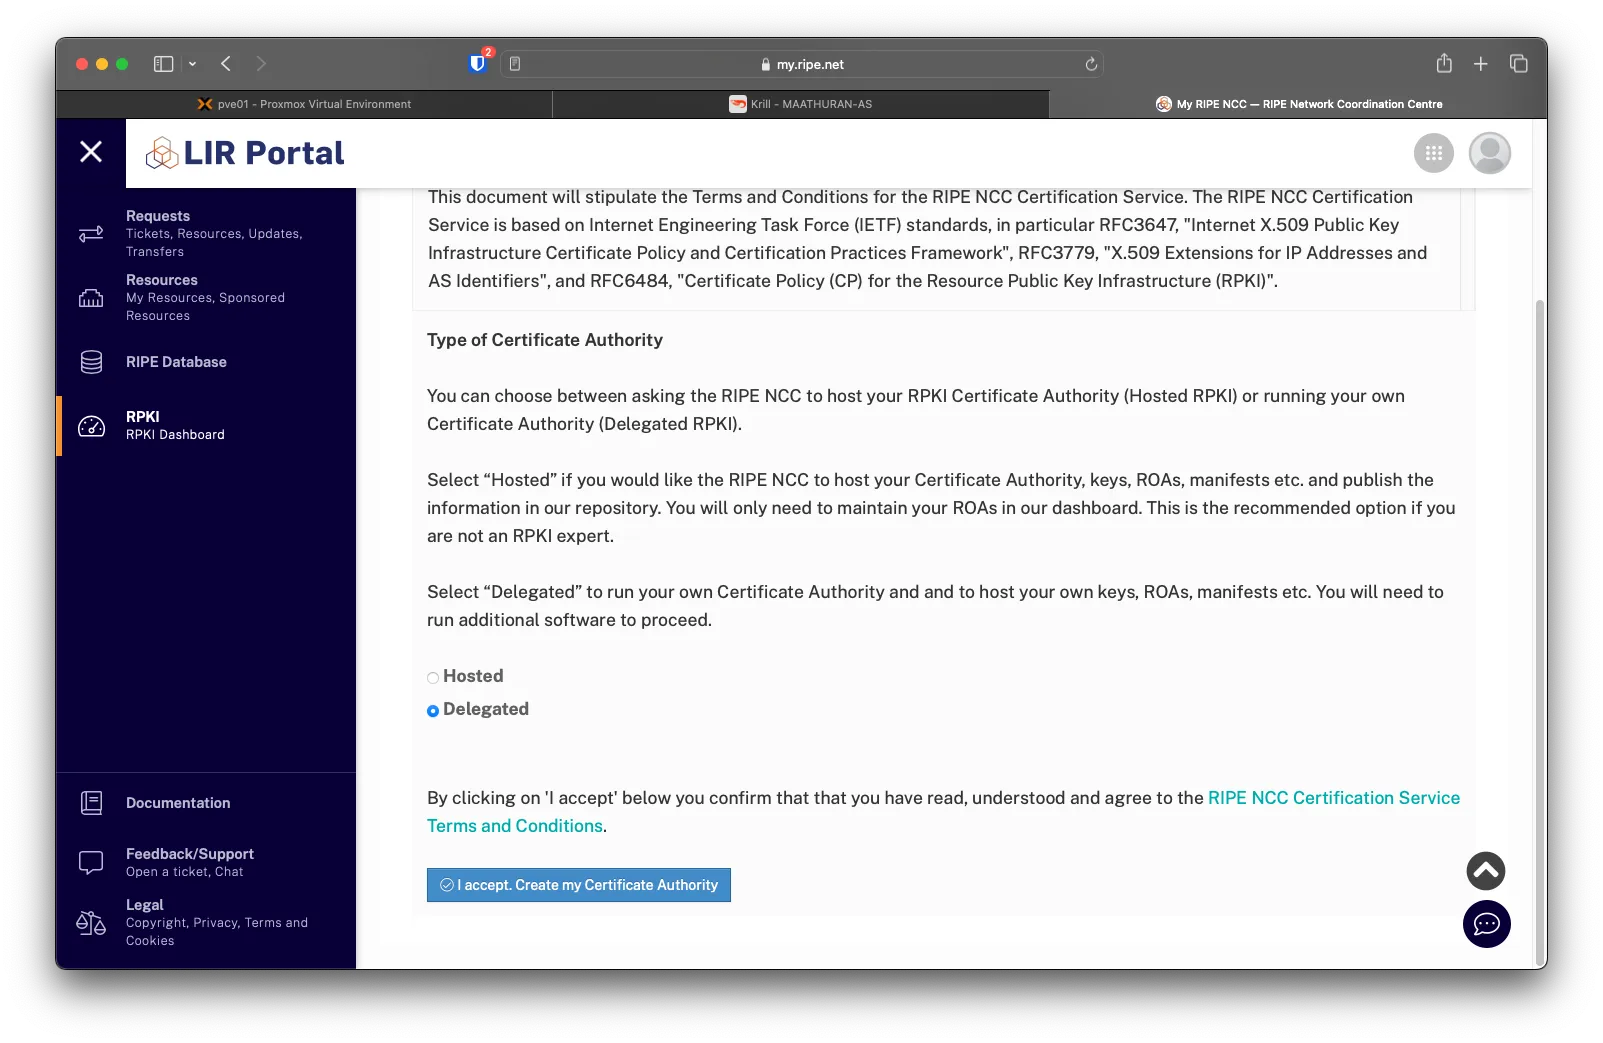
We will need to configure RIPE to delegate the RPKI to Krill. On the Right side, click RPKI, then click the Delegated radio button.
Choose I accept. Create my Certificate Authority
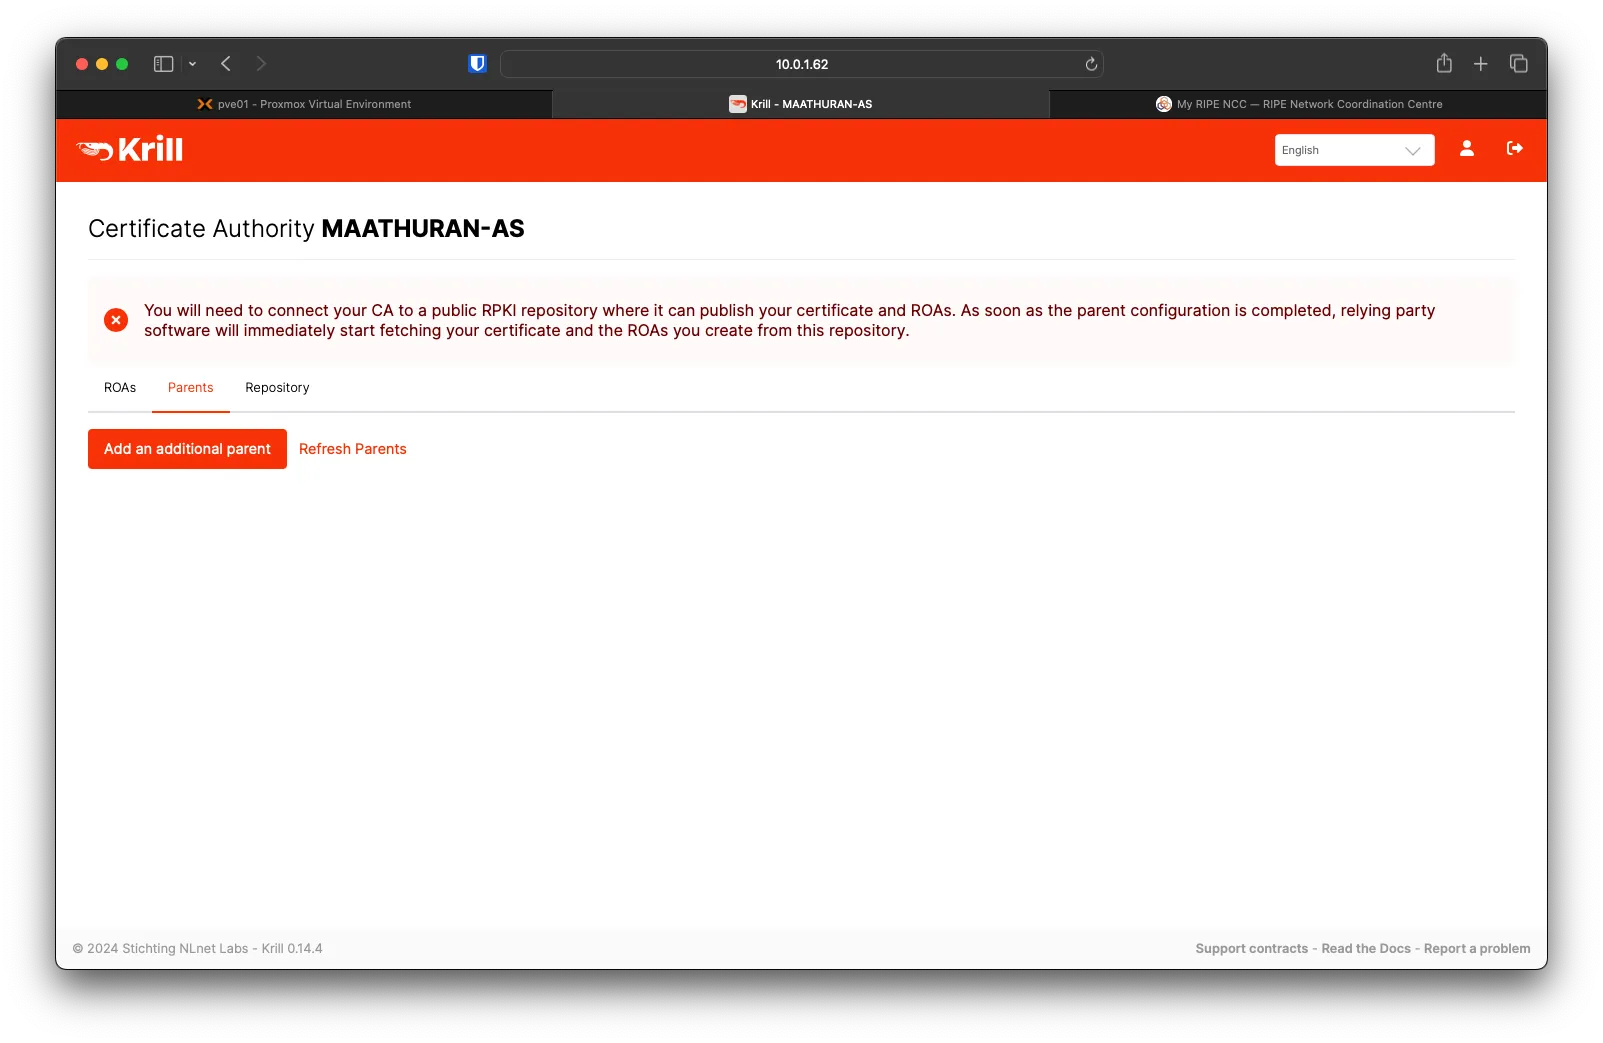
Krill Adding a Parent
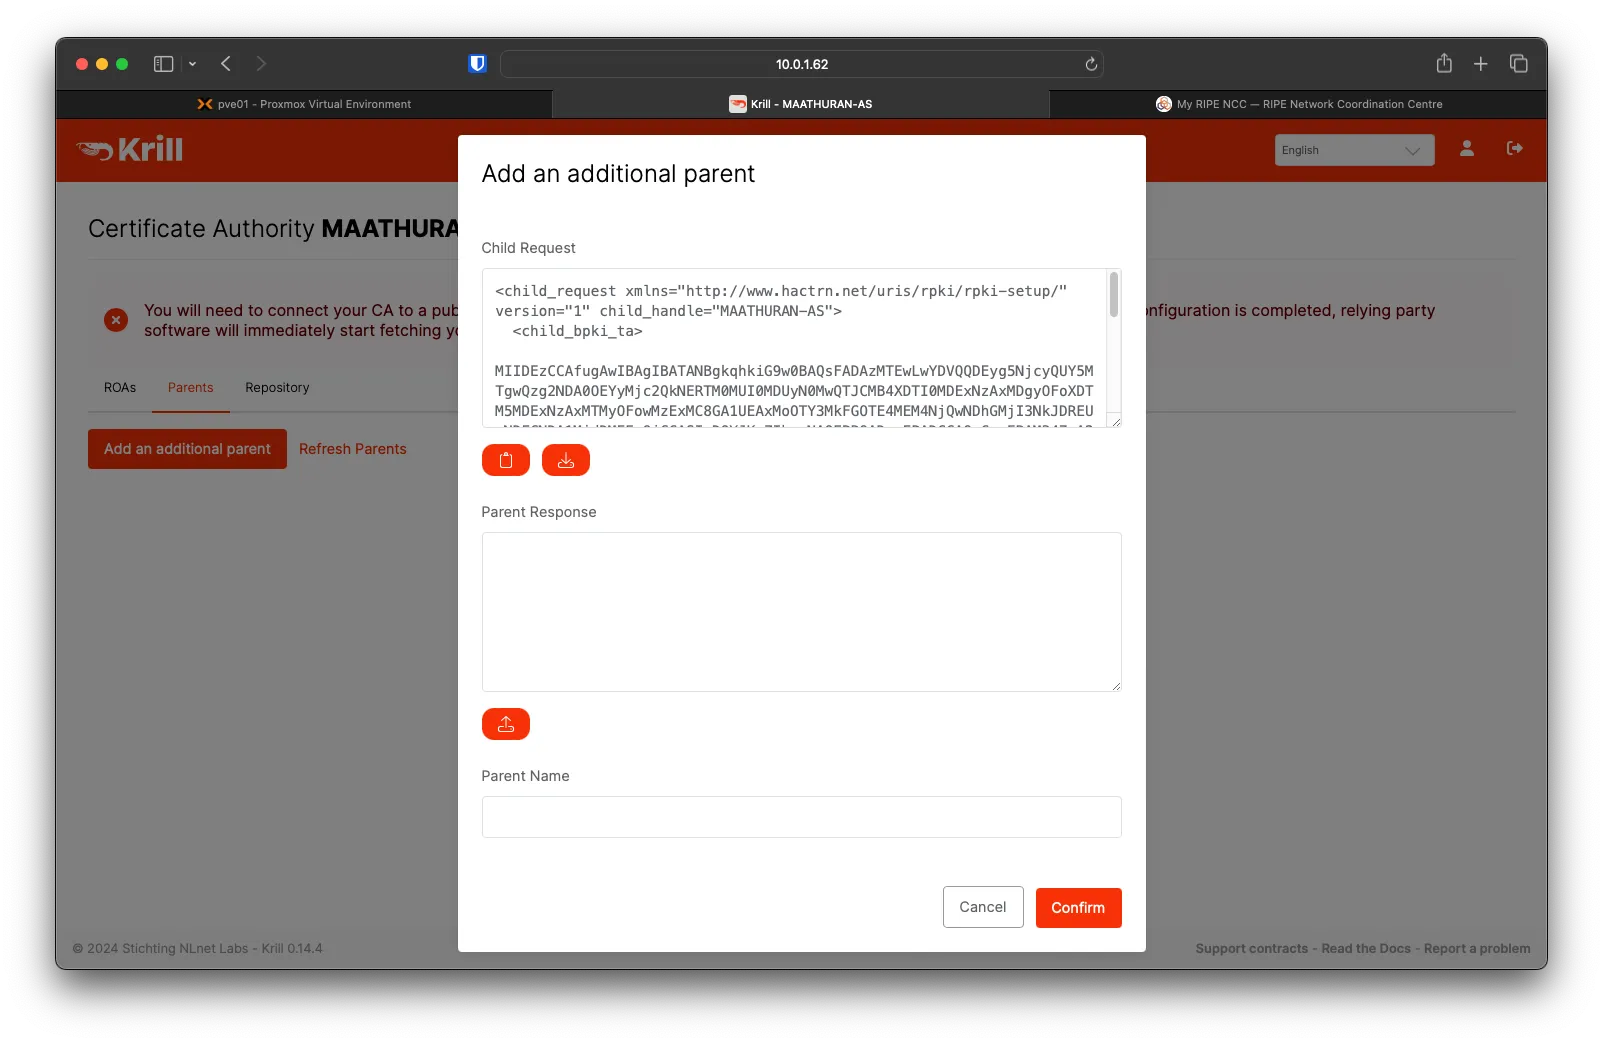
Under Krill, go over to the Parents tab then click on Add an additional parent
Download the Child Request to upload to RIPEDB
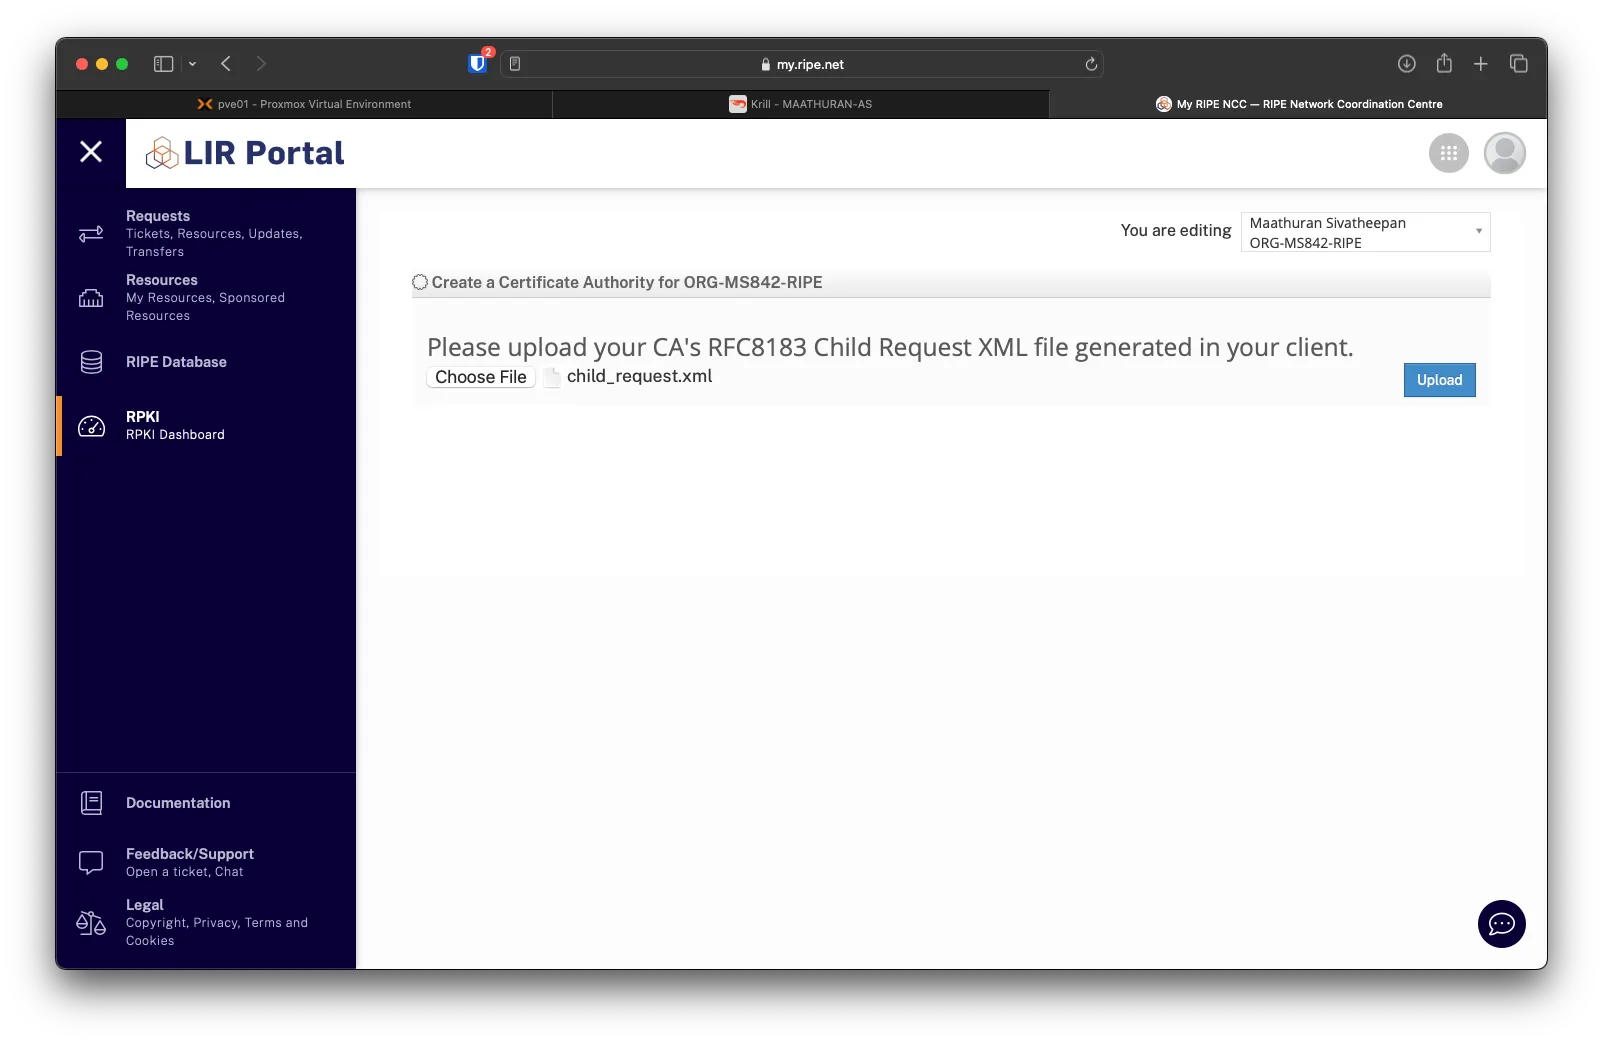
On RIPE, click Choose File and select the child_request.xml, then click Upload.
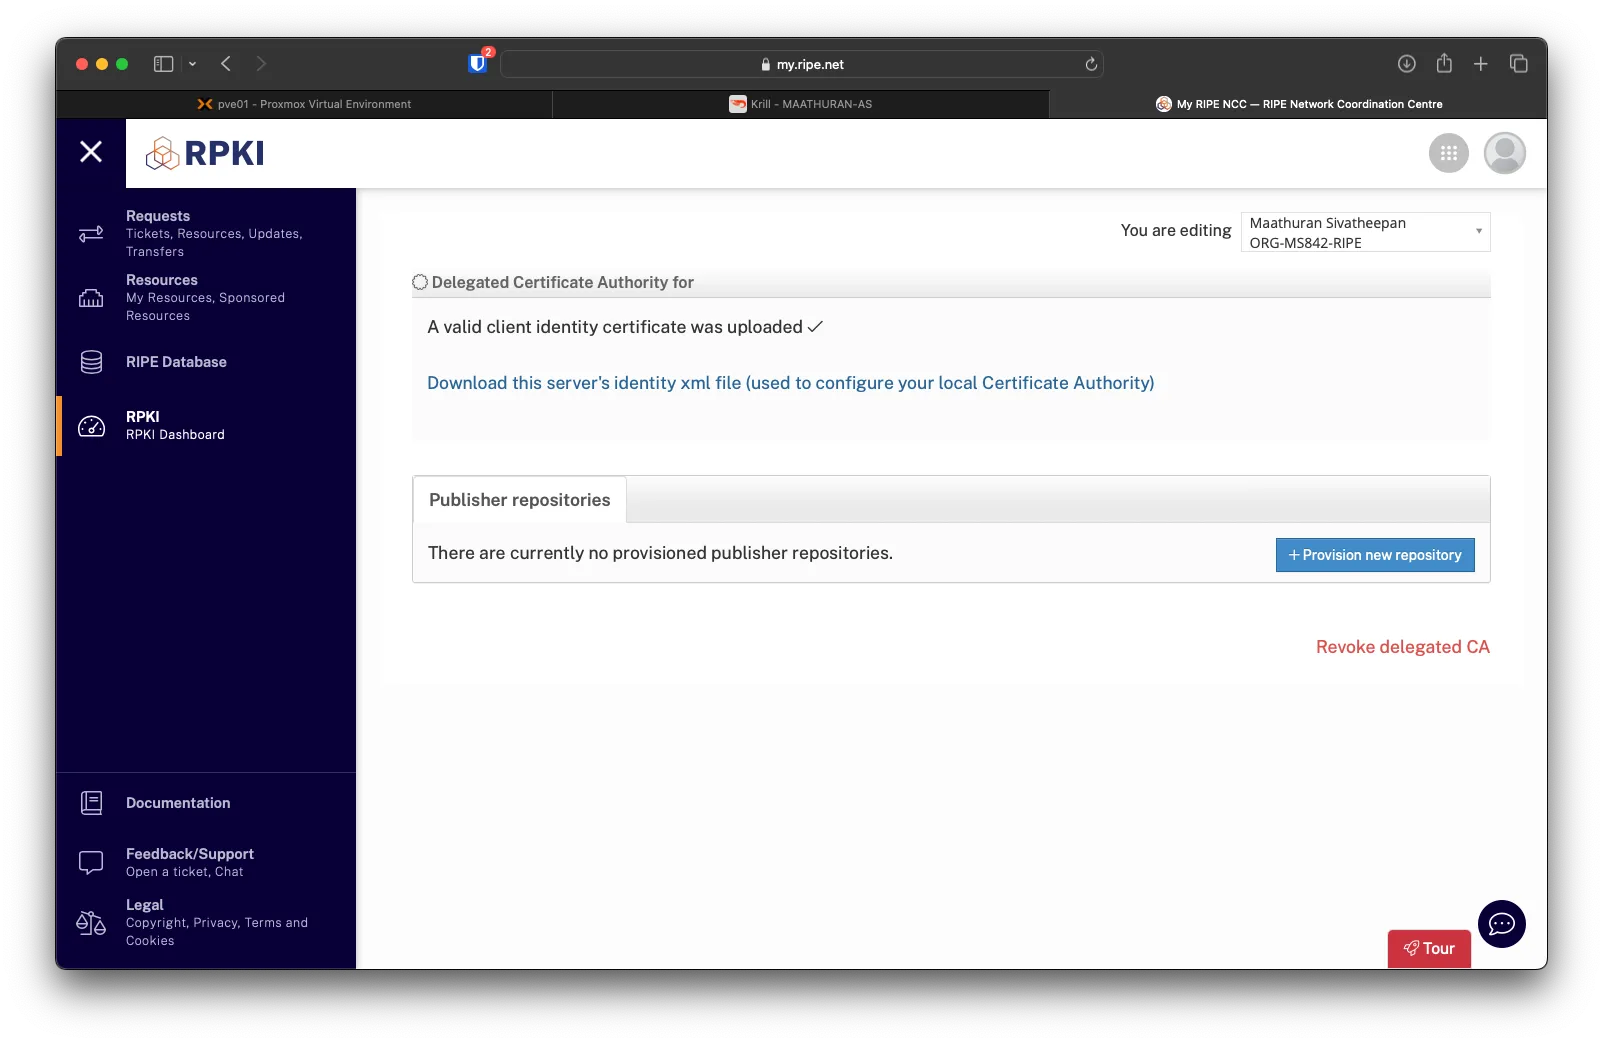
After the file is uploaded, click on Download this server's identity XML file (used to configure your local Certificate Authority) to download the parent XML to upload to Krill
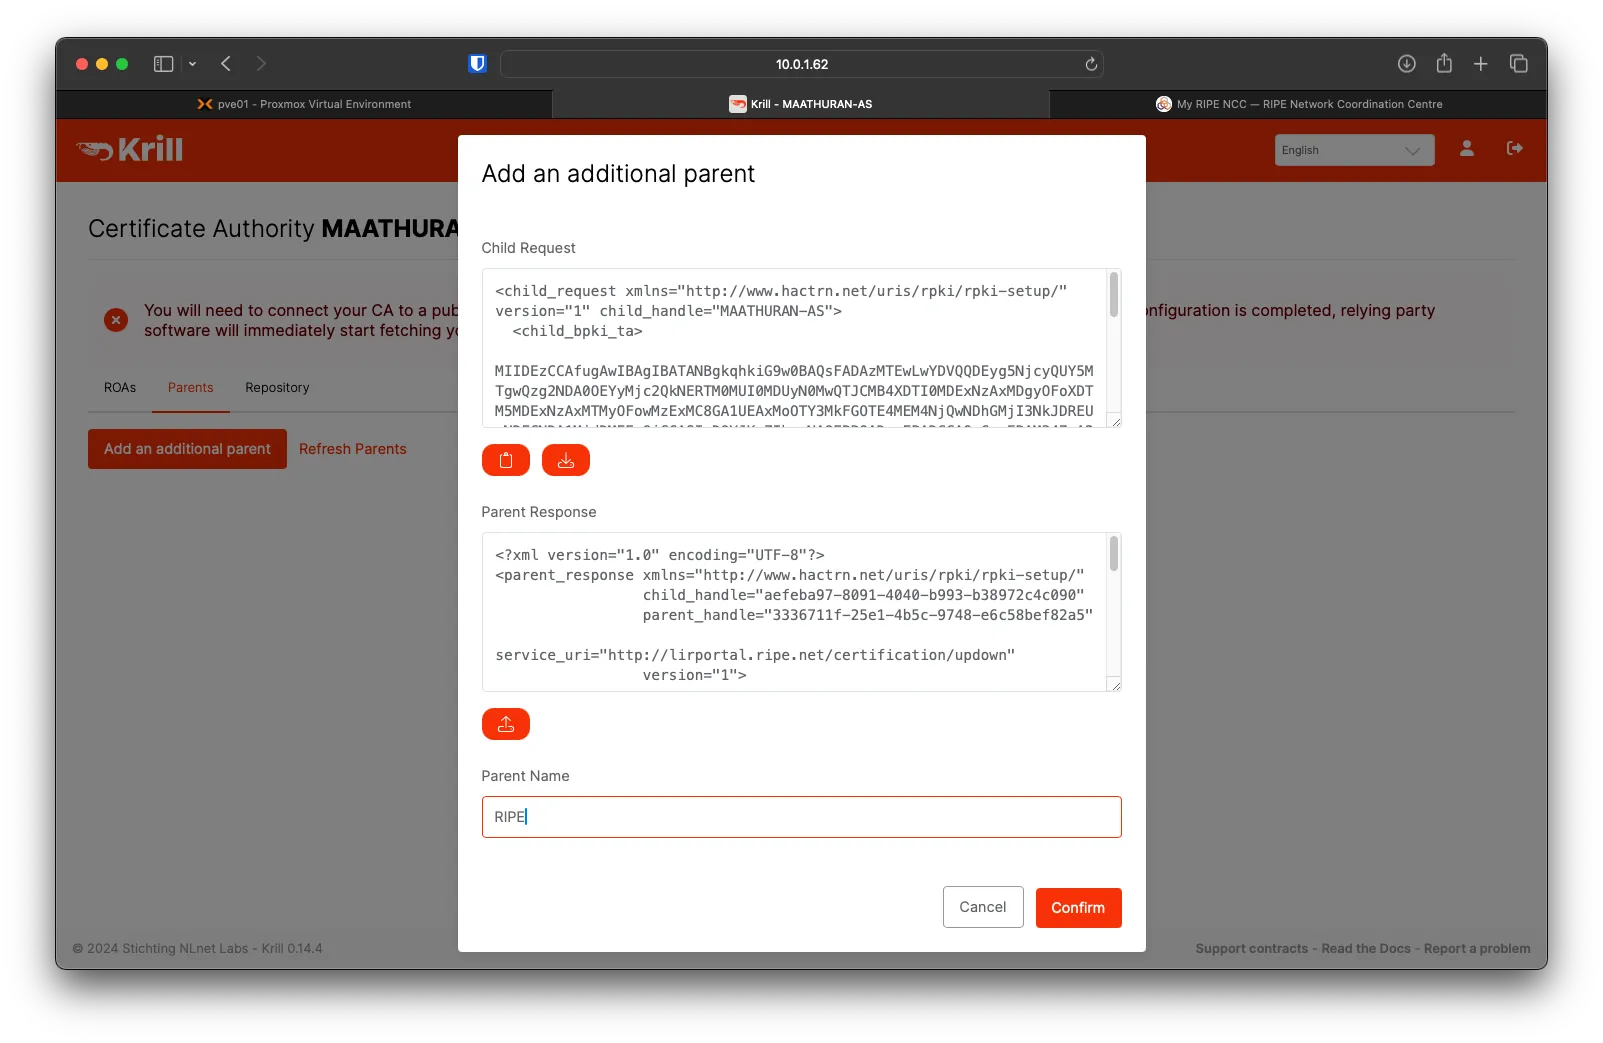
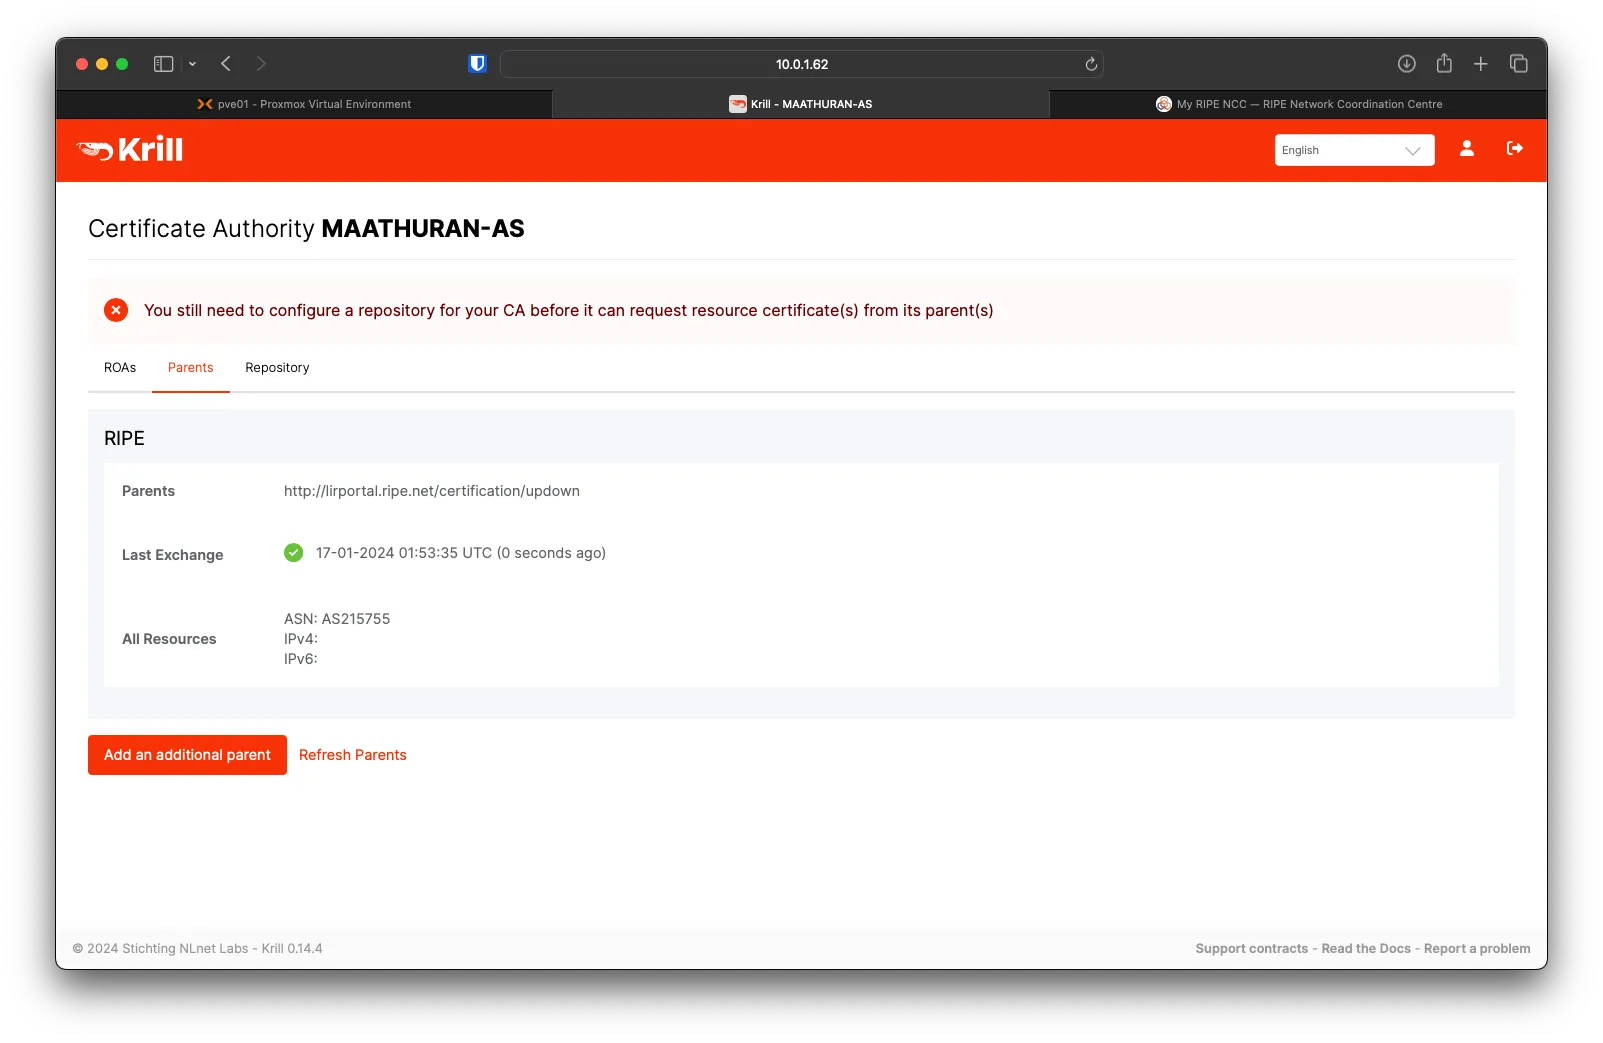
For the Parent Name, you can put RIPE, then click on Confirm.
You will see your ASN under resources
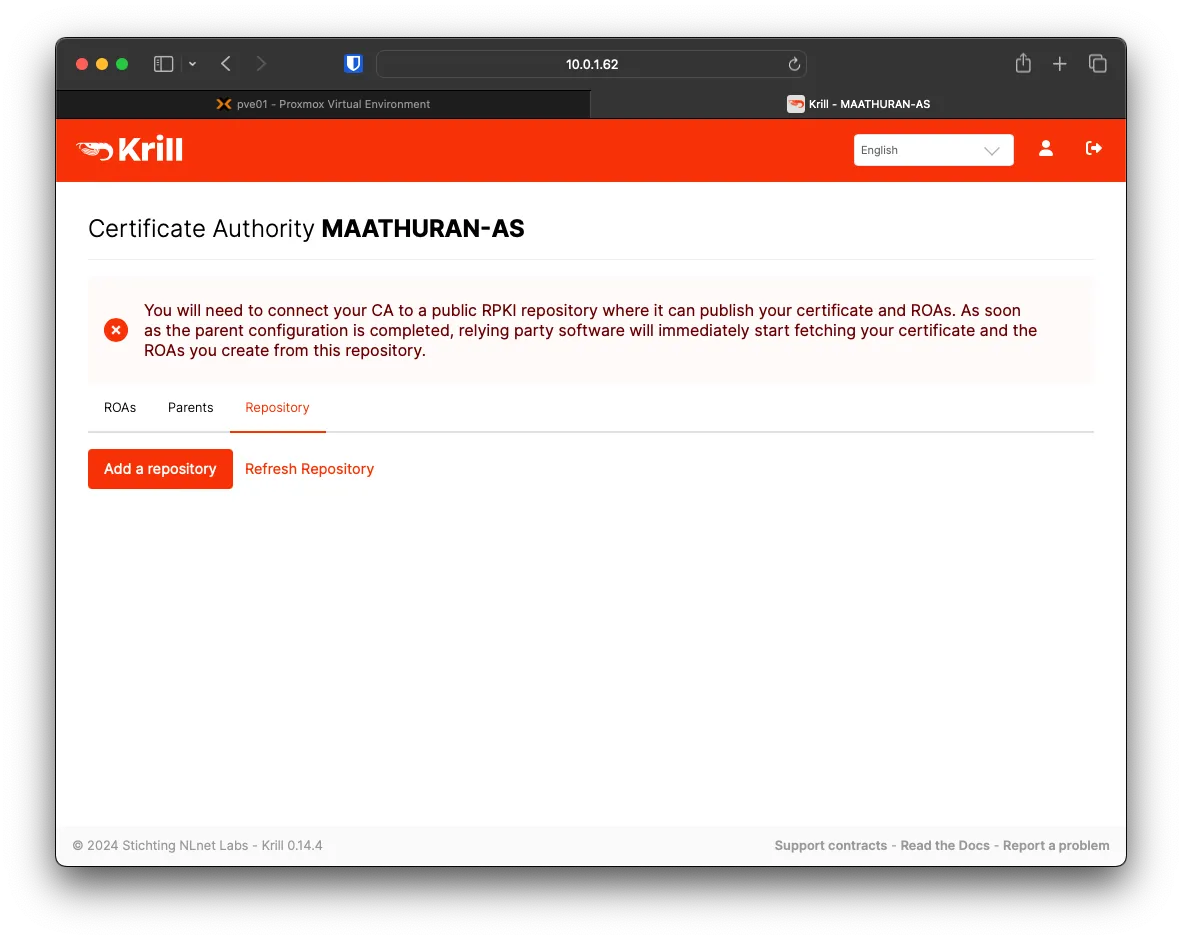
Krill Adding a Repository
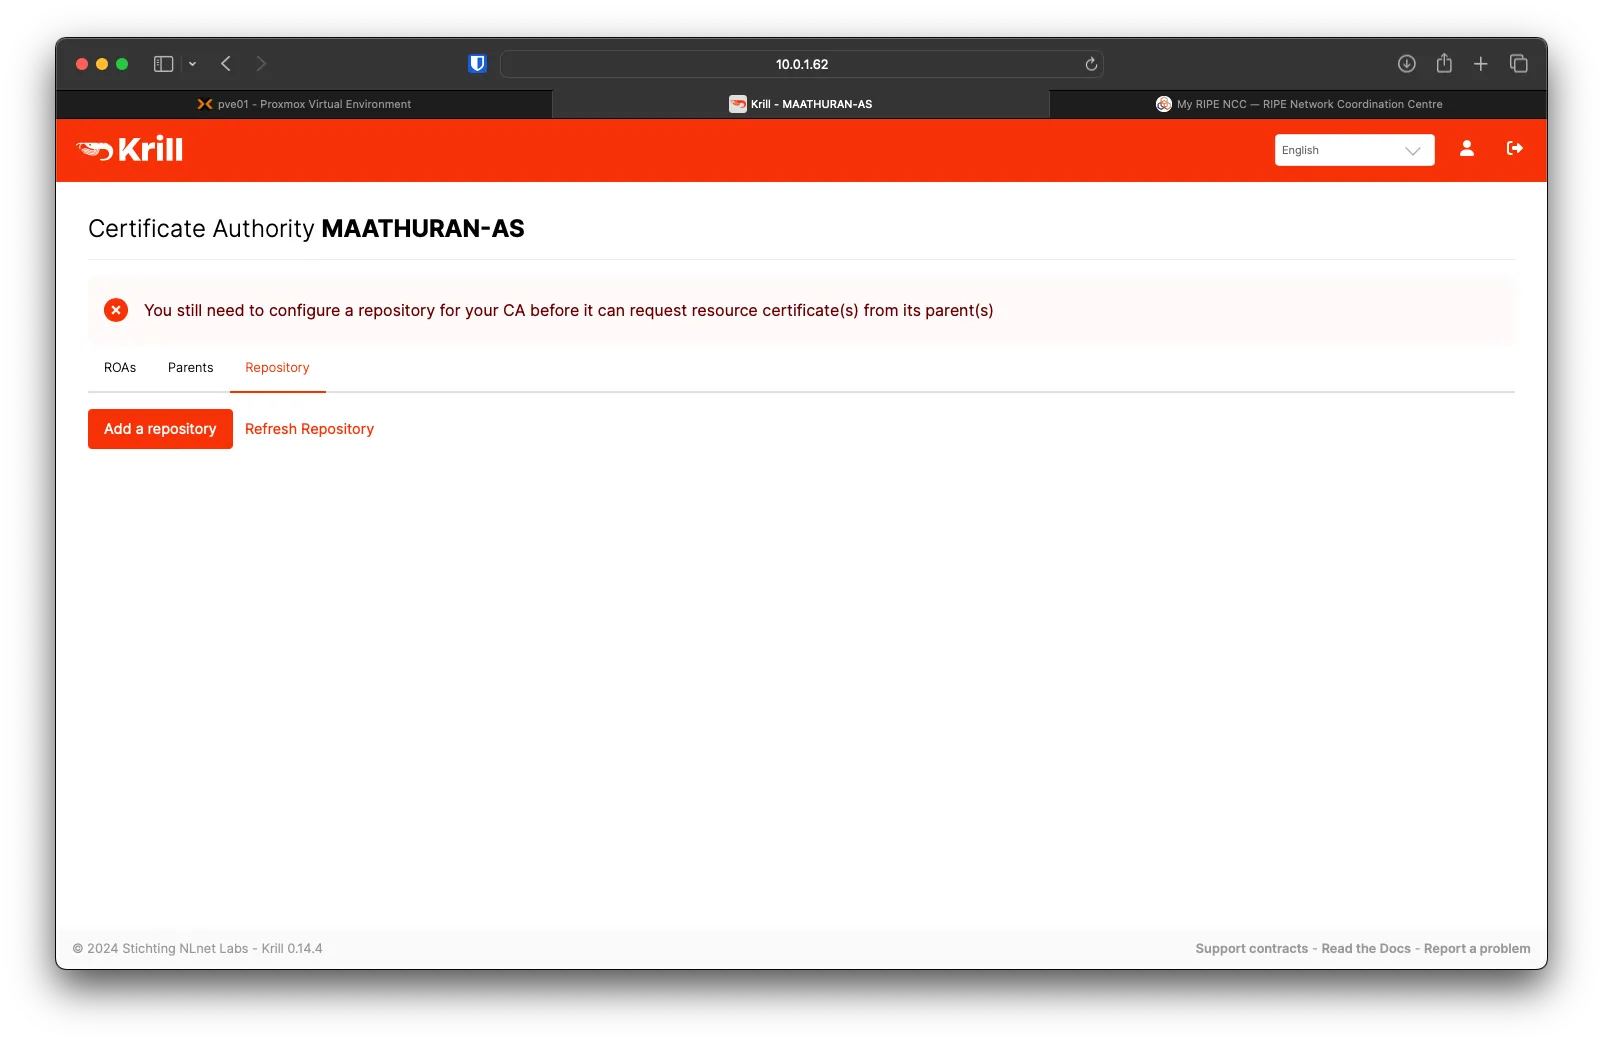
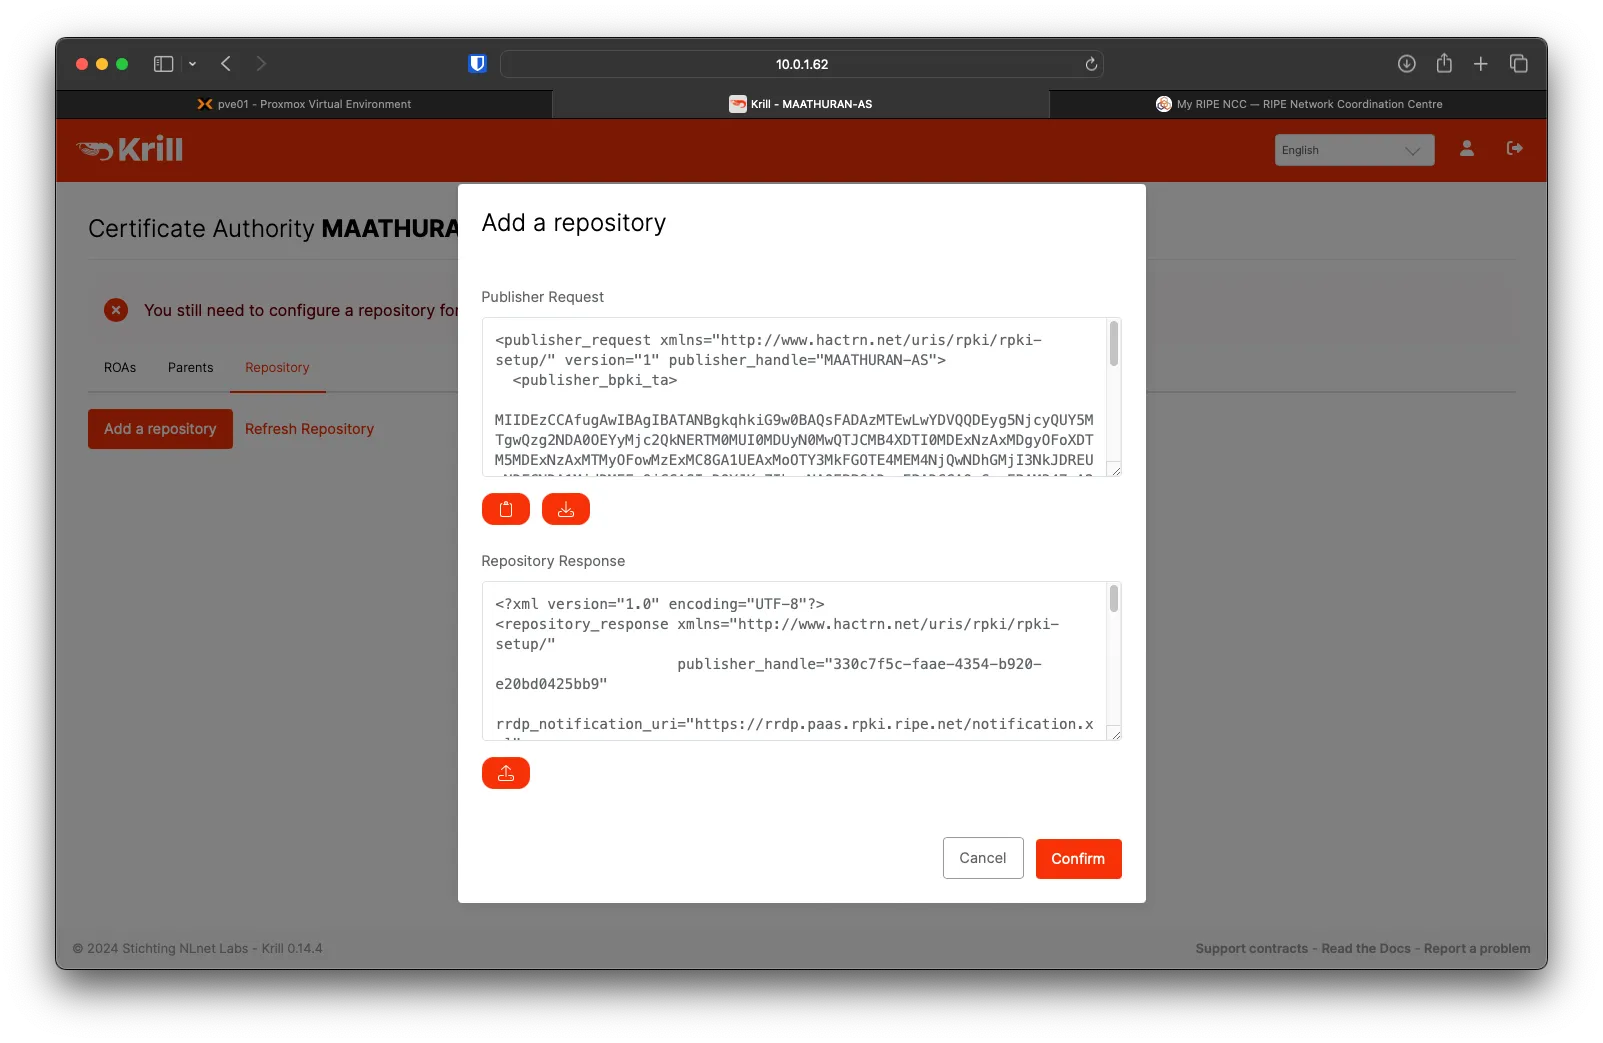
Under Krill, go to Repository and click on Add a repository
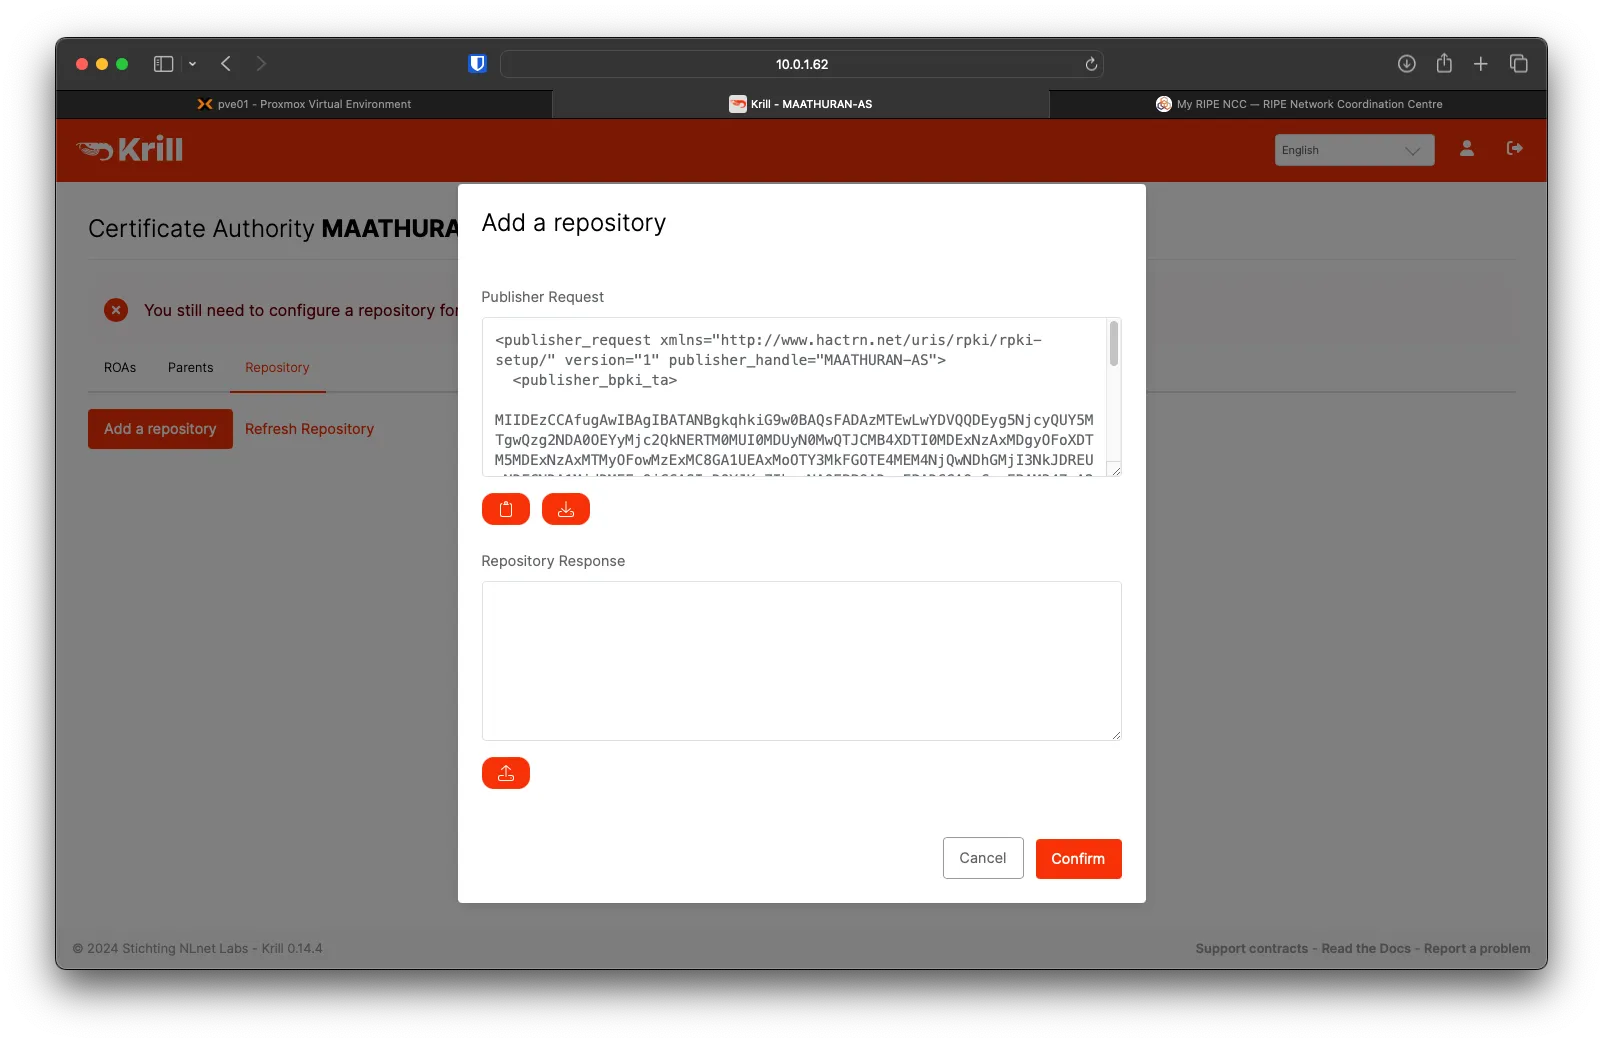
Download the Publisher's Request
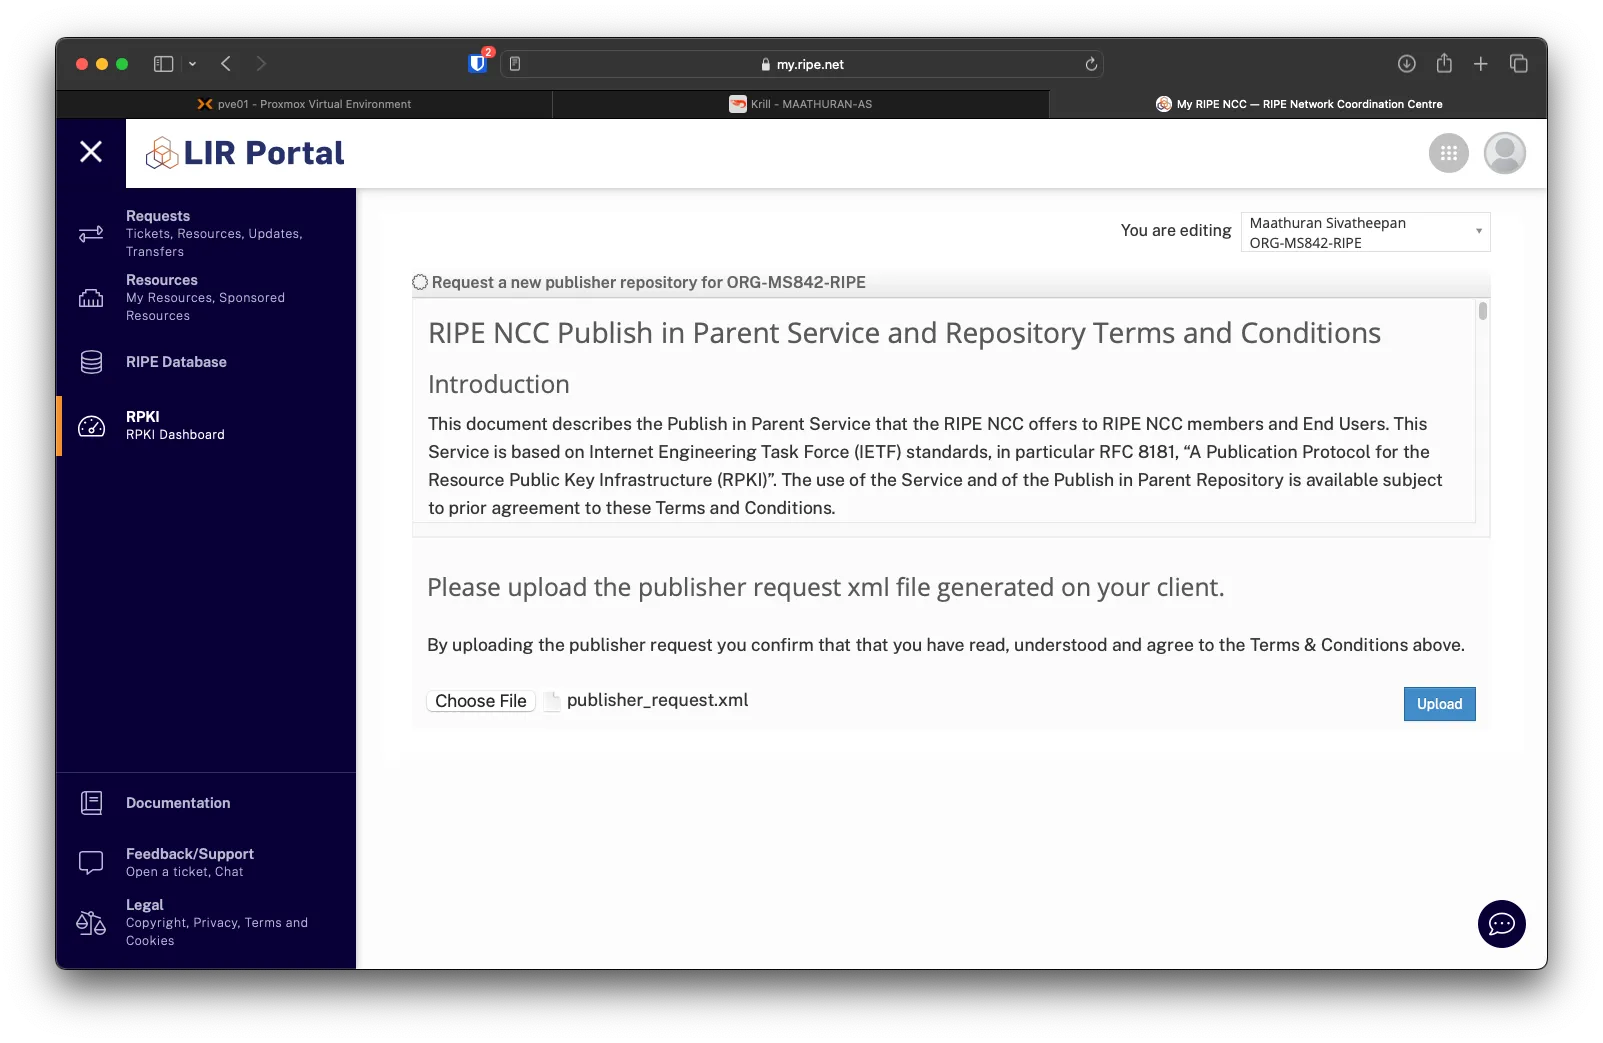
In RIPE, click on + Provision new repository
Upload the publisher request xml from Krill, then click on Upload.
Download the Repository Response XML from RIPE and upload it to Krill

Upload the Repository Response, then click on Confirm.
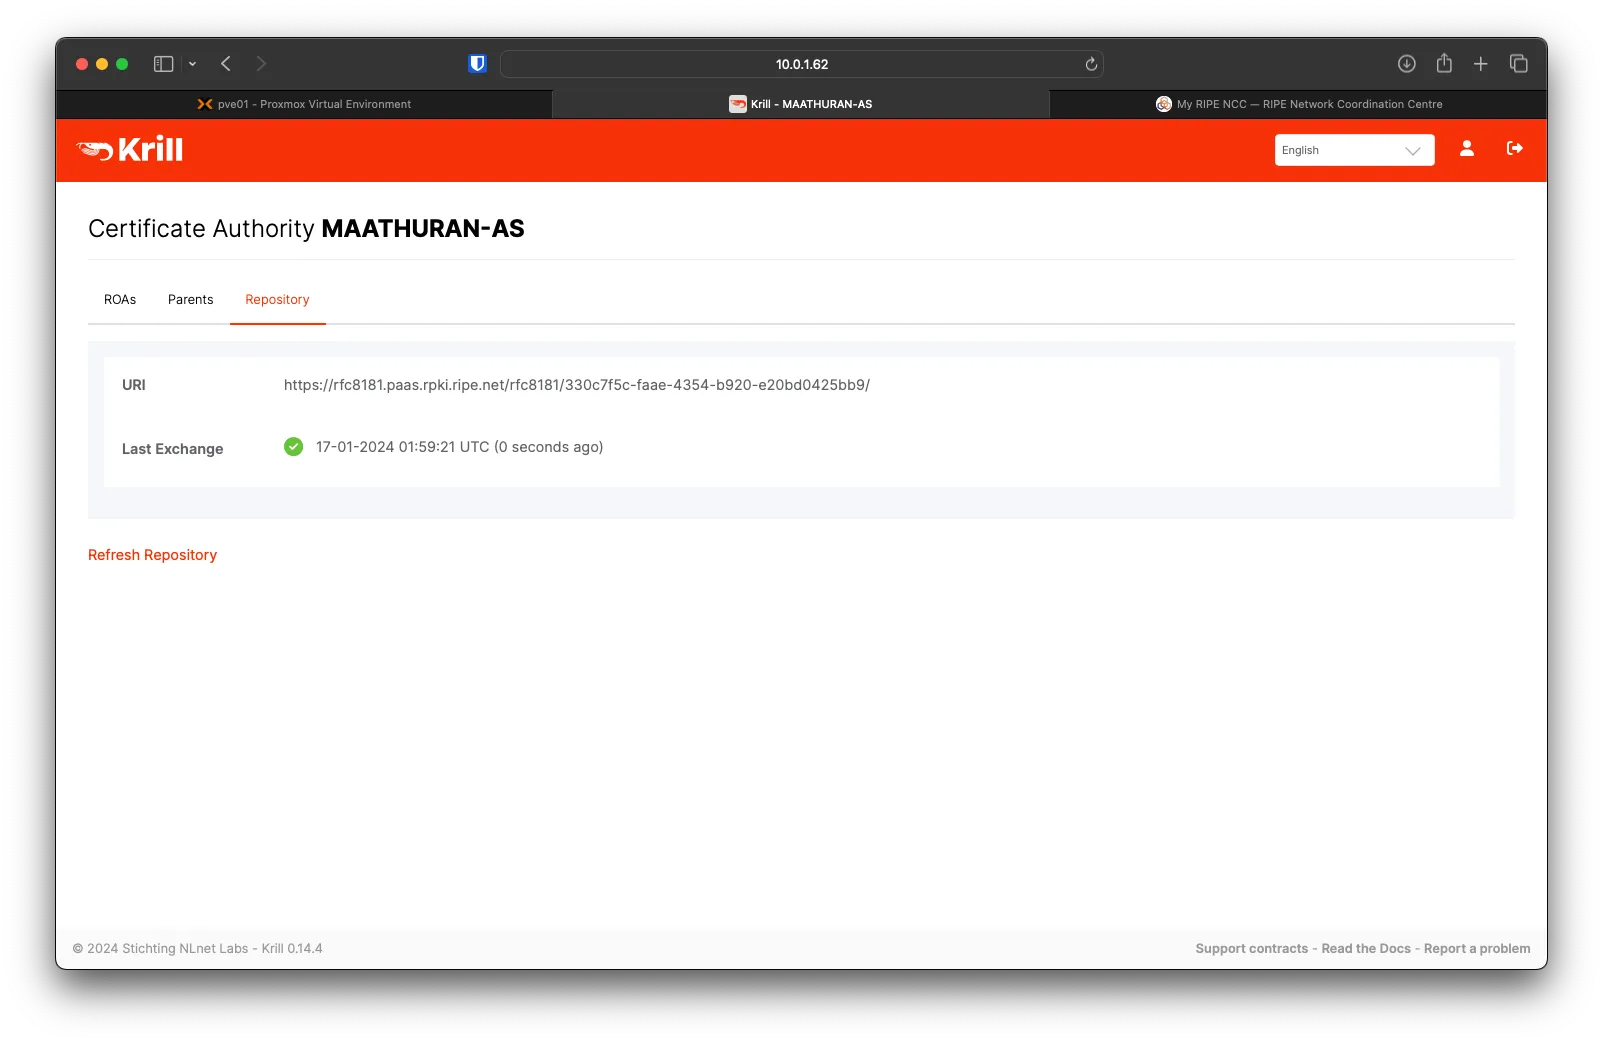
You will see your RIPE Repository
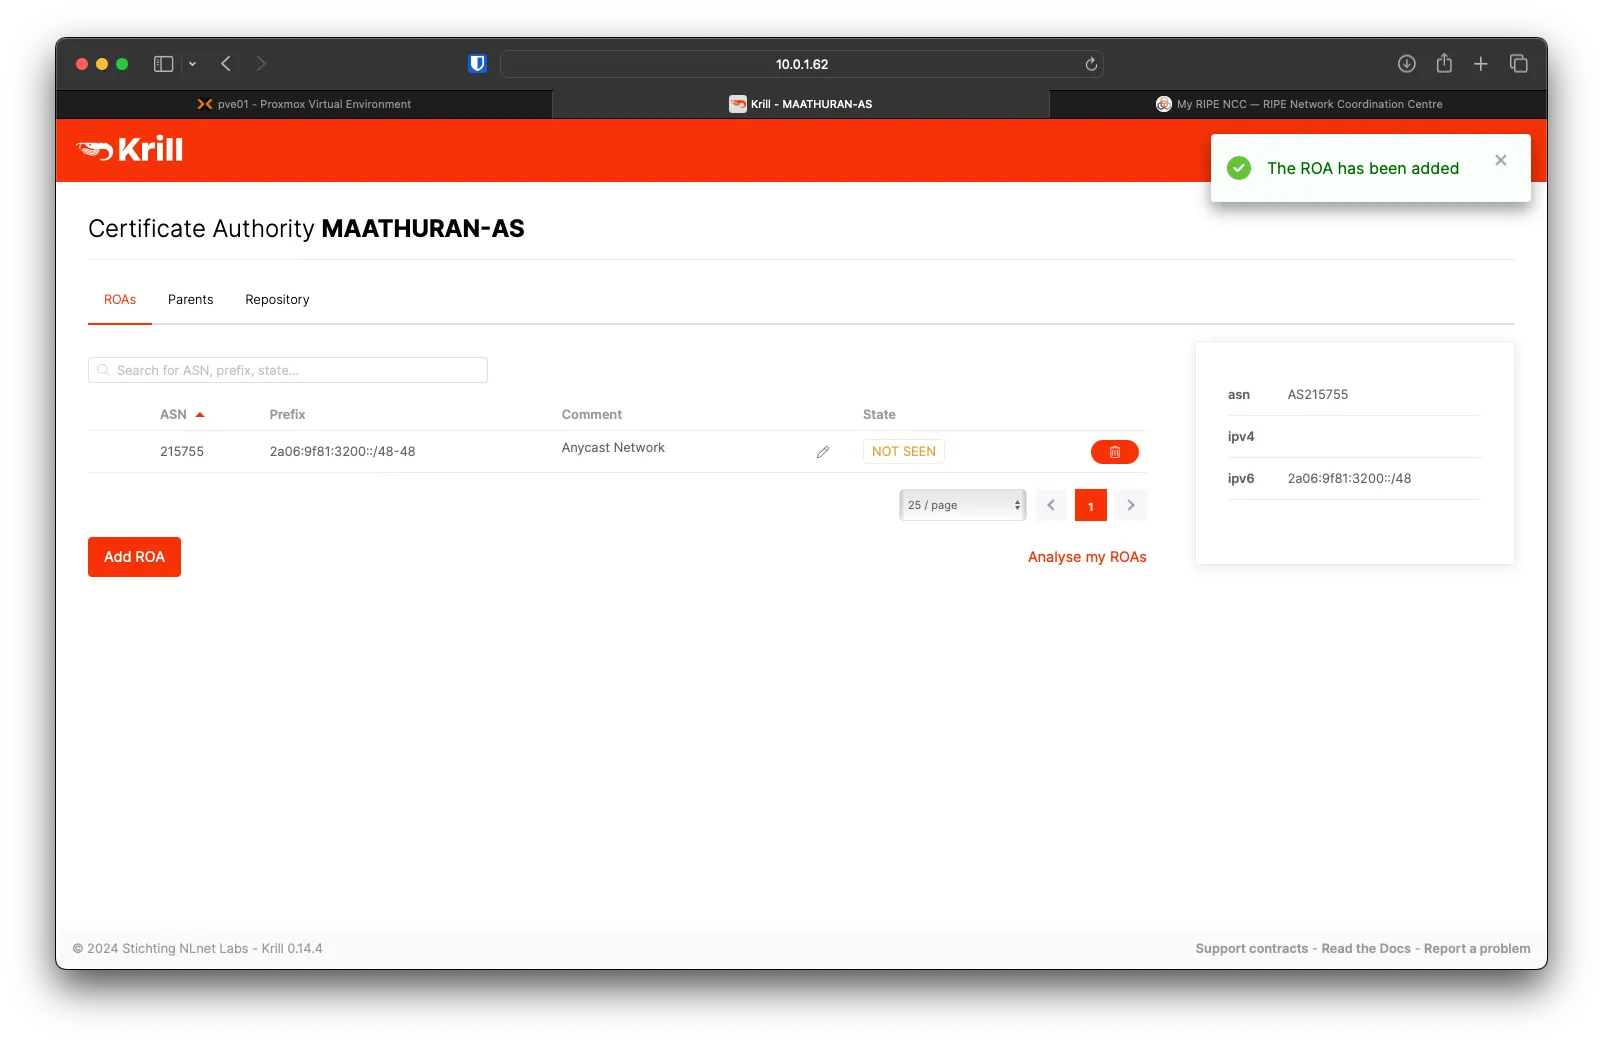
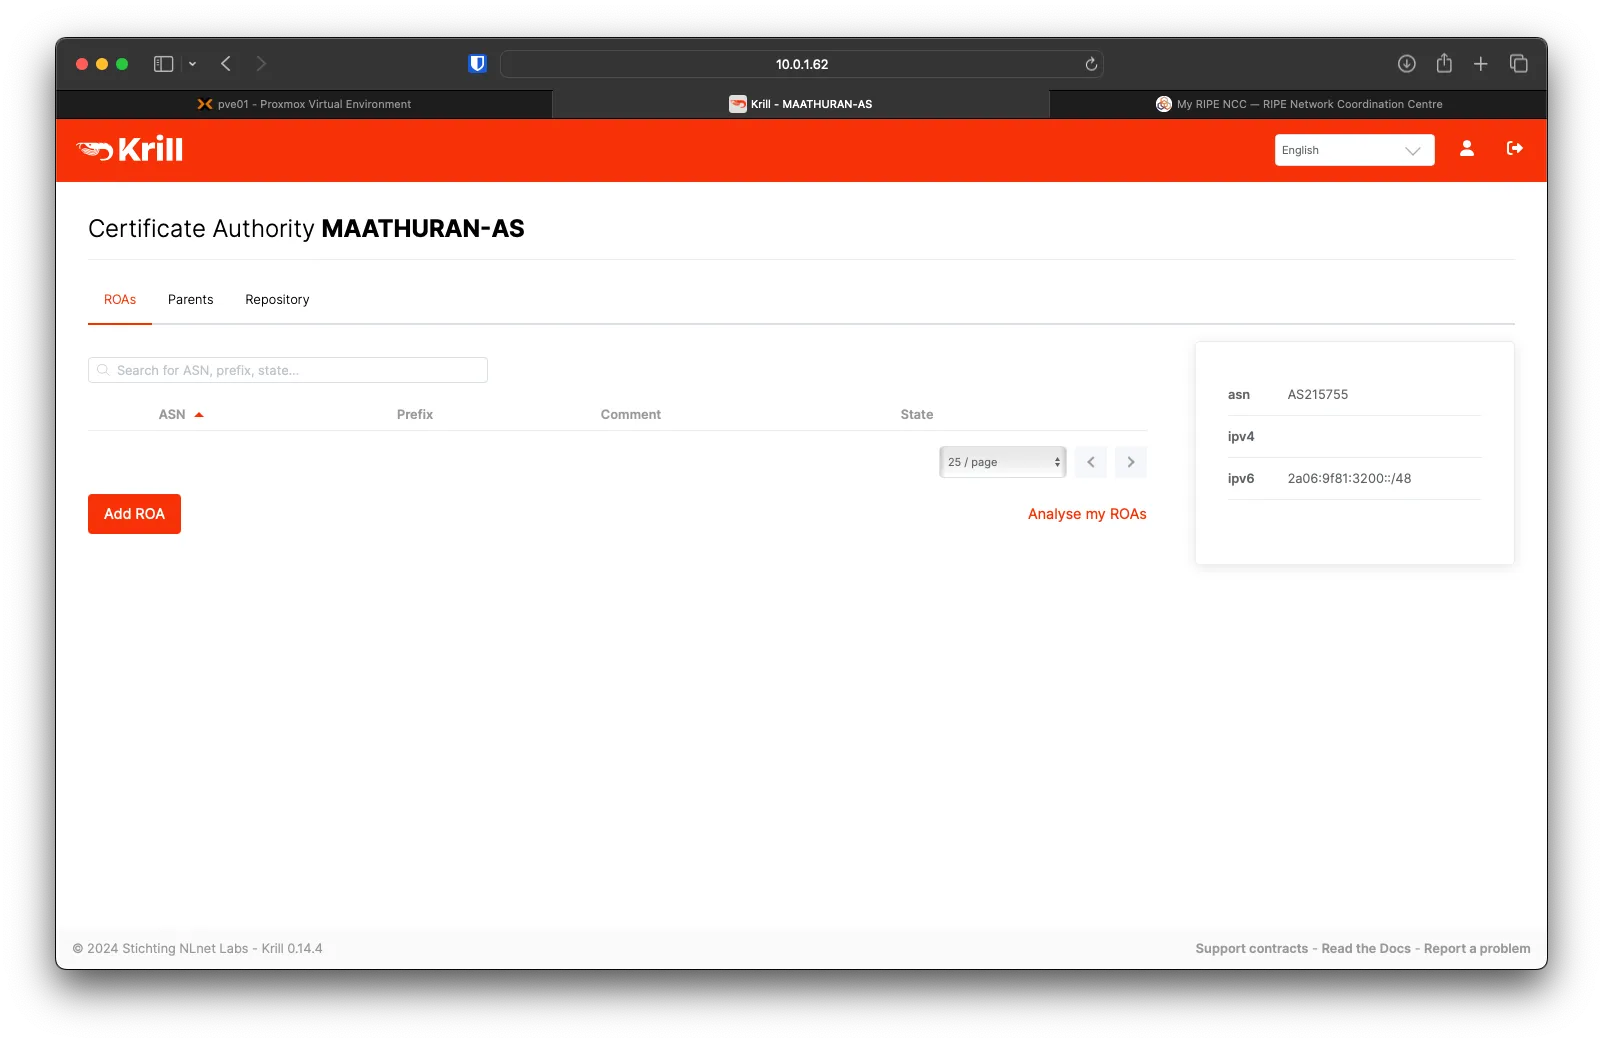
Creating ROA
Under the ROAs tab of Krill, Click on Add ROA
Fill out ASN, Prefix, Max Length, and Comment, then click on Confirm.
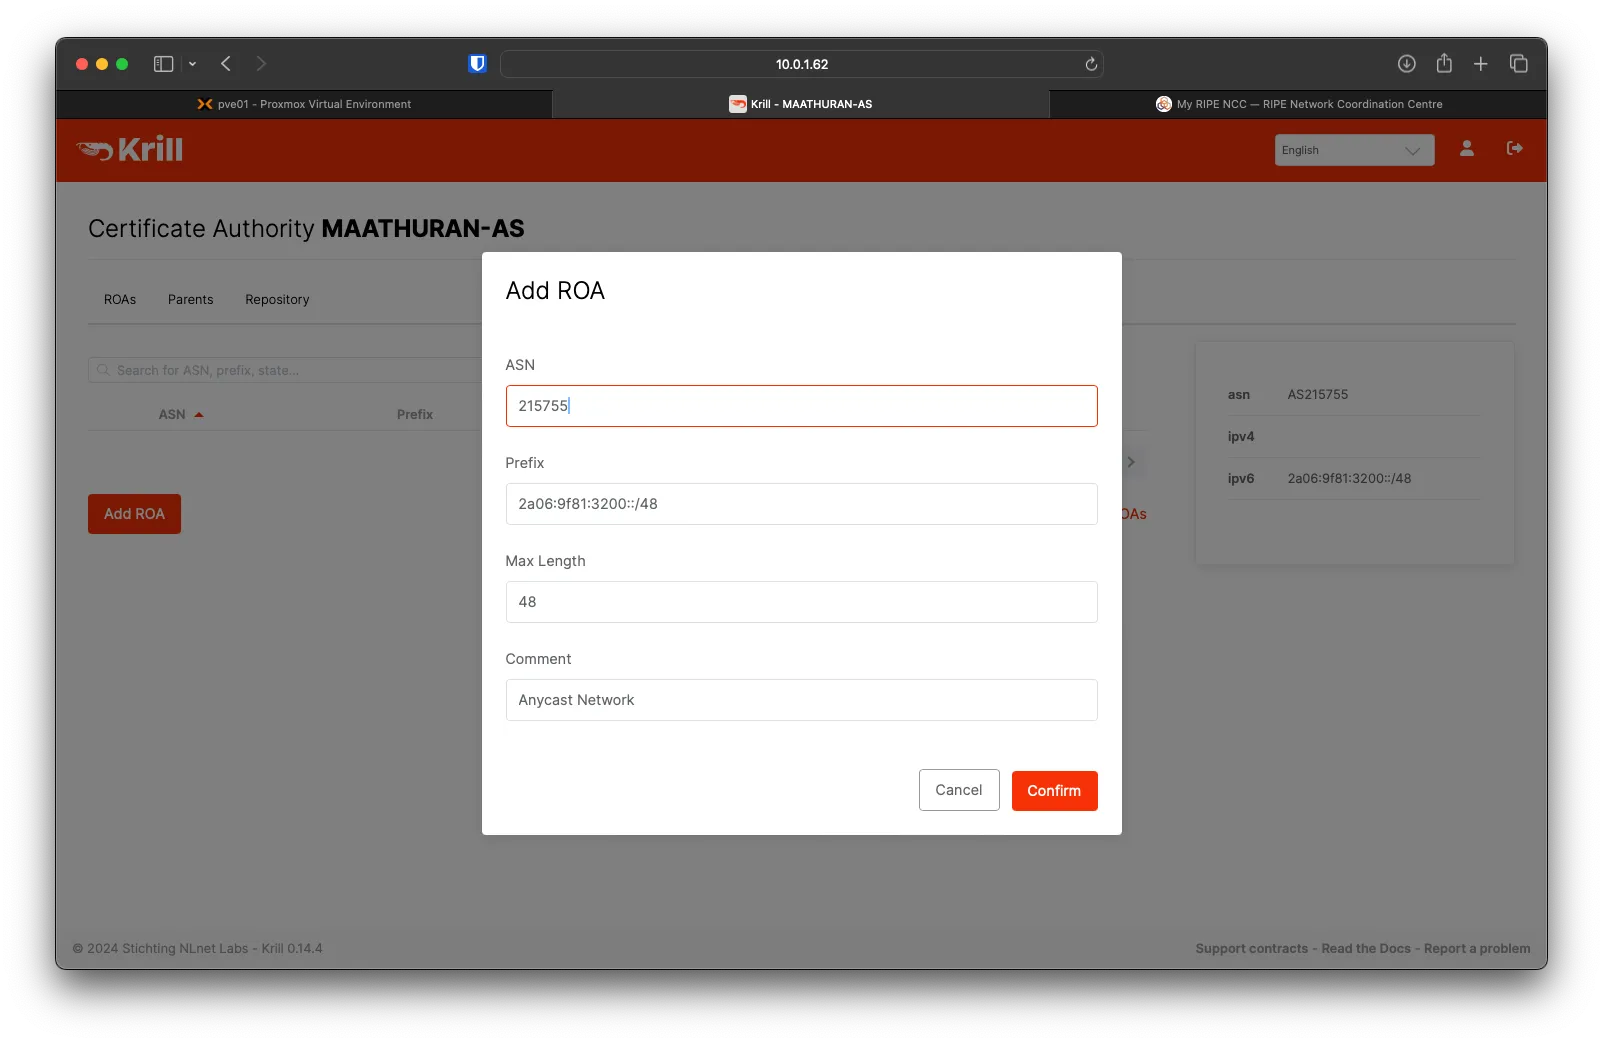
You will see the new ROA added; it will push to RIPE when the next sync happens.