Introduction
After researching Hypervisors, both open and closed-sourced versions, I ended up settling with Proxmox1 due to all the available resources on the internet and YouTube.
Proxmox 8.0
You must obtain a copy of the Proxmox installer to start things off. At the time of writing, V8.0 is the latest image. You can get the .iso by visiting this link: https://www.proxmox.com/en/downloads and choosing the newest version.
Buring the ISO
You can use the burner of your choice to write the .ISO onto a USB. I use balenaEtcher2 as it’s complied to run on all 3 Major OSs. balenaEtcher is split into three columns. The leftmost one is where you will put the .ISO file. In the center is where the USB is selected. After that, you can click the Flash button to burn the image.
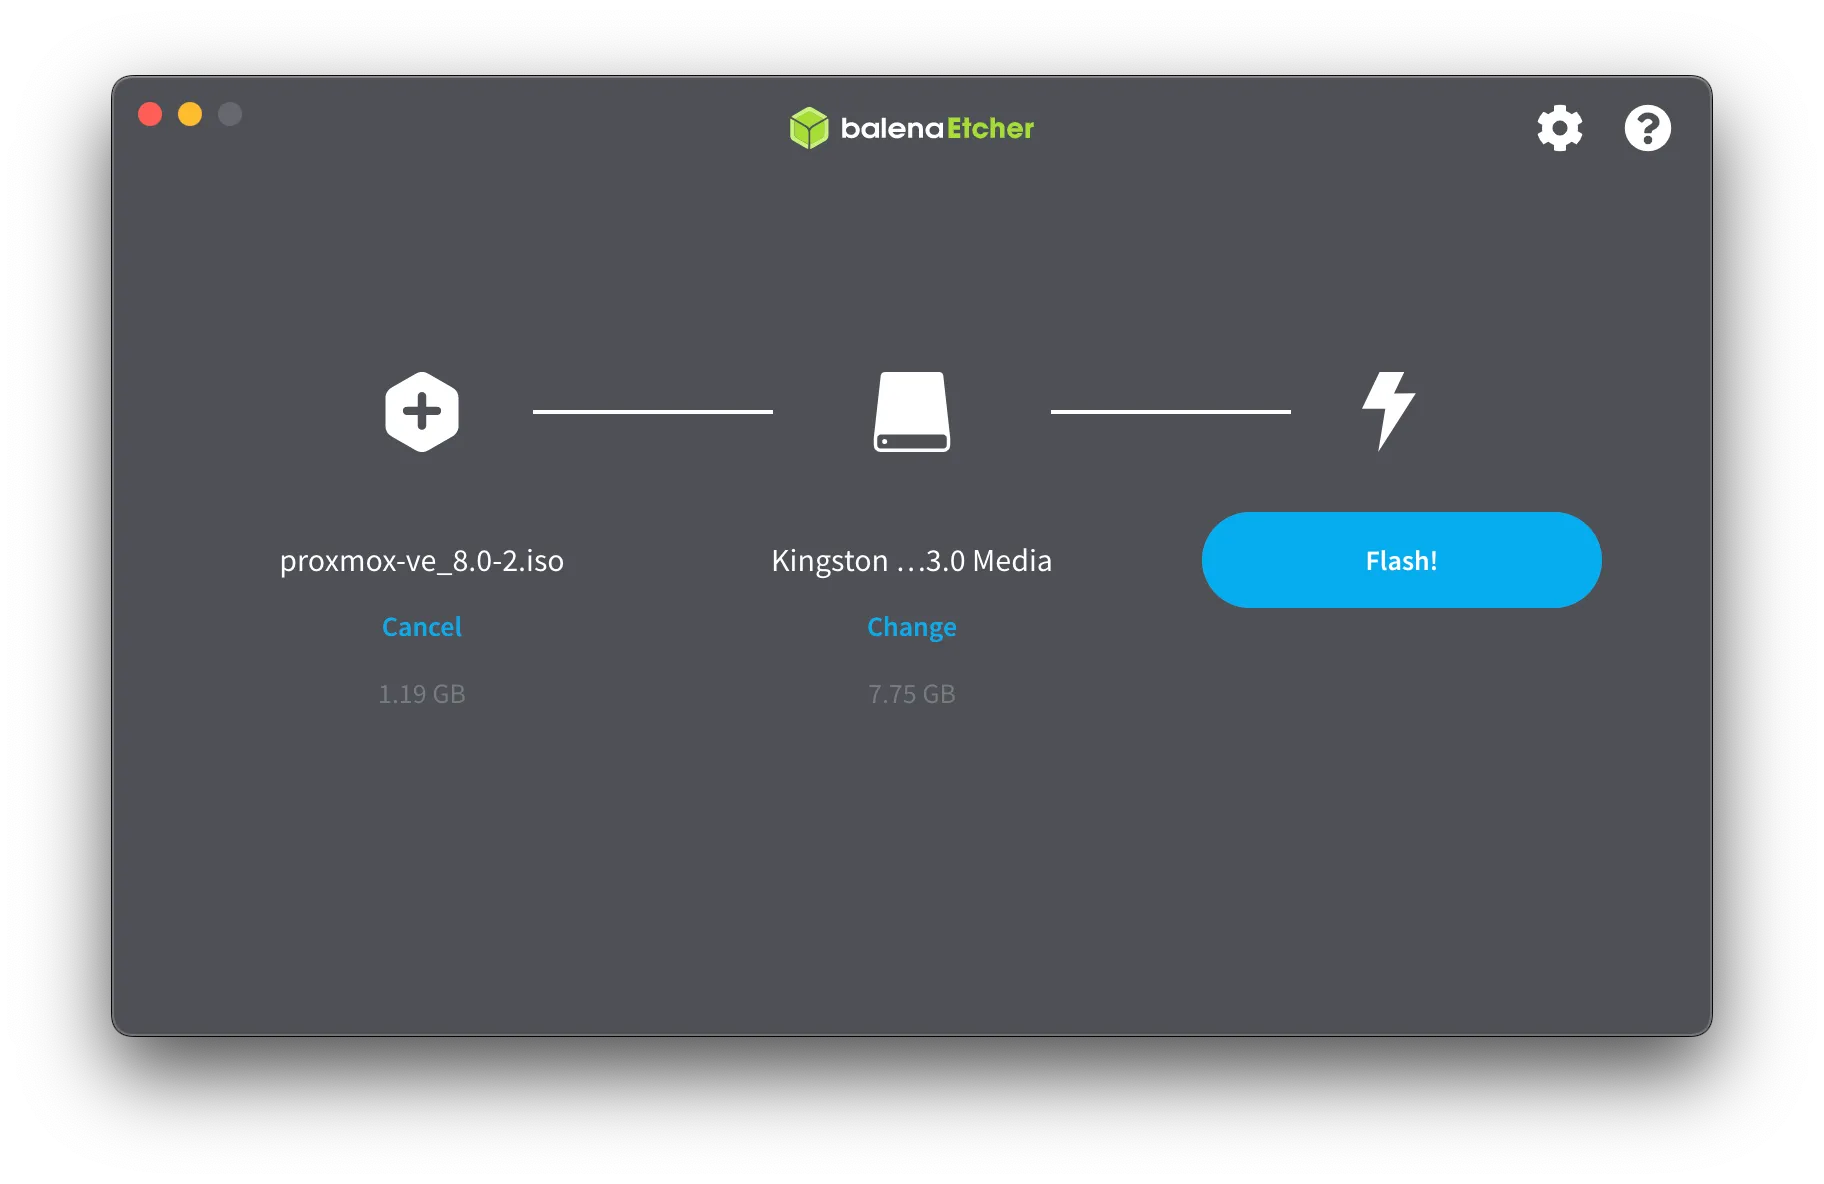
You should enter your root password on macOS to grant access to the USB’s. After that, it will take a couple of minutes to burn the image, depending on how fast your USB is.
M720q Setup
Bios Prereq
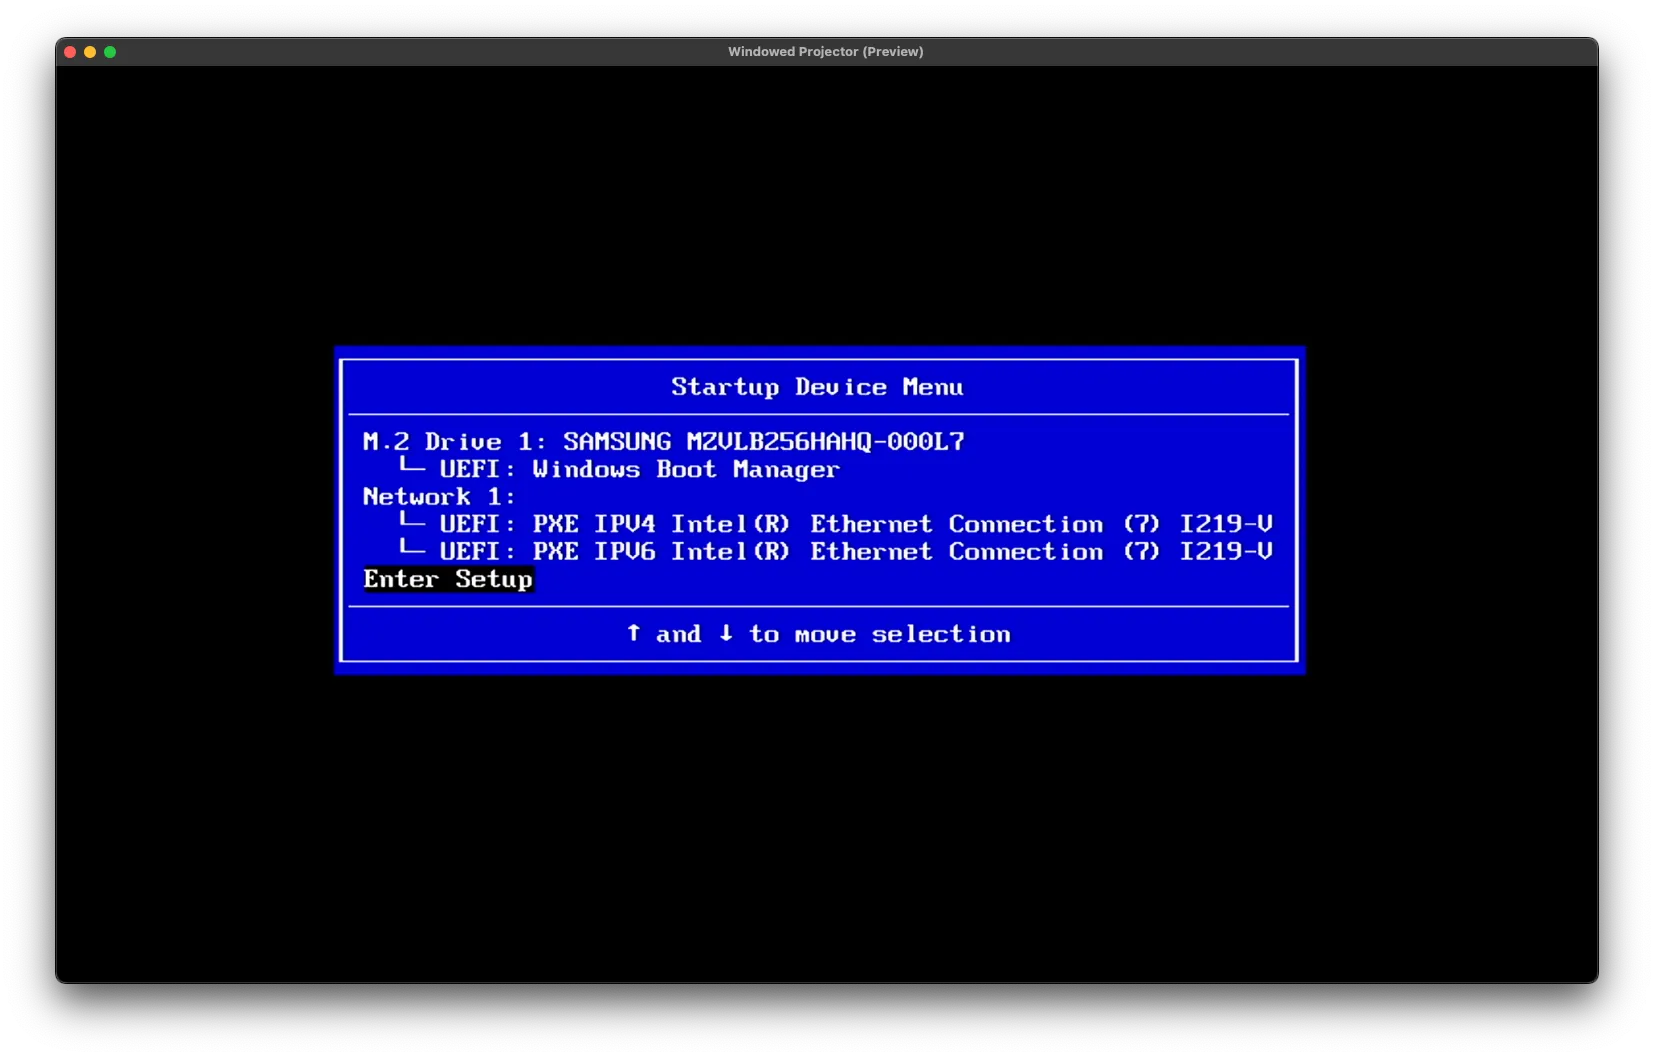
On the M720q, a couple of bios settings need to be enabled to support Installing Proxmox v8.0 onto it. To boot into the BIOS, after powering it on repeatedly, hit the F12 Key to bring up the Startup Device Menu; there, choose Enter Setup.
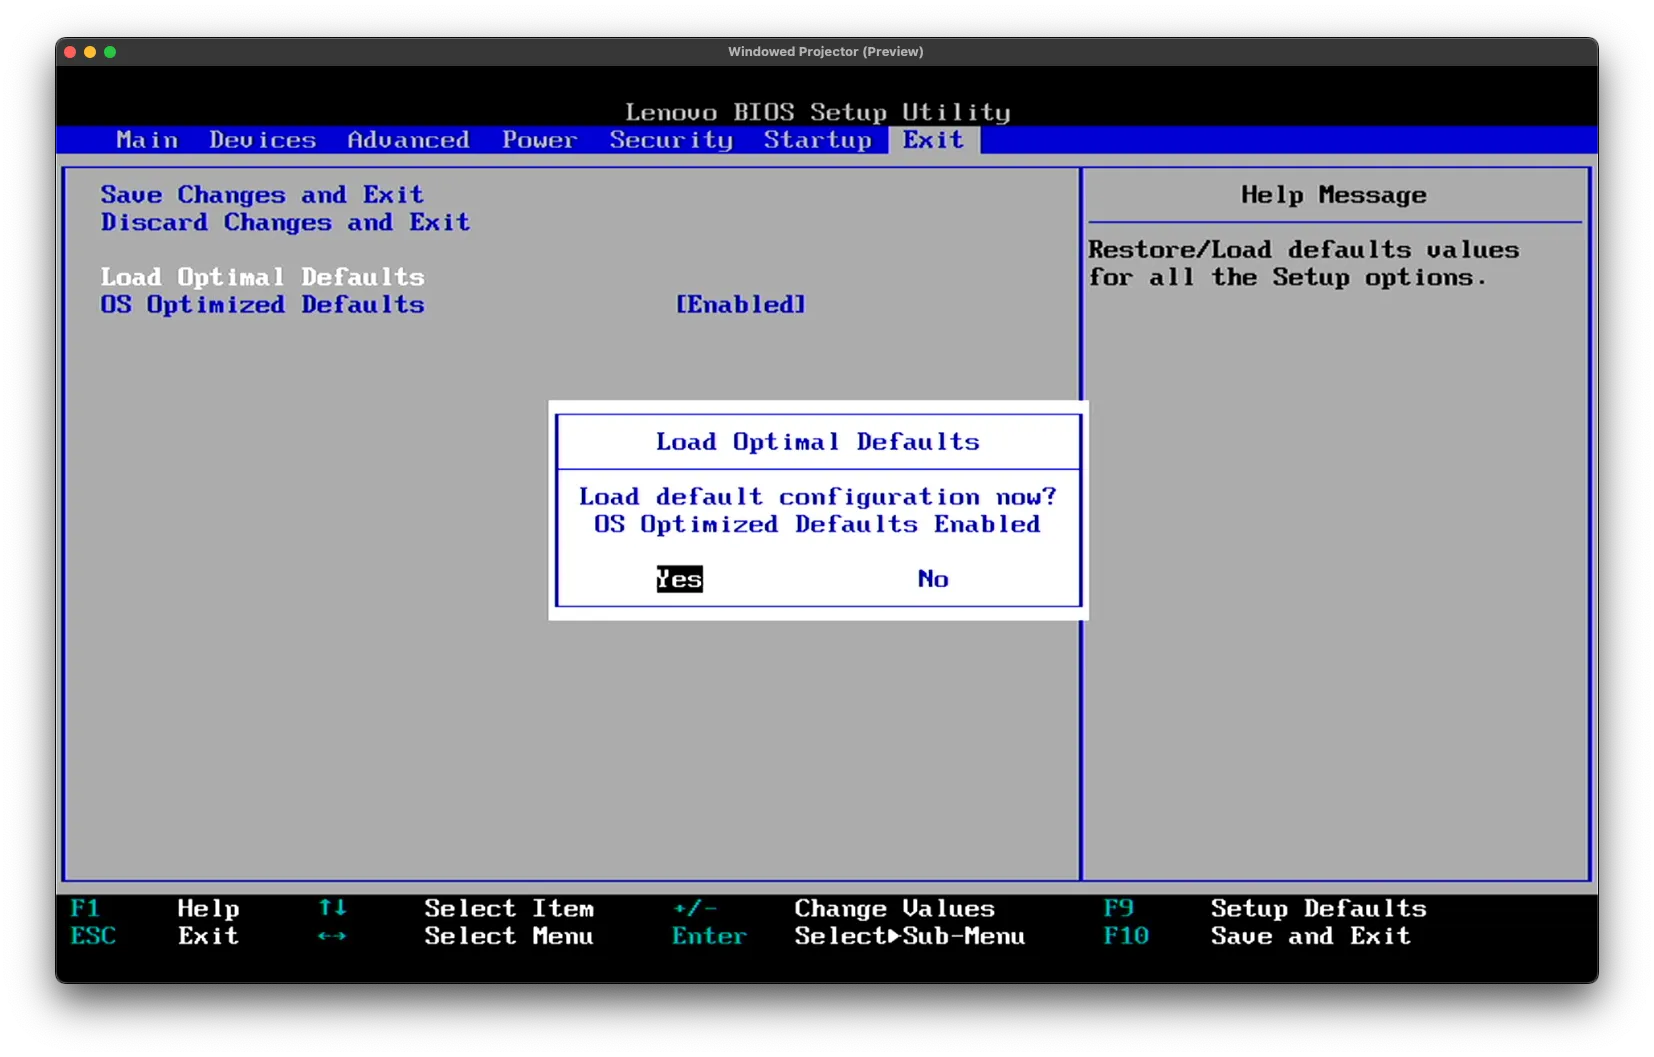
To reset the Bios to the factory defaults under Exit, click Load Optimal Defaults, then click Yes on the popup.
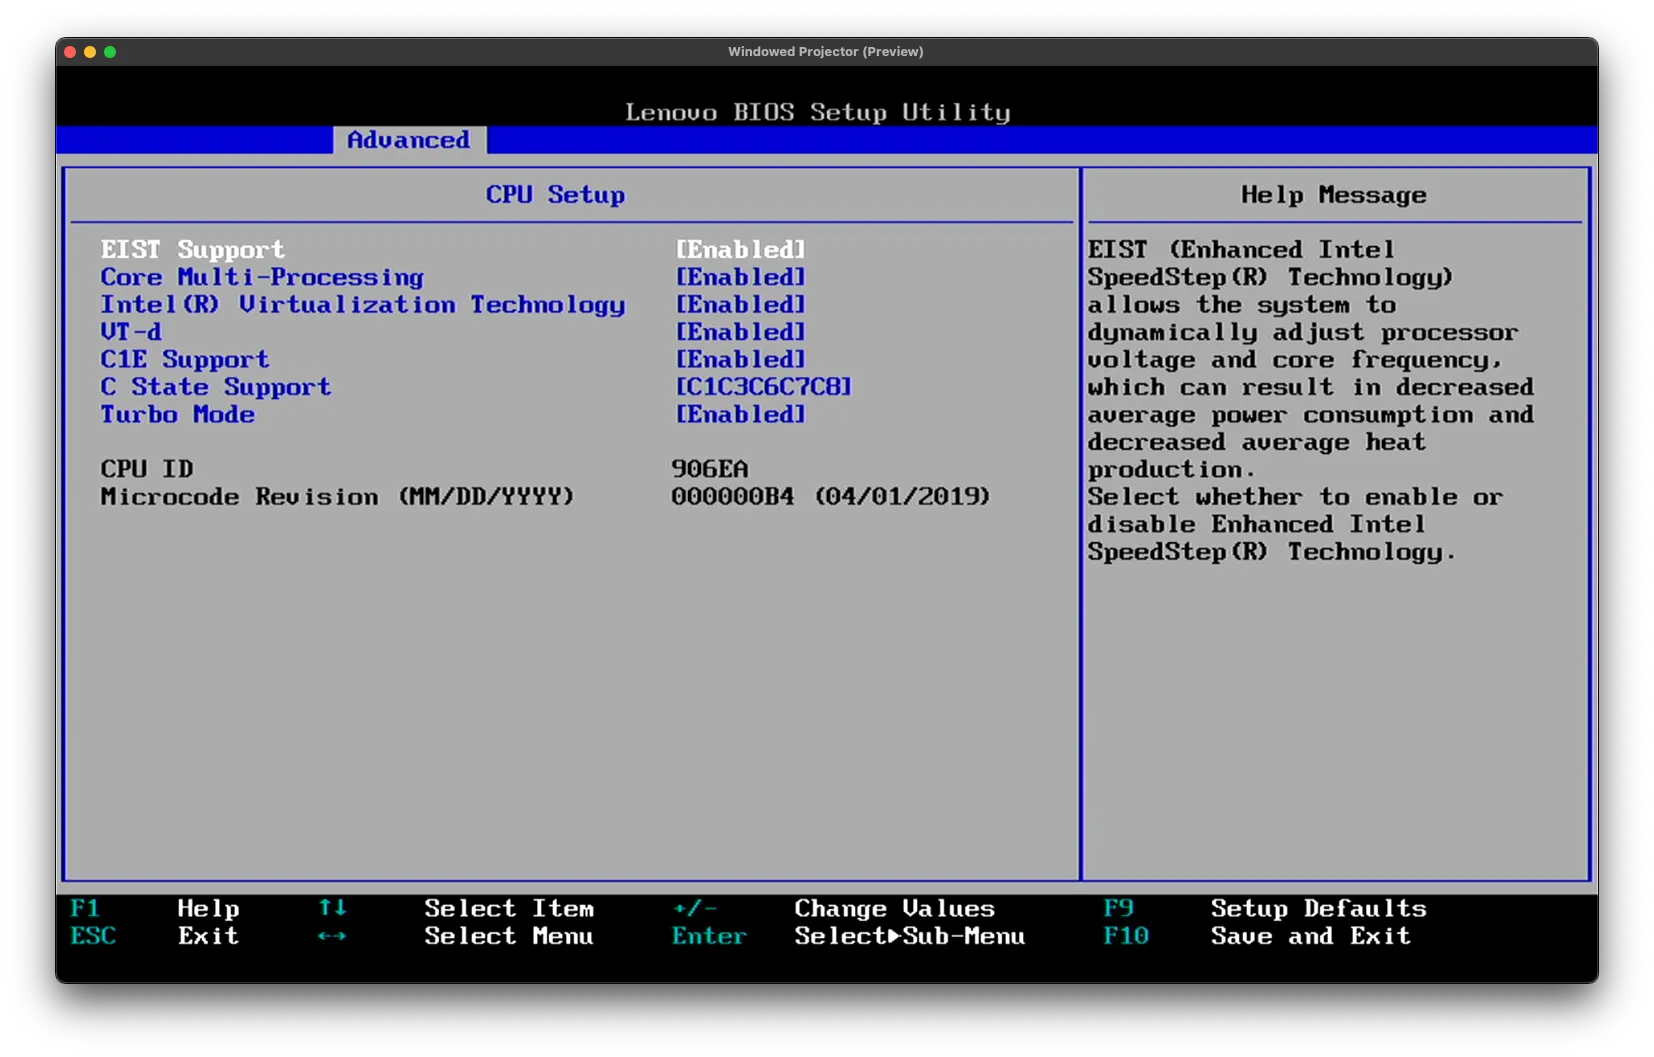
Make sure to enable Virtualization for the CPU. There are two settings in the Bios that you need to check. As well as enable USB booting.
Advanced->CPU Setup- Enable
Intel(R) Virtualization TechnologyVT-d.
- Enable
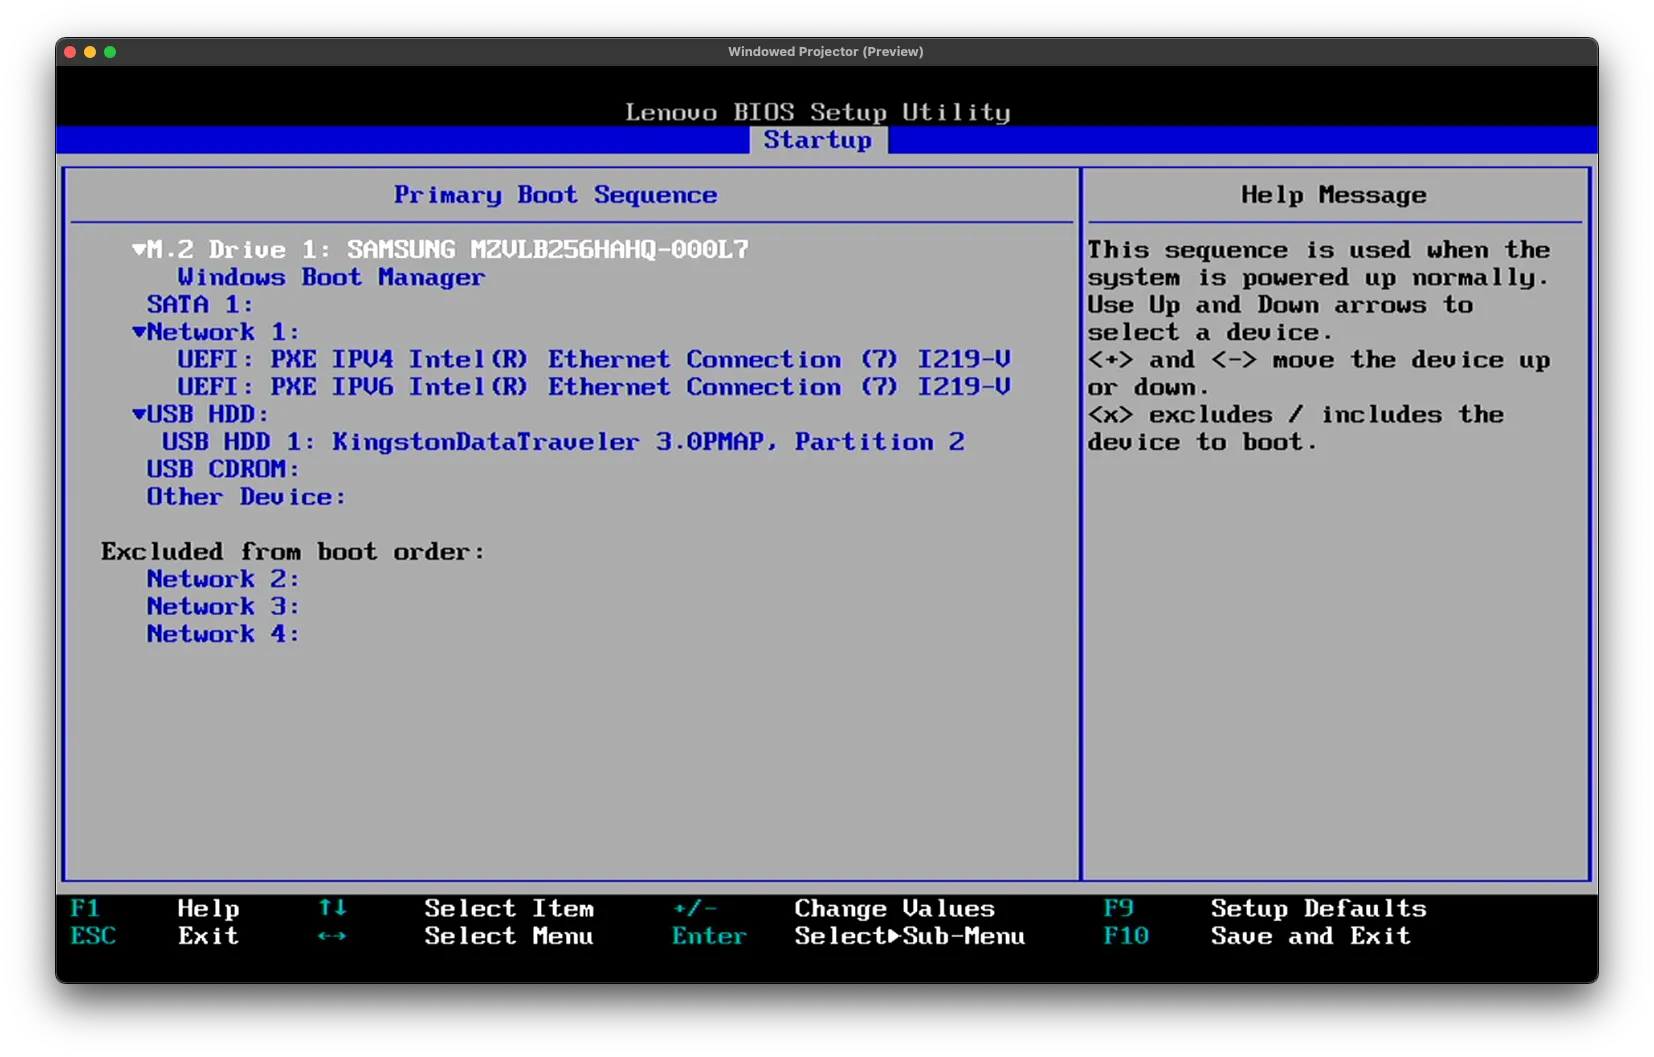
Startup->Primary Boot Sequence- Include
USB HDDUSB CDROM
- Include
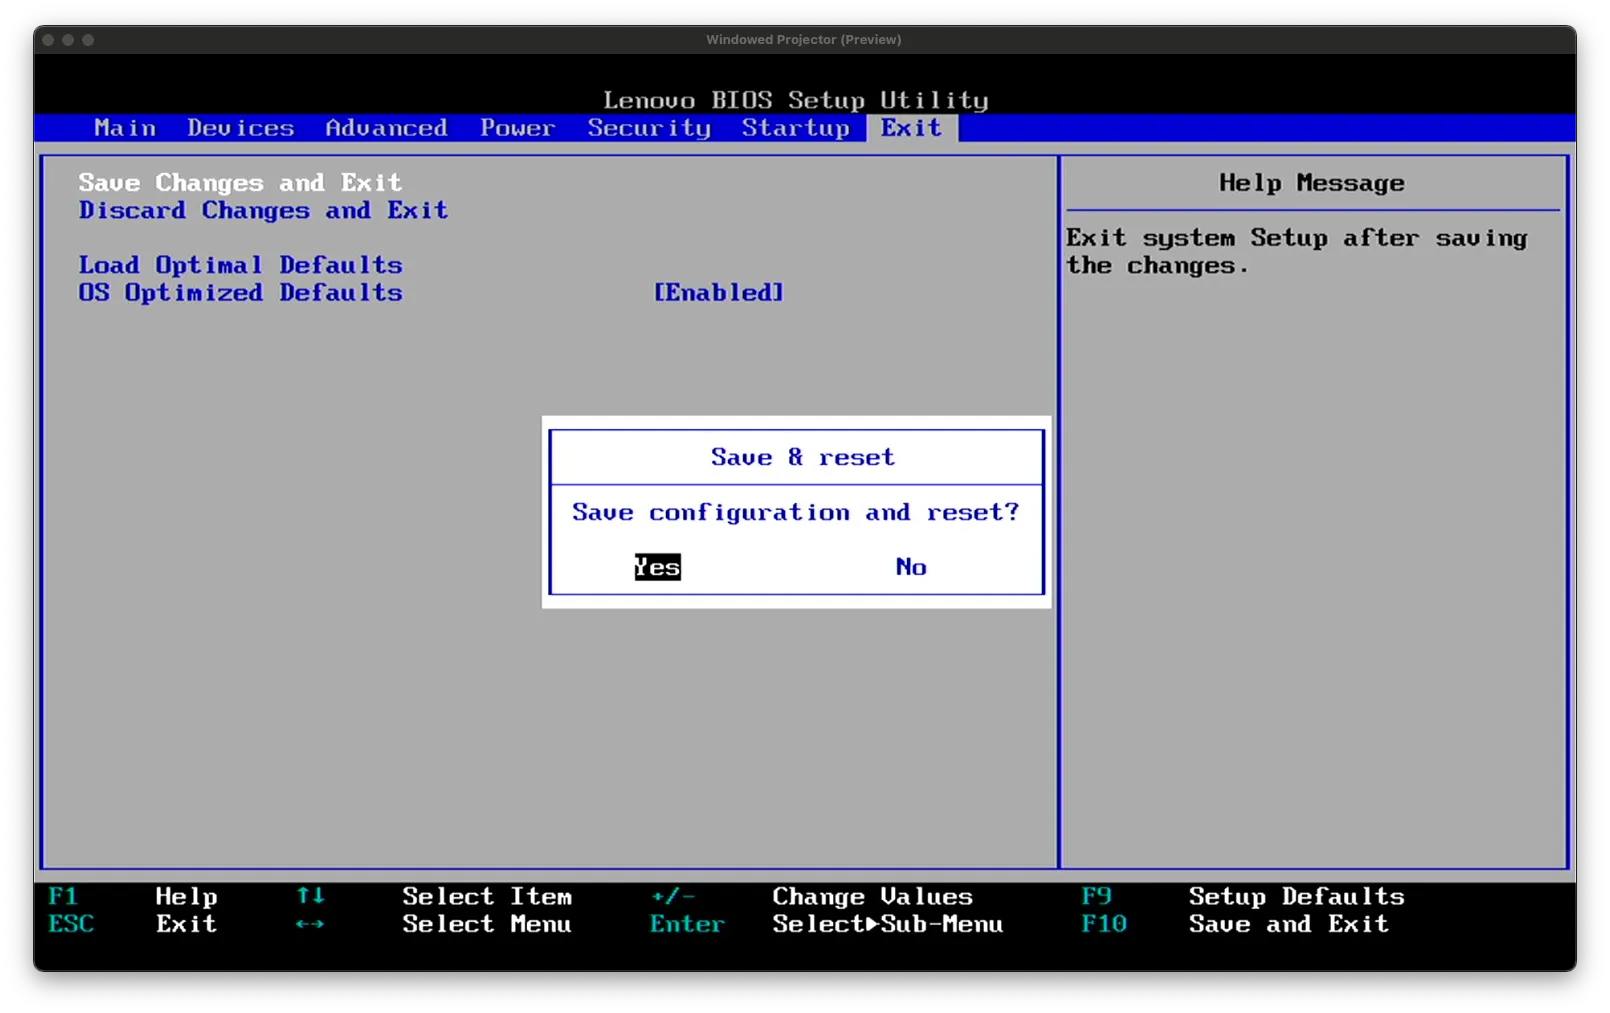
After enabling all the changes above, go to Exit -> Save Changes and Exit and click Yes on the popup.
Booting Proxmox
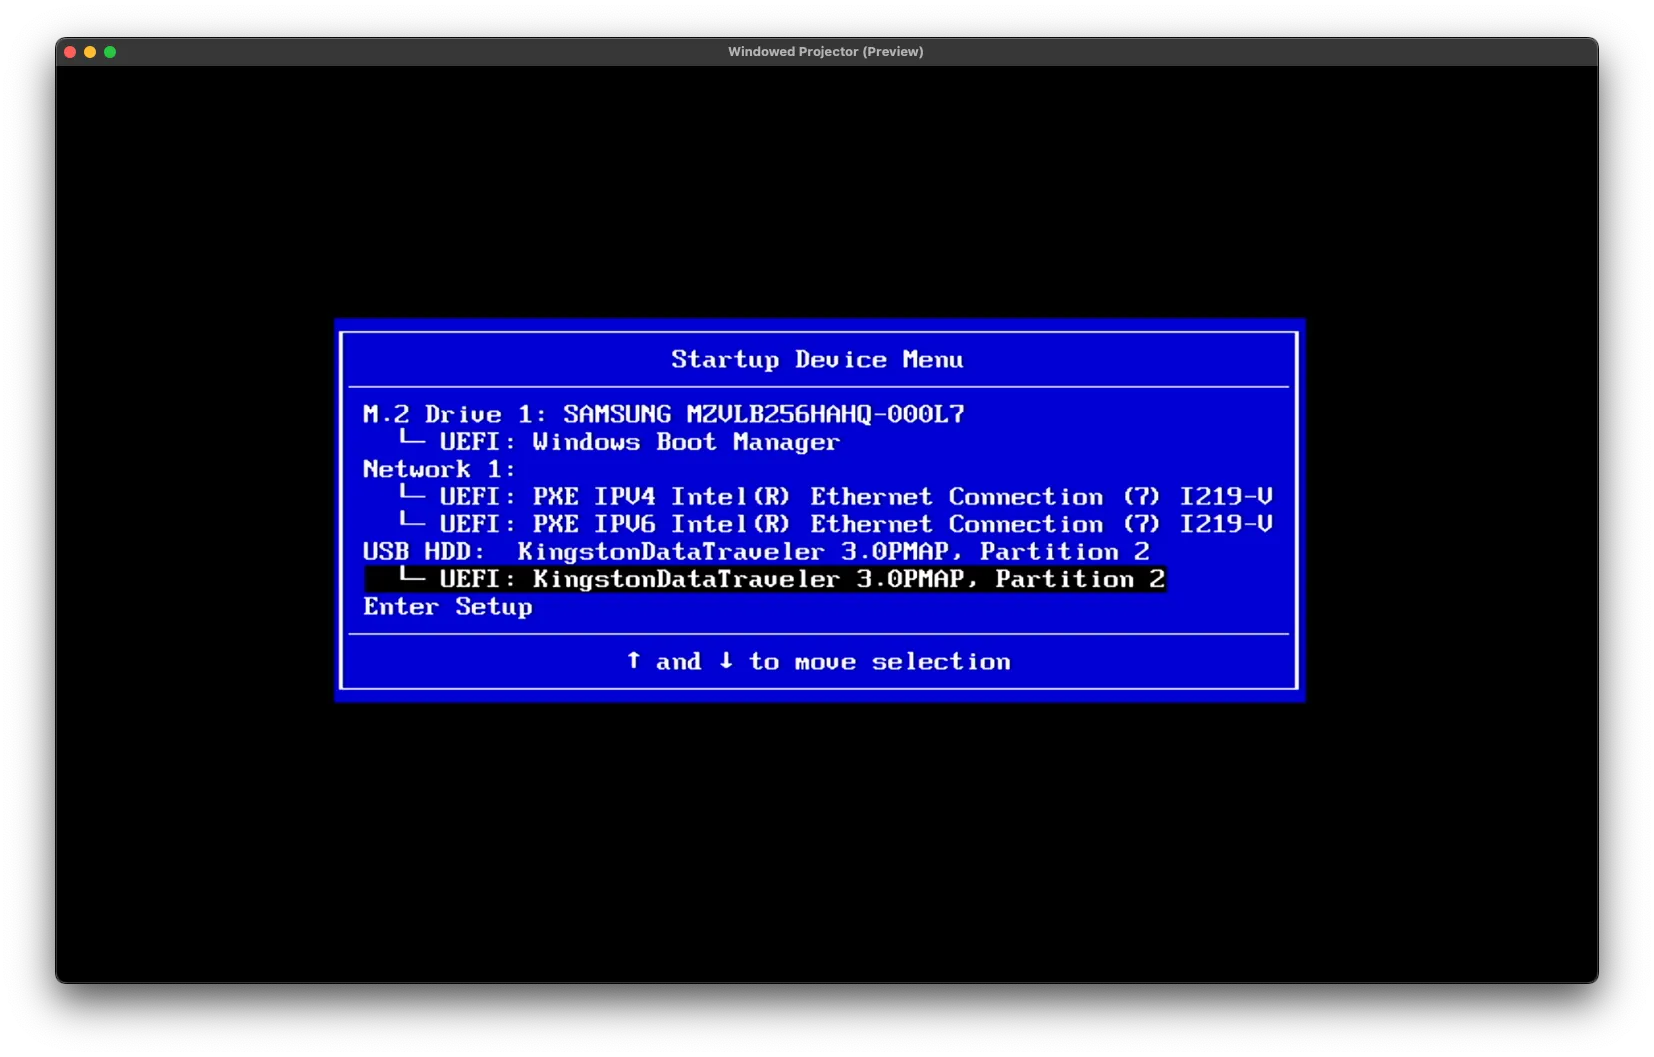
After the computer reboots repeatedly, hit F12 again to bring up the Startup Device Menu; there, choose your USB Drive USB HDD:
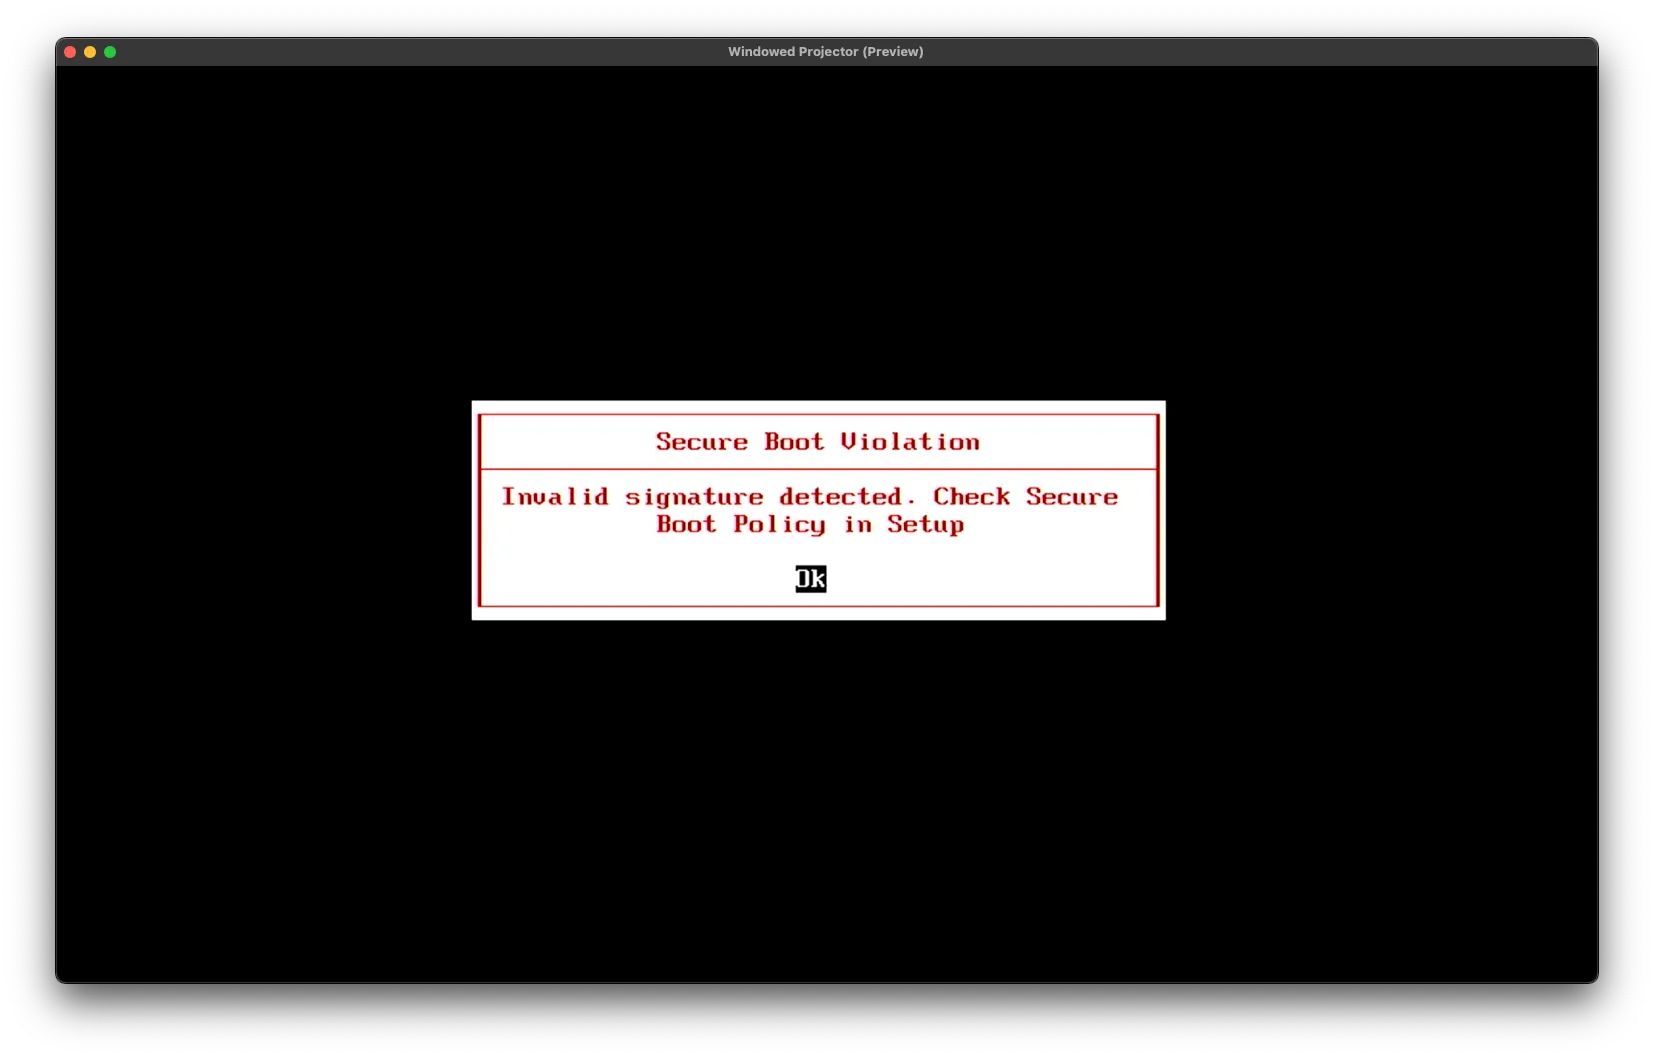
If you get an error about Secure Boot Violation, hit Ok on the popup. If not, skip to the next section
Disable Secure Boot in the BIOS from Security -> Secure Boot -> Secure Boot [Disable]
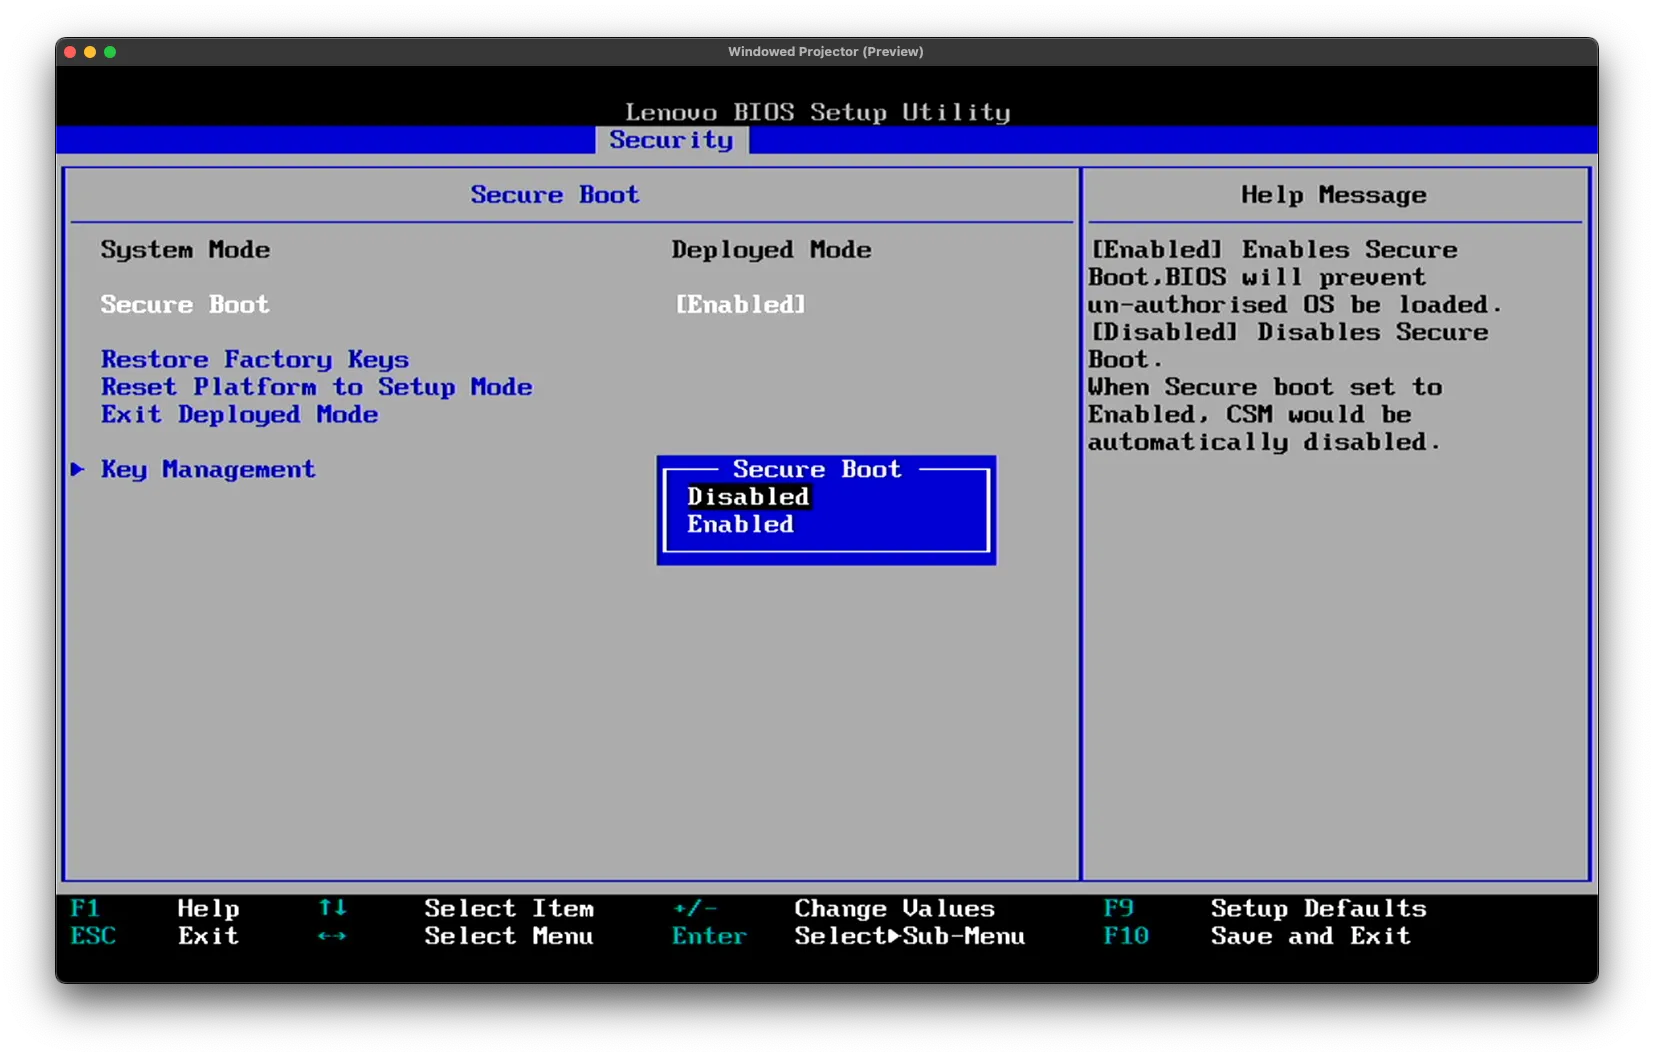 Make sure to save and exit.
Installing Proxmox
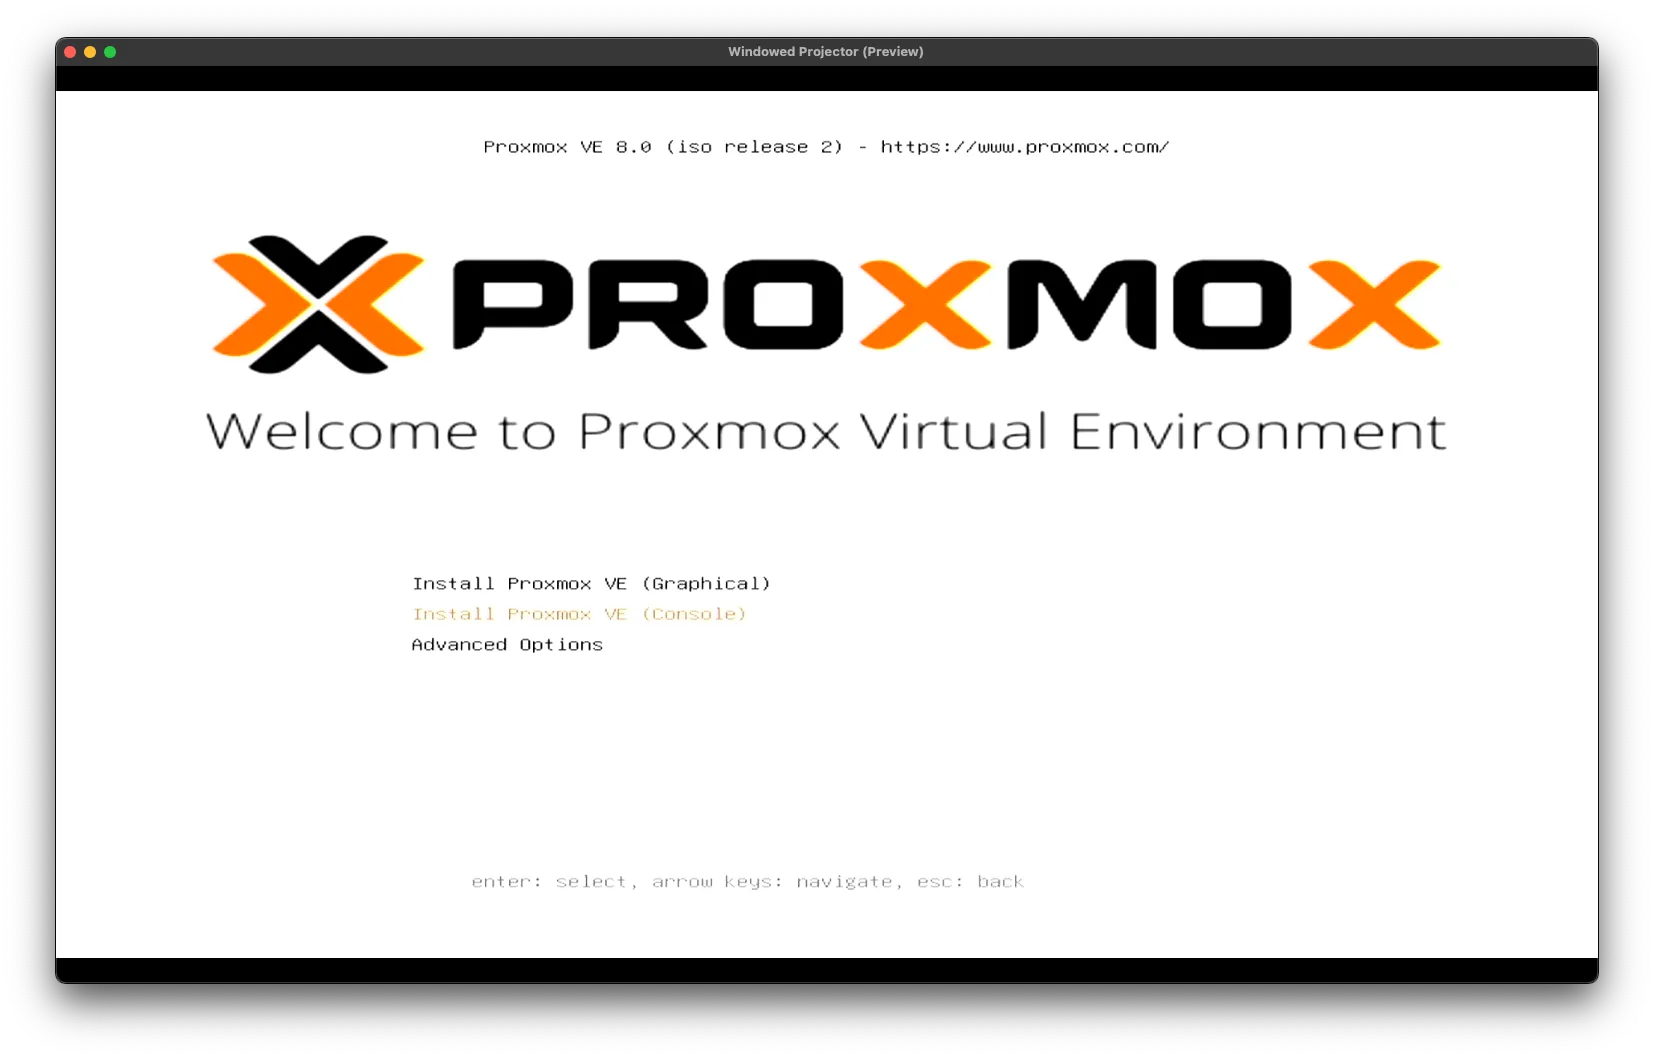
To simplify the setup without a mouse, I am selecting Install Proxmox VE (Console), but both options go through the same install steps.
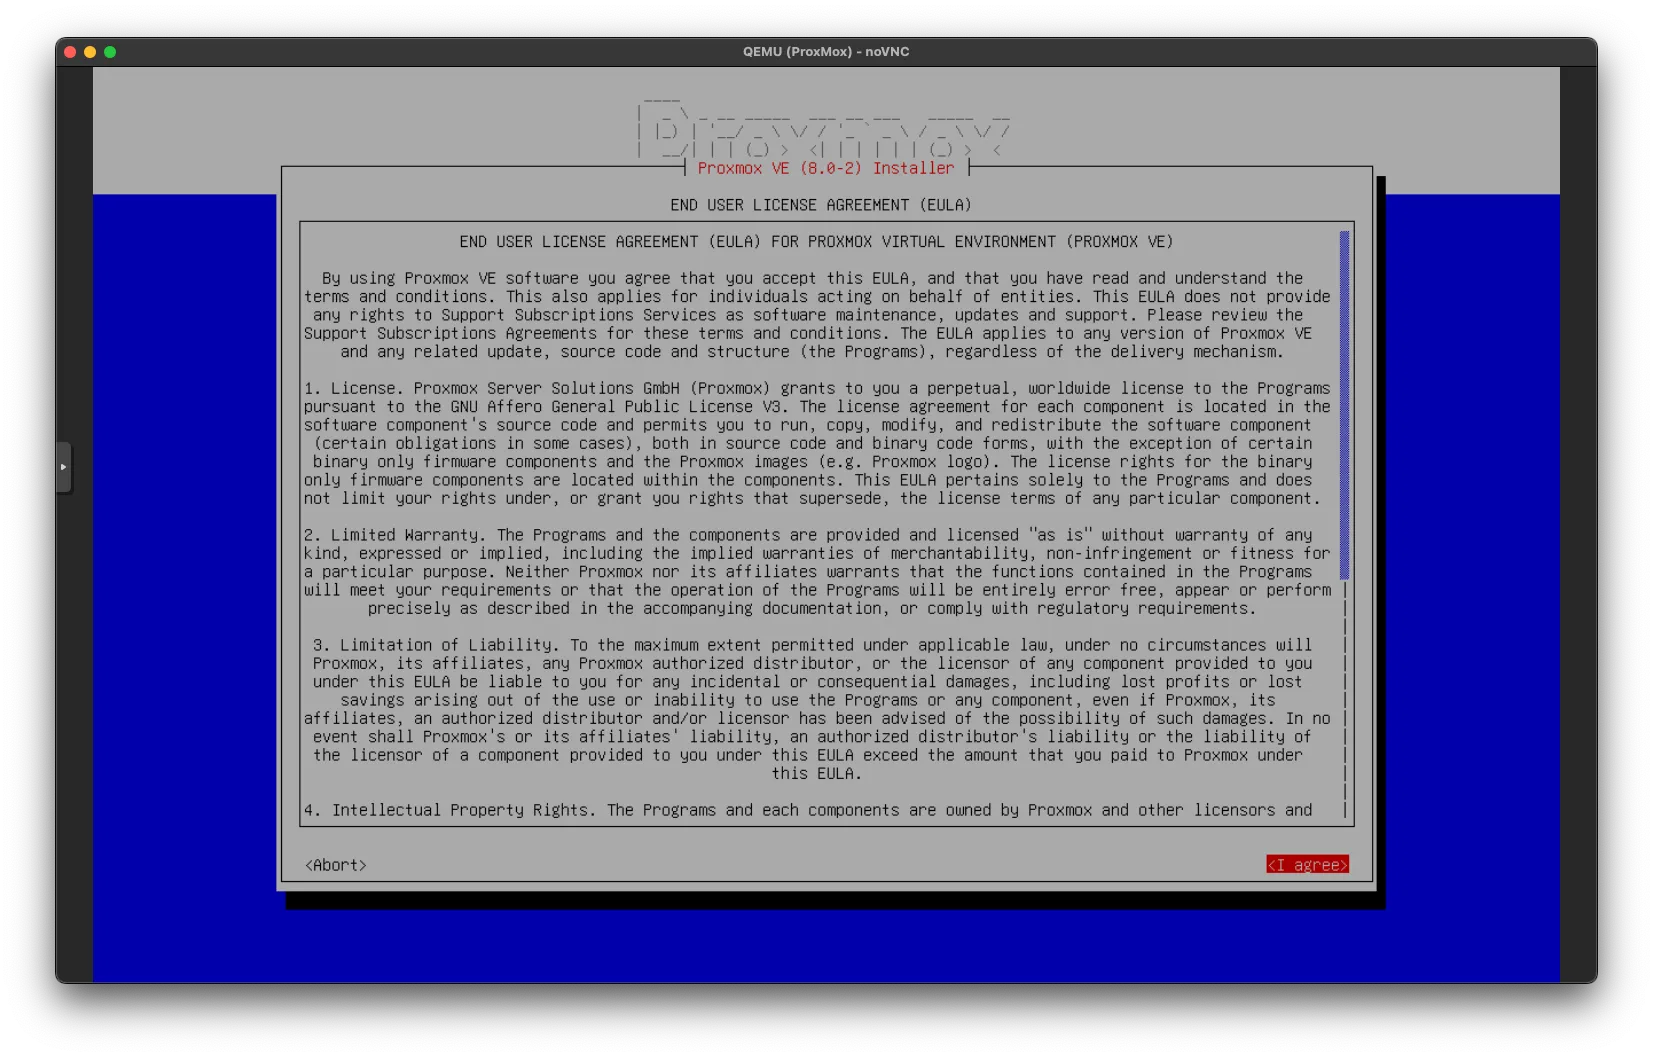
Click on <I Agree on the terms. You can scroll down if you want to.
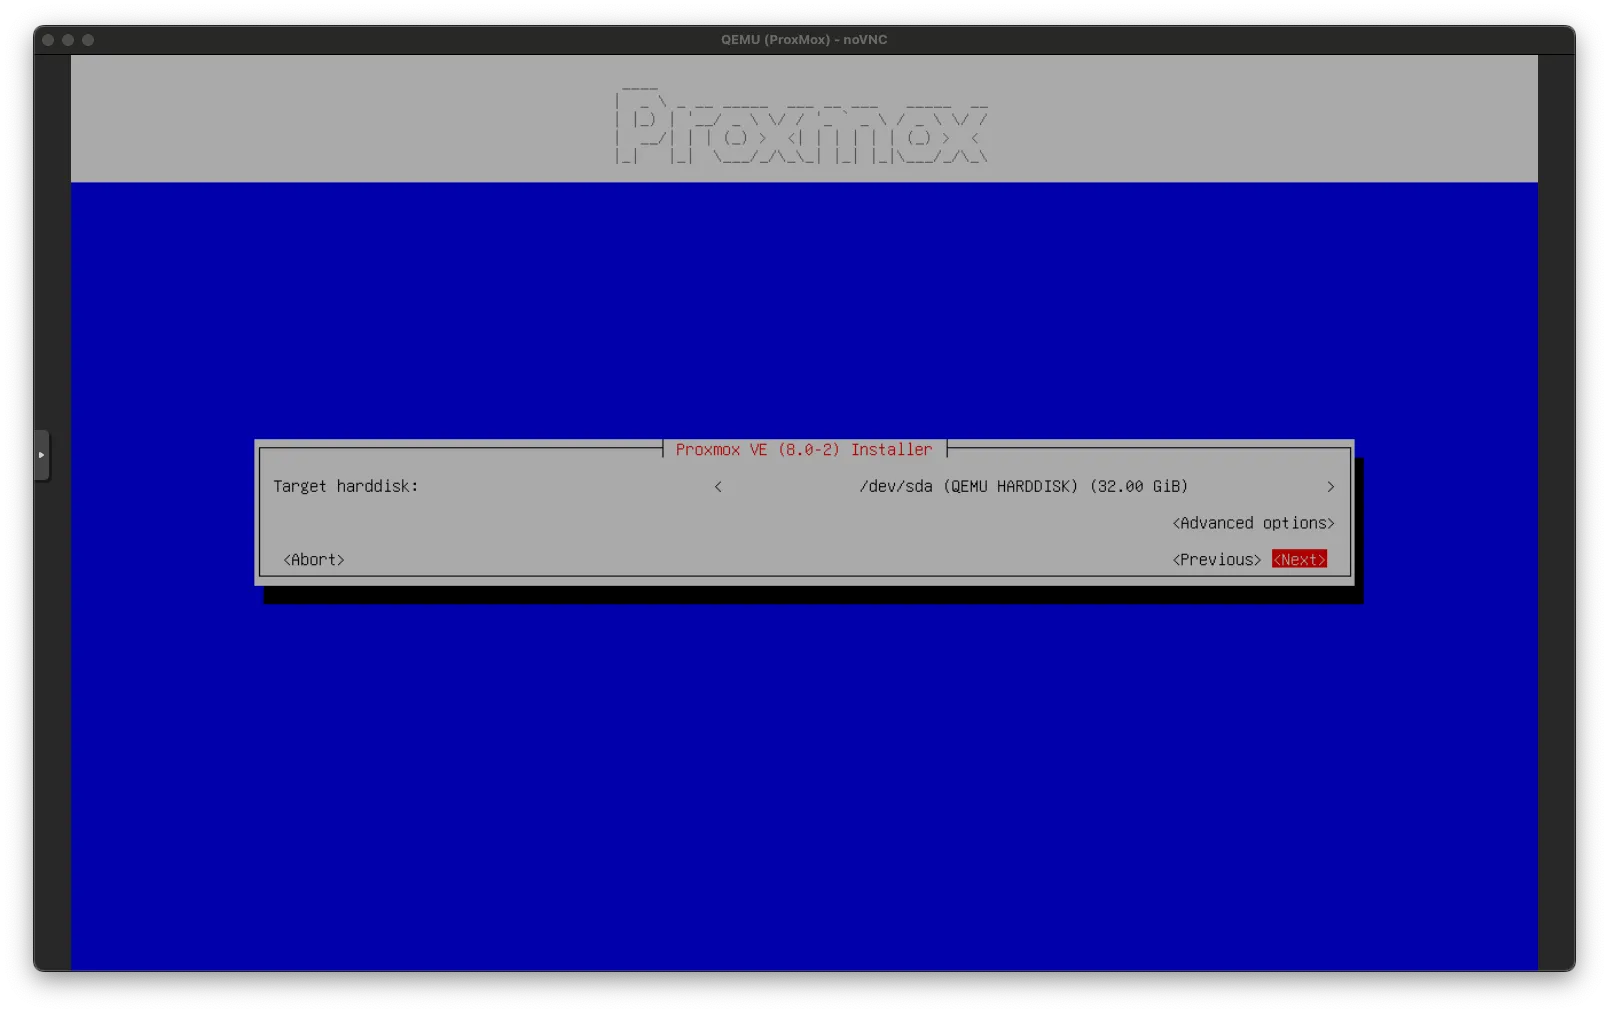
If you have multiple hard drives and want to set up ZFS, this is where you would do it, but as I only have one, I am going to click on <Next>.
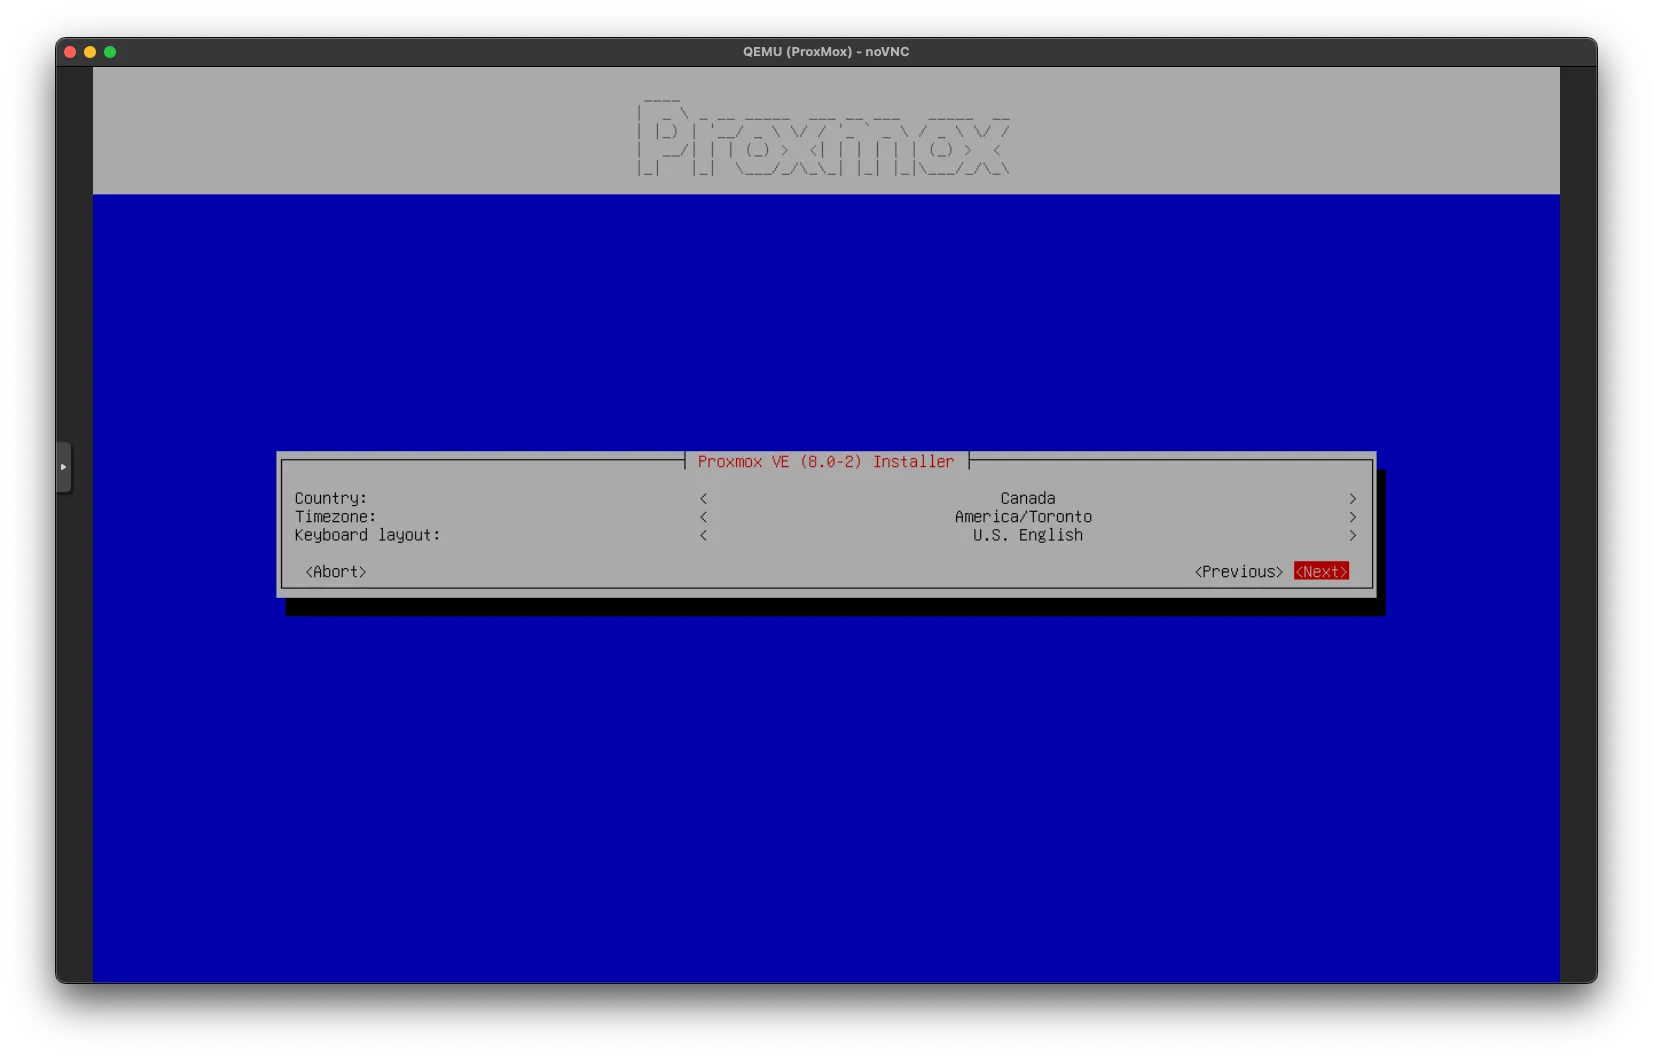
Here, you can choose which region the server will reside in. I’m choosing Canada, America/Toronto, and U.S. English. After that, hit <Next>
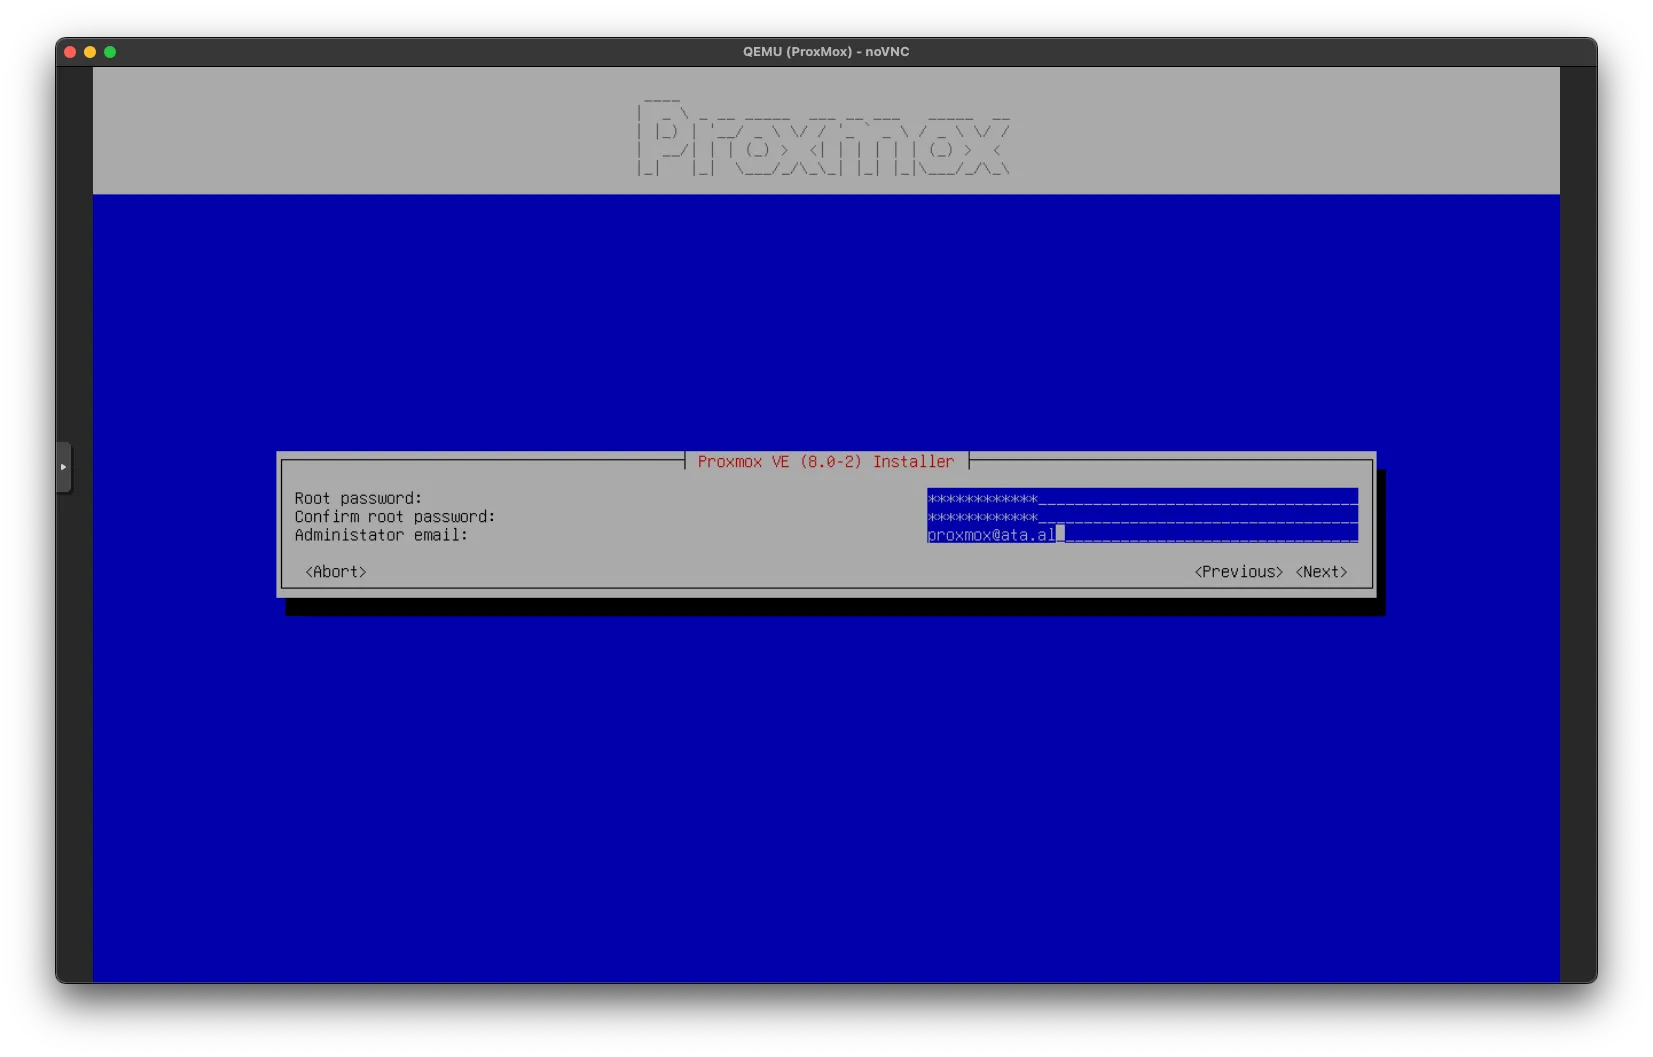
Create a Root Password: for the server as well as enter in an email address in Administrator email: After that, hit <Next>.
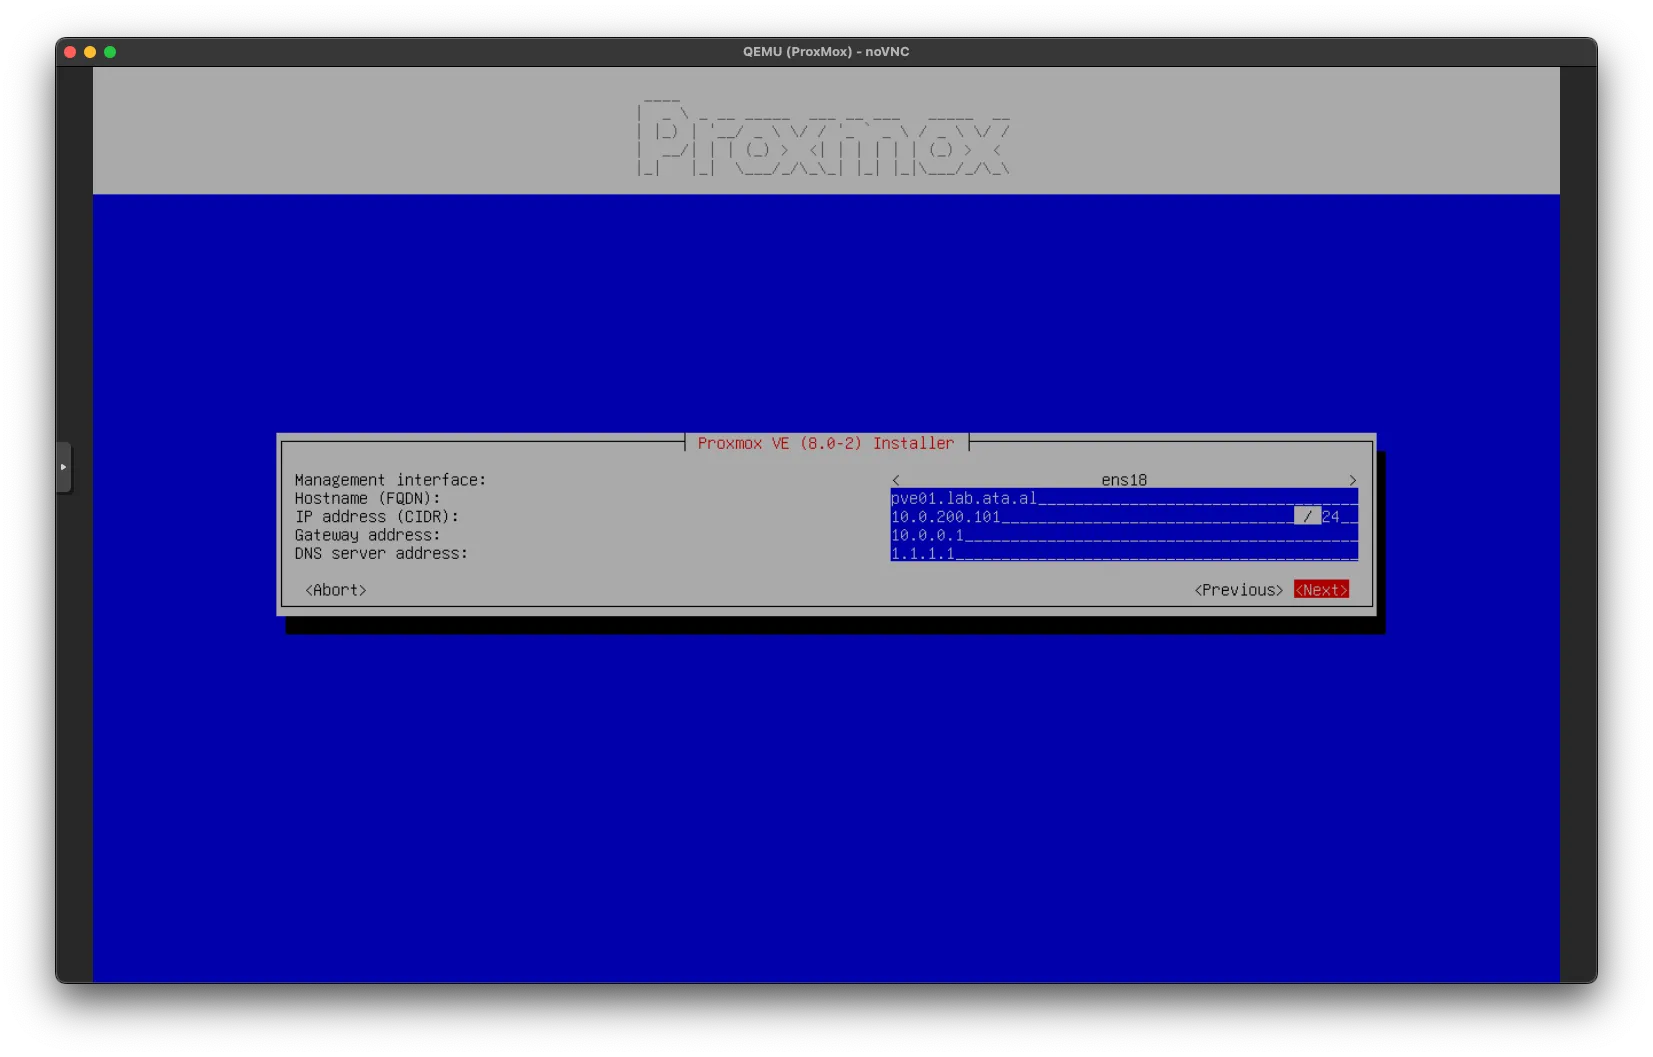
If you would like to set a static IP, you can do it here. Keep the Hostname (FQDN) a valid domain name. After that, click <Next>.
On the confirmation page, make sure all the values are the ones you would want and hit <Install> to finalize.

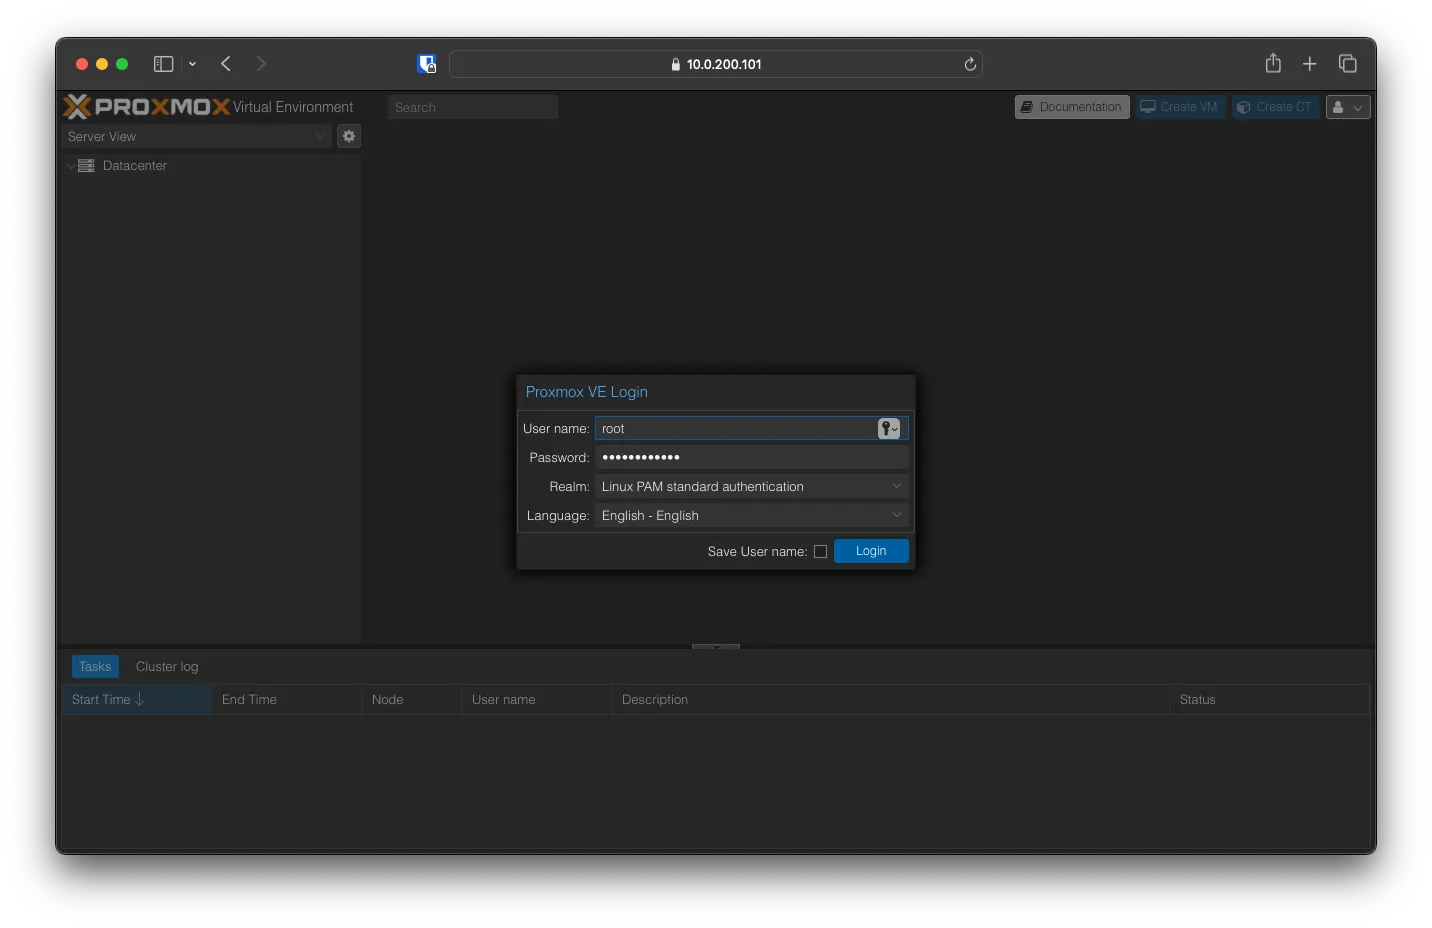
Depending on how fast your hardware is, it might take a few minutes; after that, you can visit the Web Gui and log in as the Root user. Repeat the steps after verifying that the installer worked until you are done installing on all your nodes. Make sure to change the FQDN and the IP address.