Introduction
We will add a custom domain to Microsoft E5 Dev, move email hosting from Cloudflare to Microsoft Exchange, and enable a catch-all mailbox.
Adding Domain
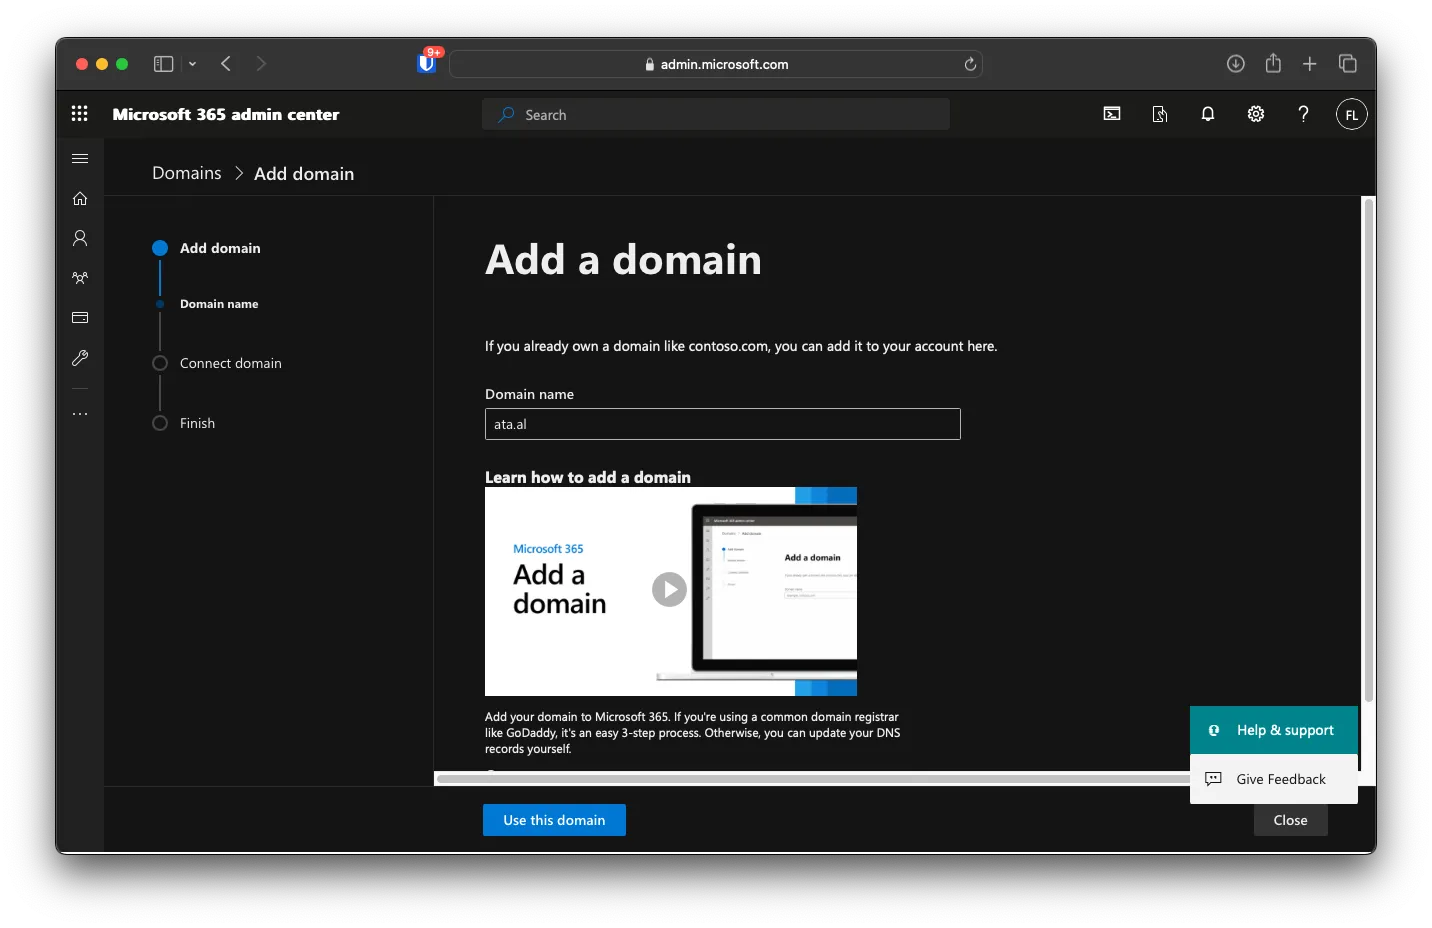
Under Microsoft 365 admin center, click Setup then Get your custom domain set up. After that, click on Get Started

Fill out your domain name, then click Use this domain.
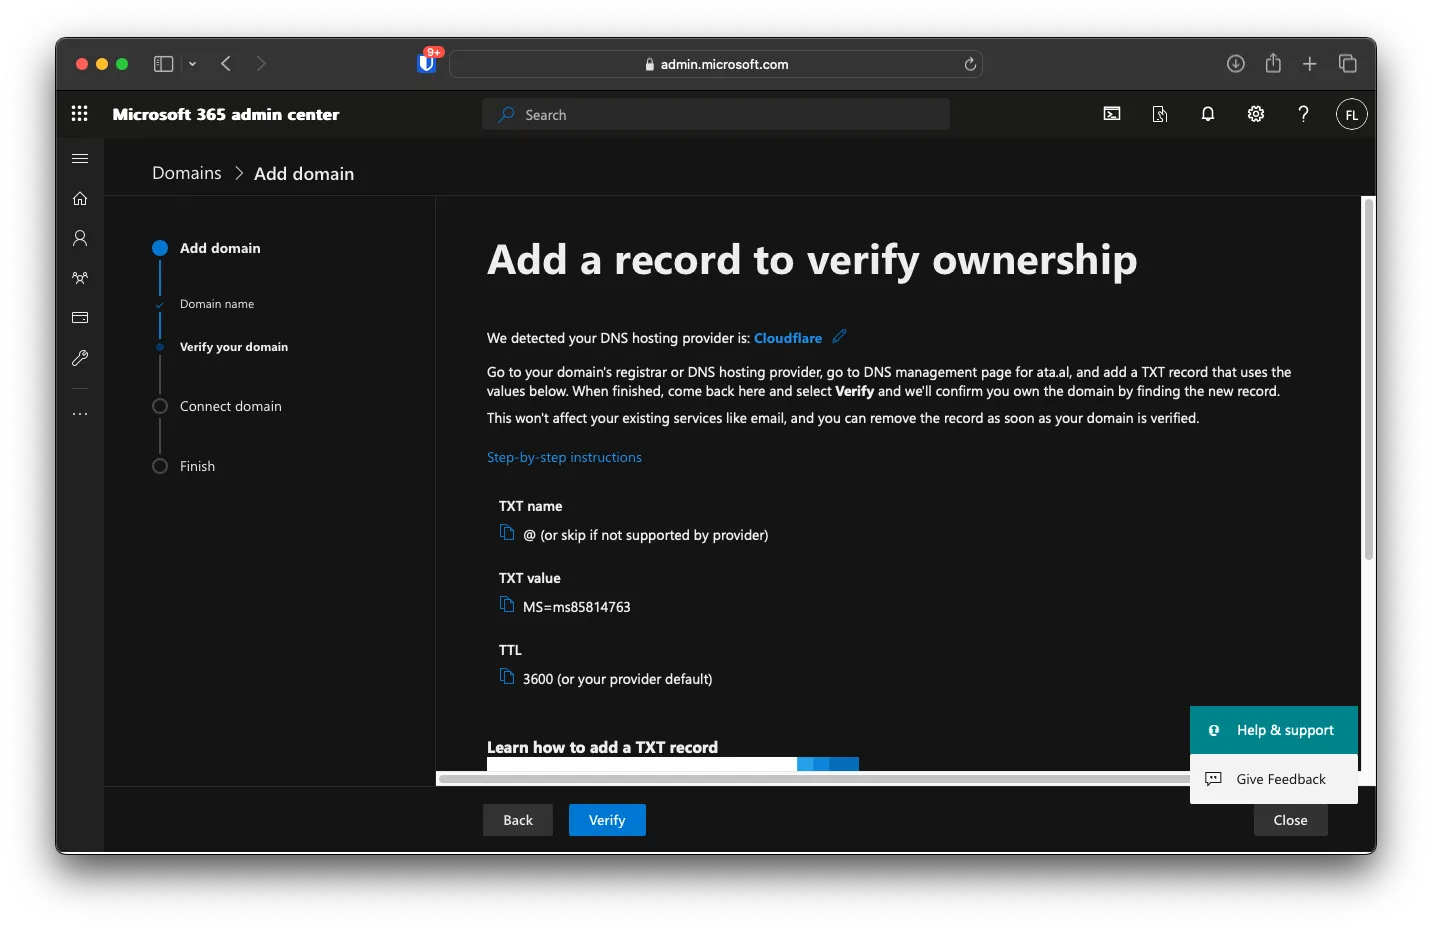
I will use a TXT record to verify domain ownership to keep the setup universal. Click on Continue.
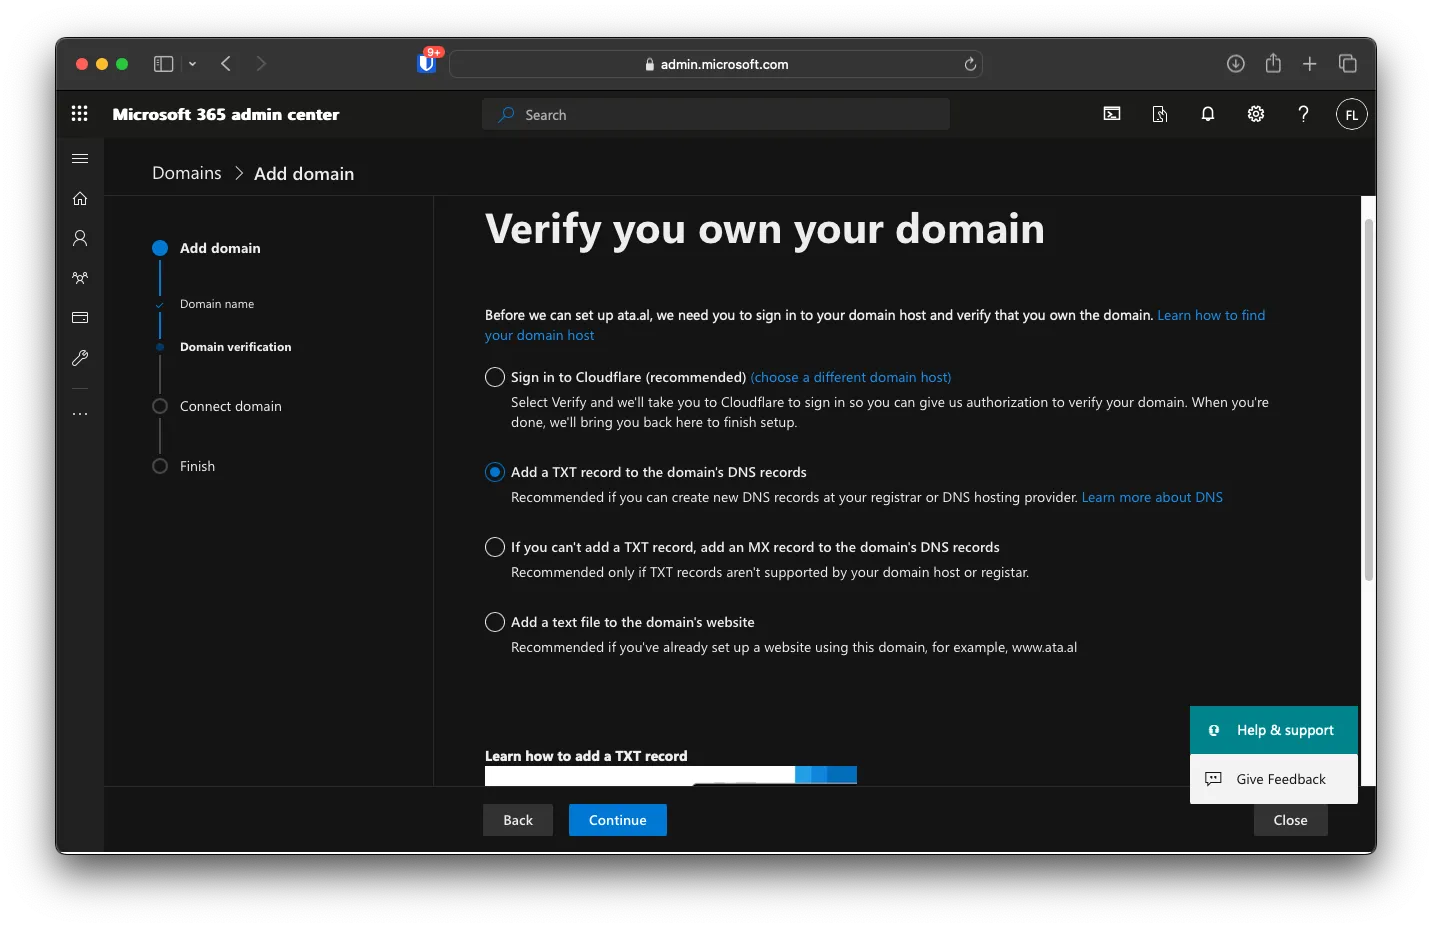
The portal will give you a value of the TXT record
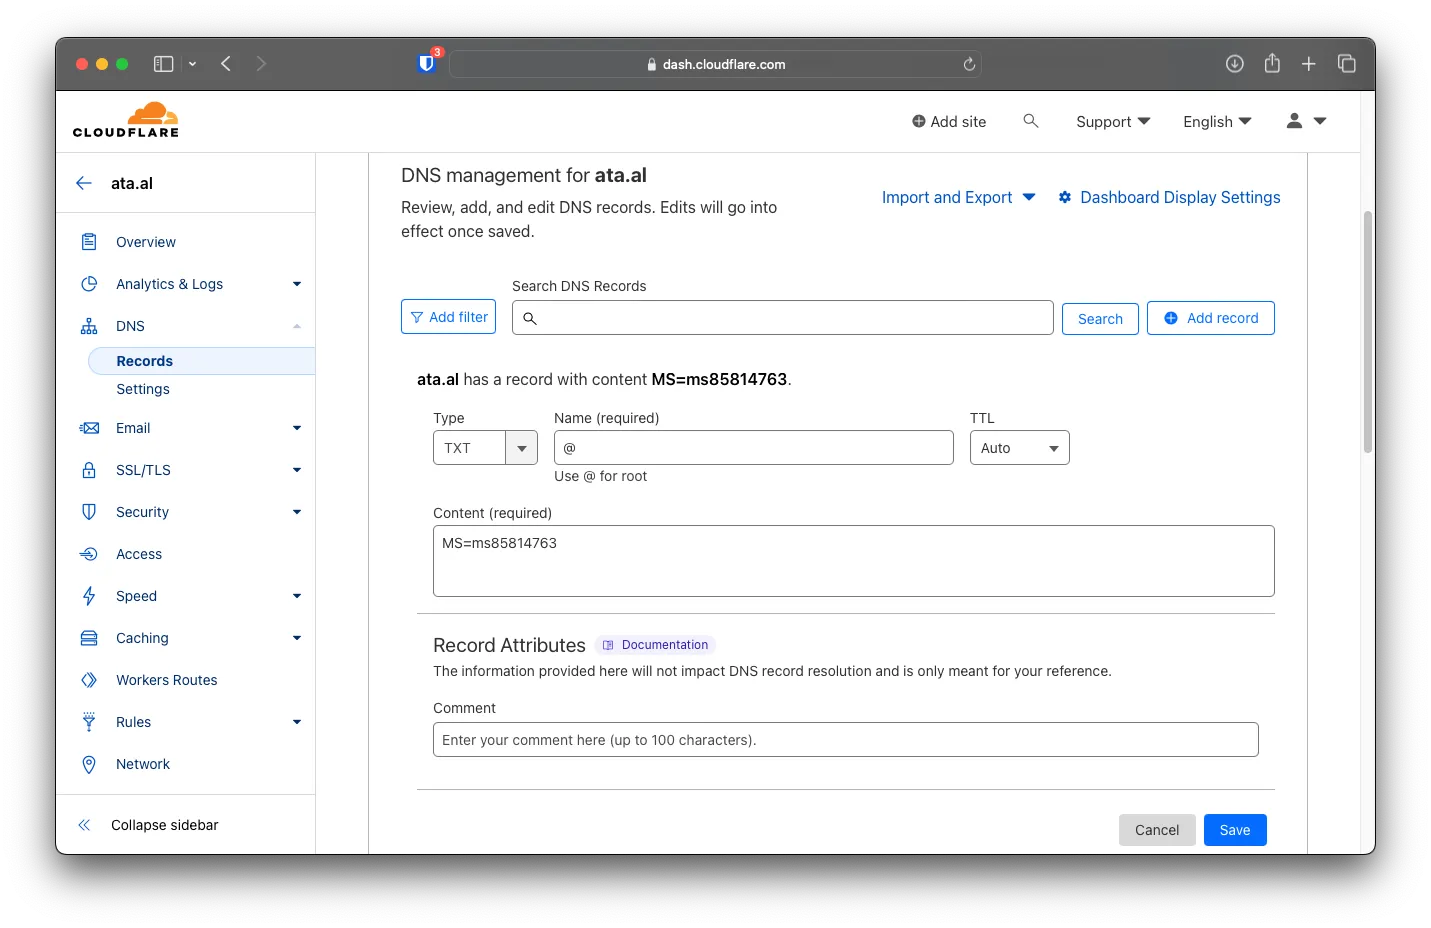
Under Cloudflare, you will add the records above
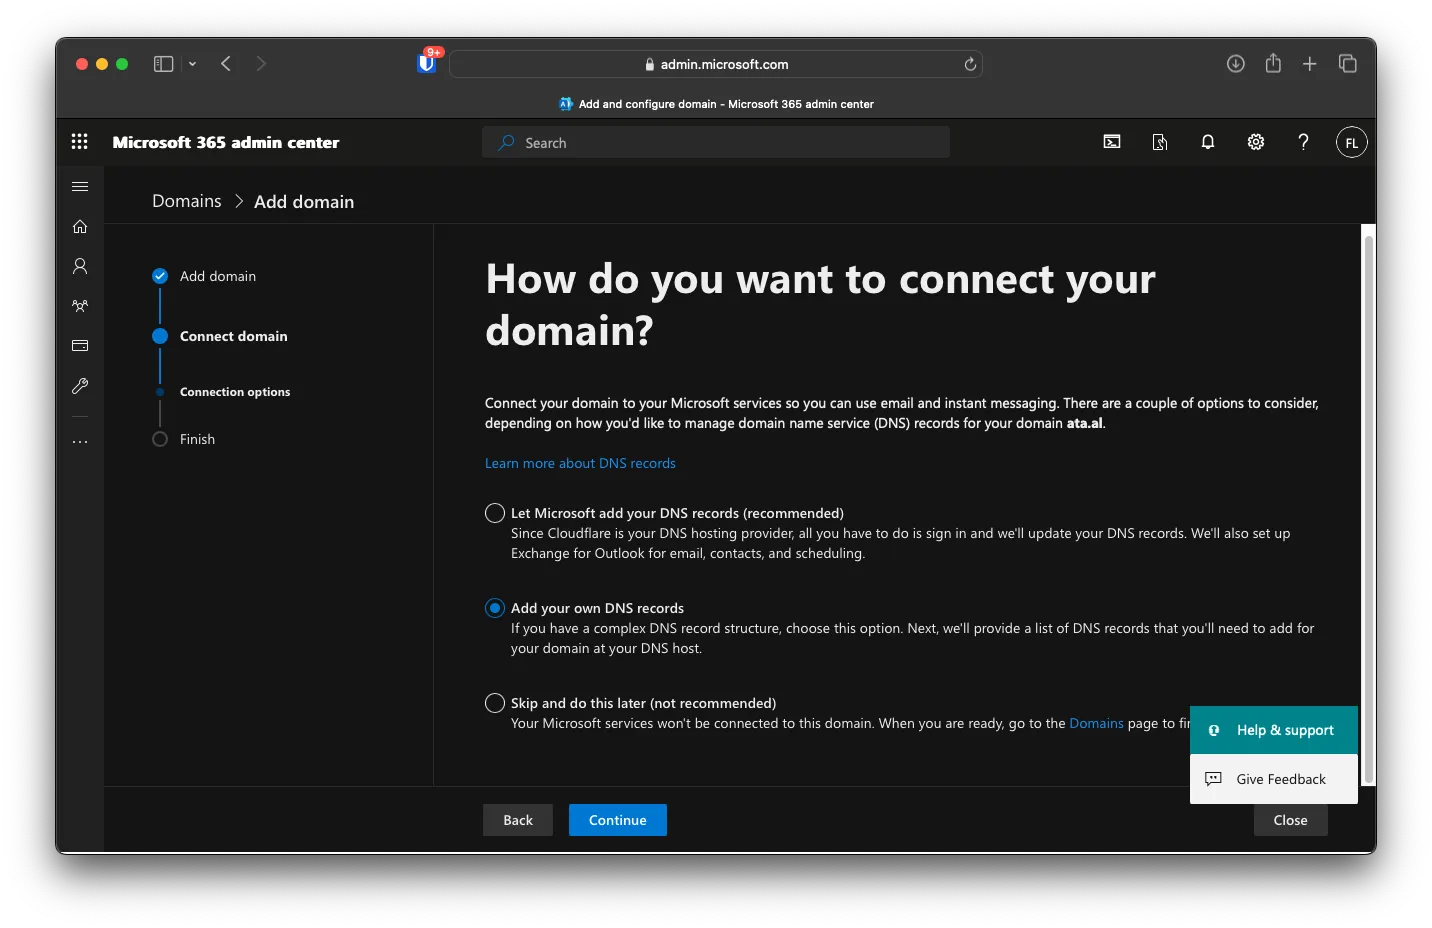
After adding the TXT records, click Verfy on the Admin Center Portal, and you will be brought to the Connection options page. I will be using the manual DNS records.
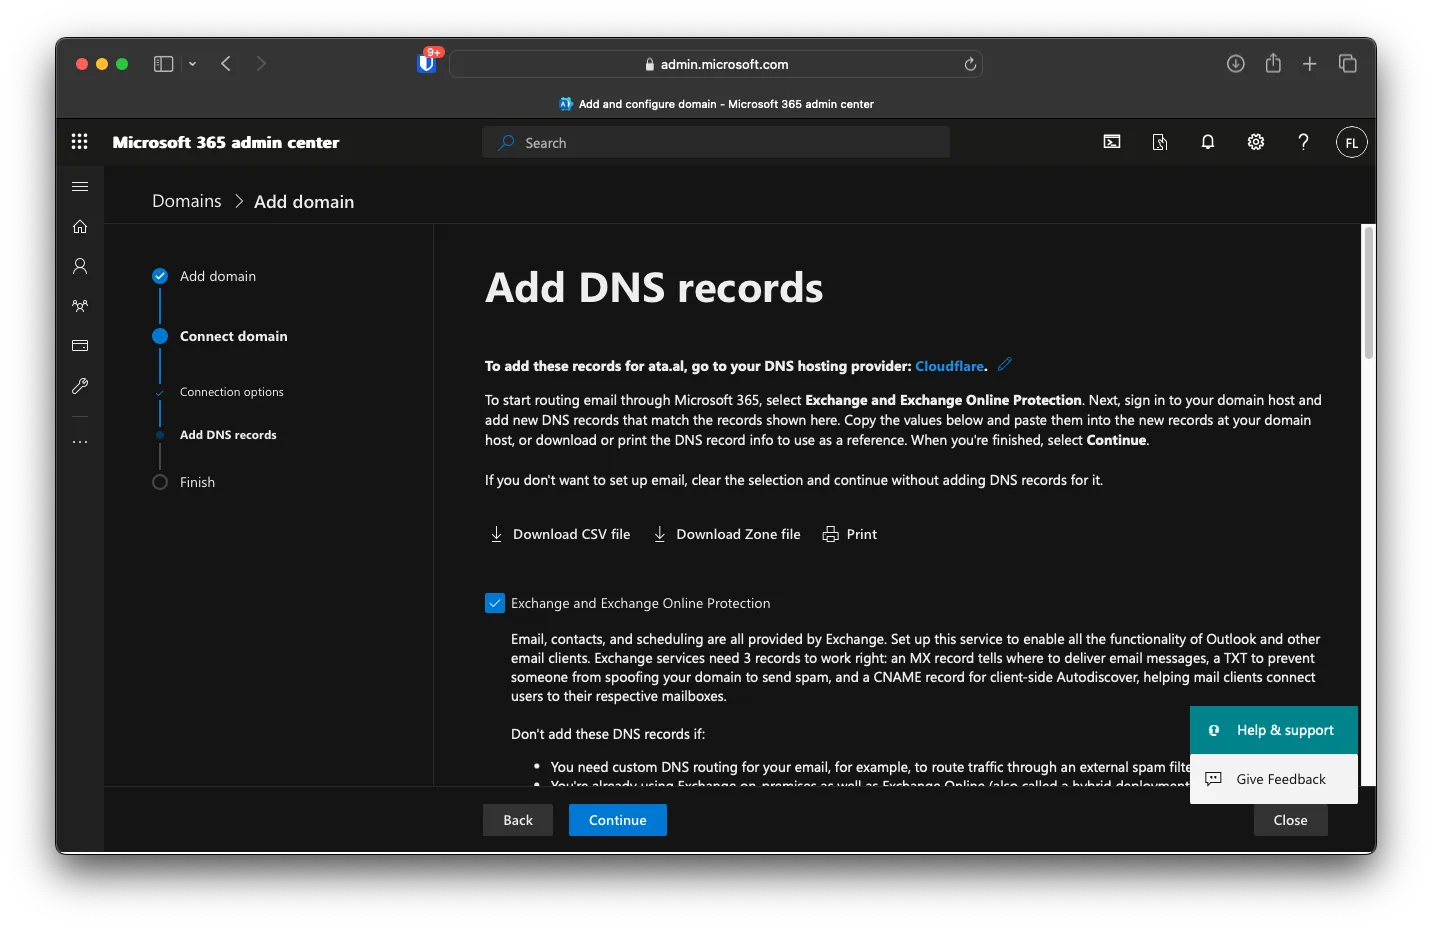
On this page, I selected all but Skype for Business, and you can click on Download Zone File to import the records to Cloudflare more easily. Before importing, one thing you will need to do is turn off email routing.
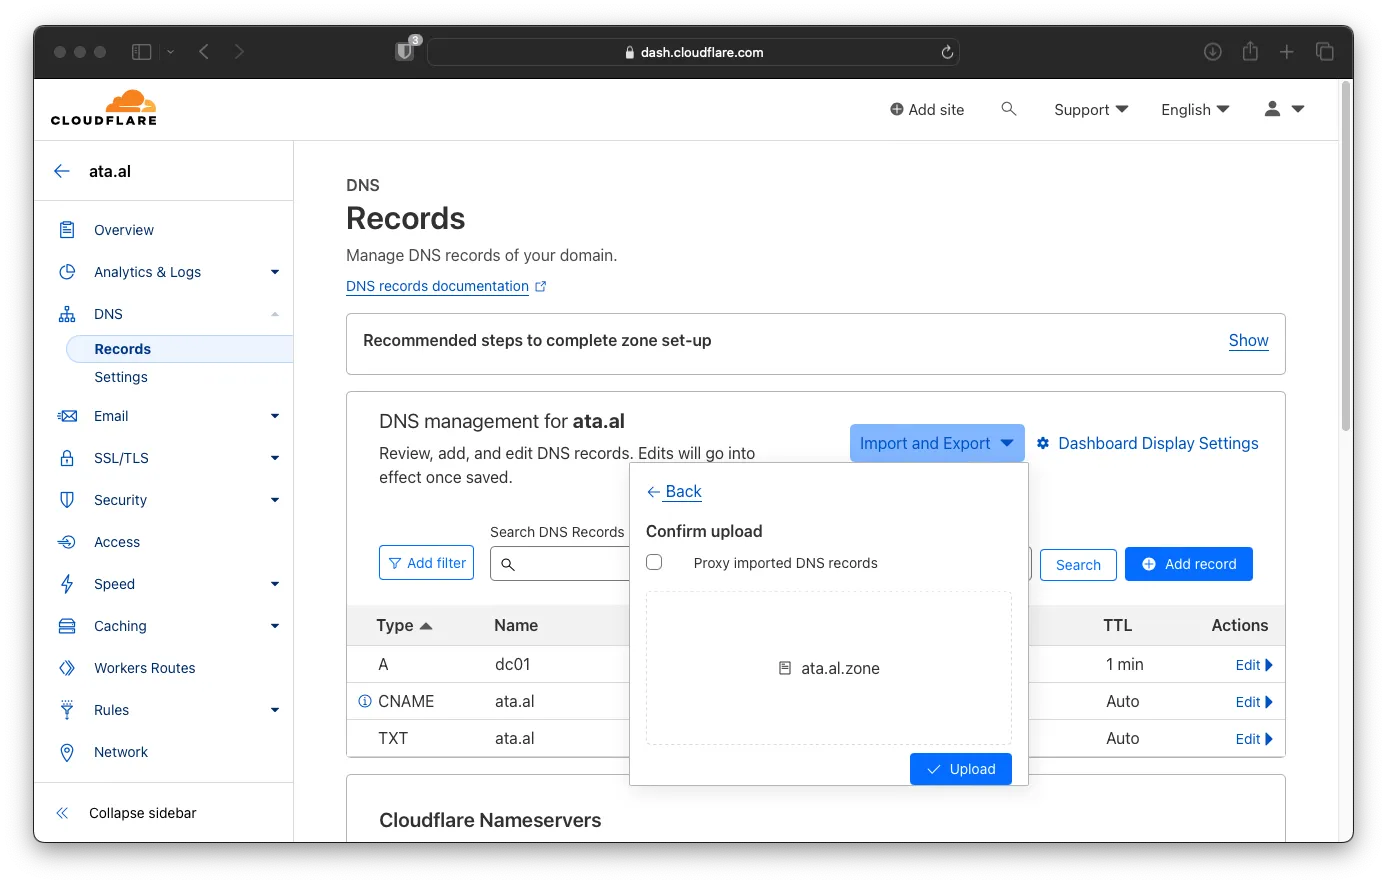
Log in to your account on Cloudflare, then go to Website -> DNS -> Records -> Import and Export, then drag the zone file from the Admin portal. after that, click on Upload
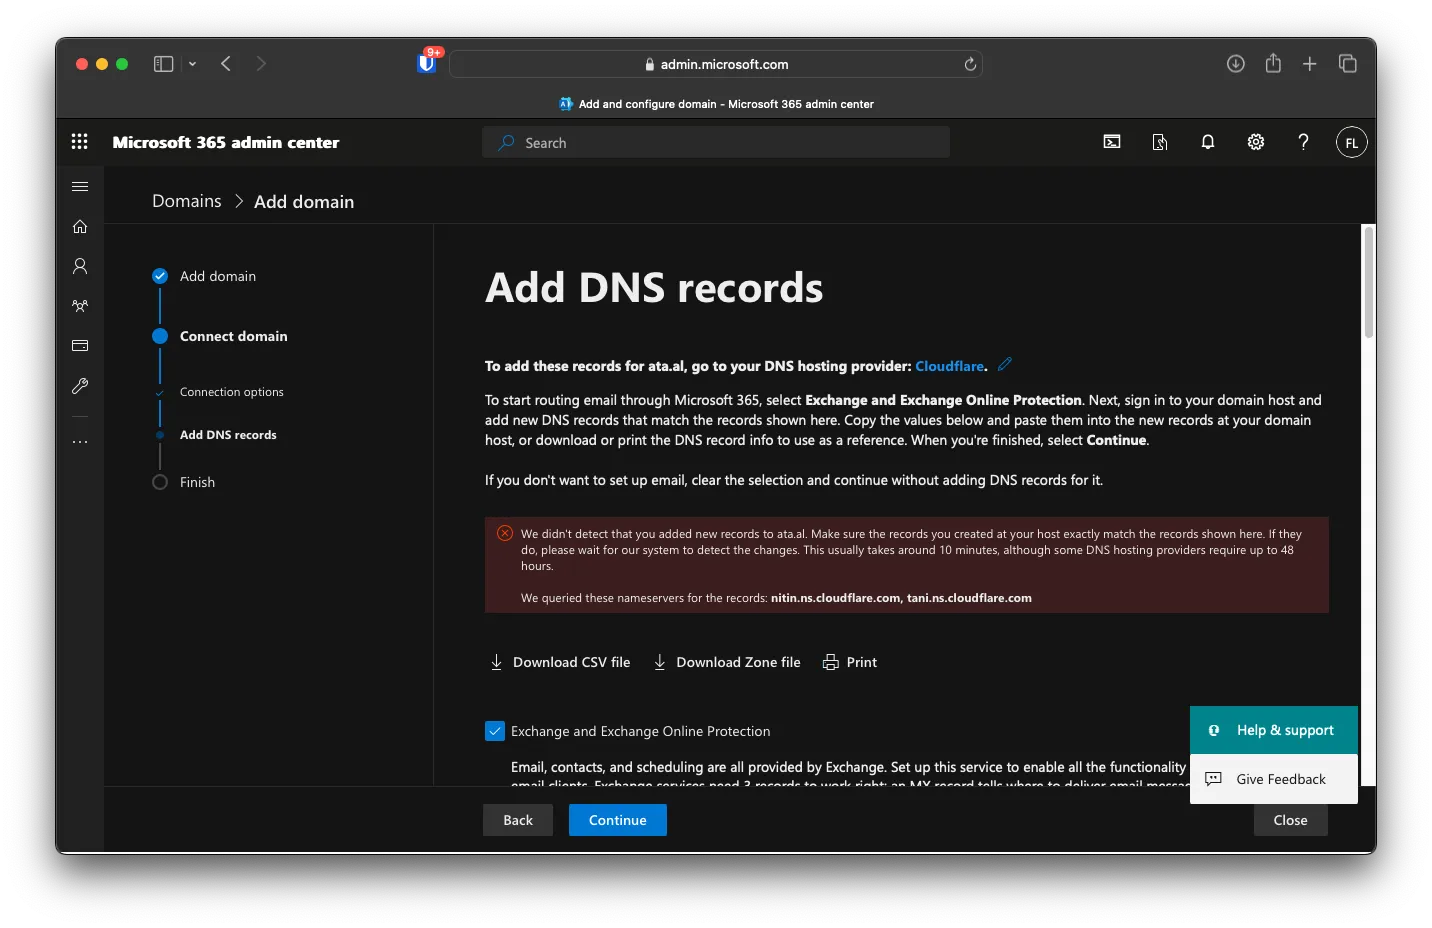
On the Admin page, click on Continue. If you get an error, try again in a couple of hours after the DNS is propagated
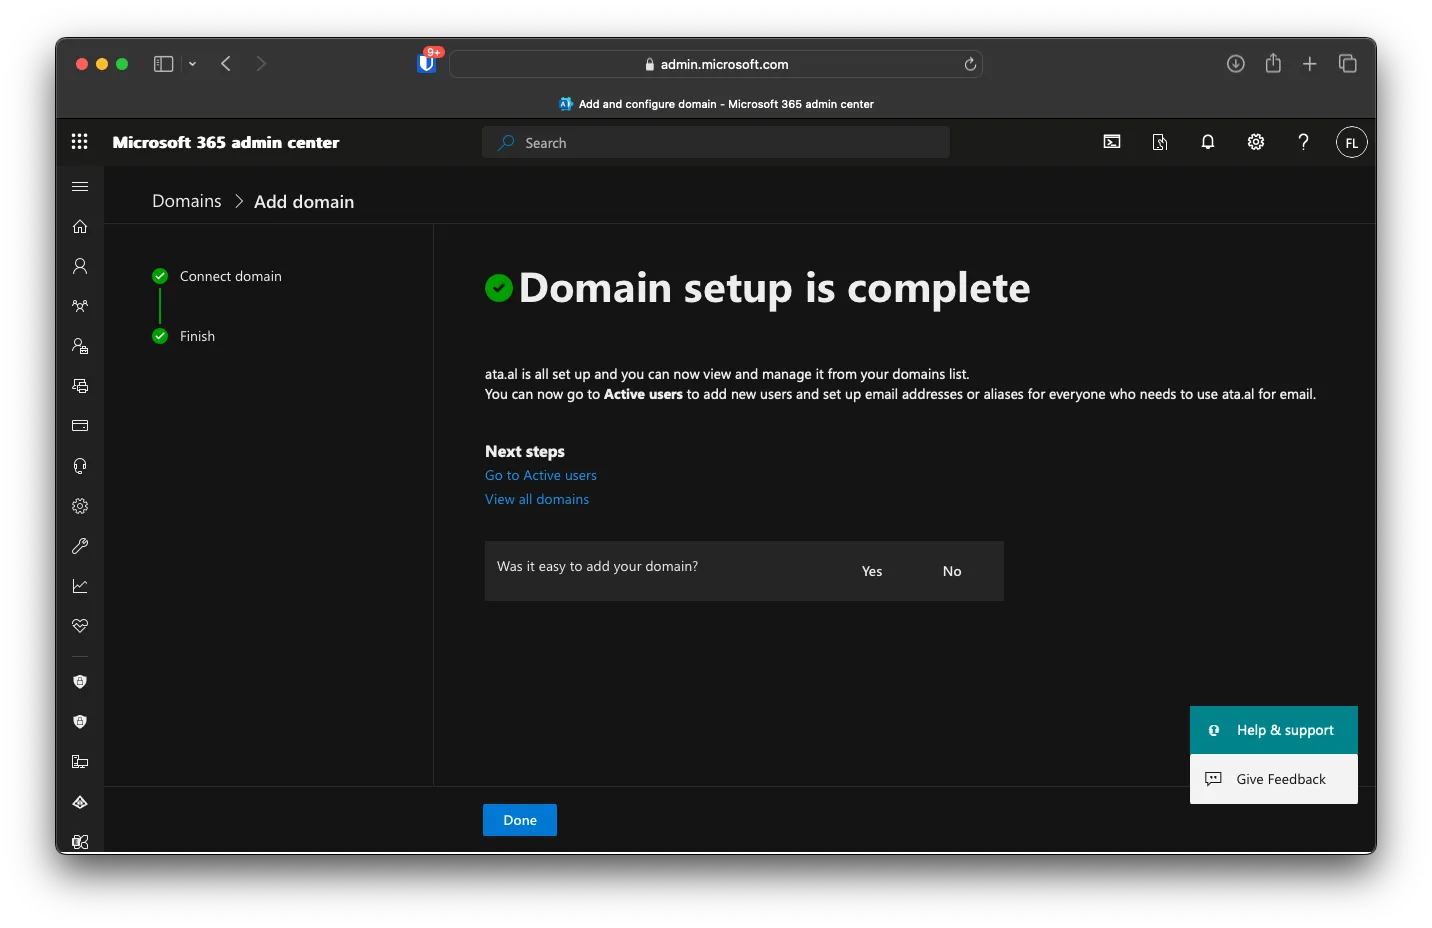
Click on Done here
Adding Primary User
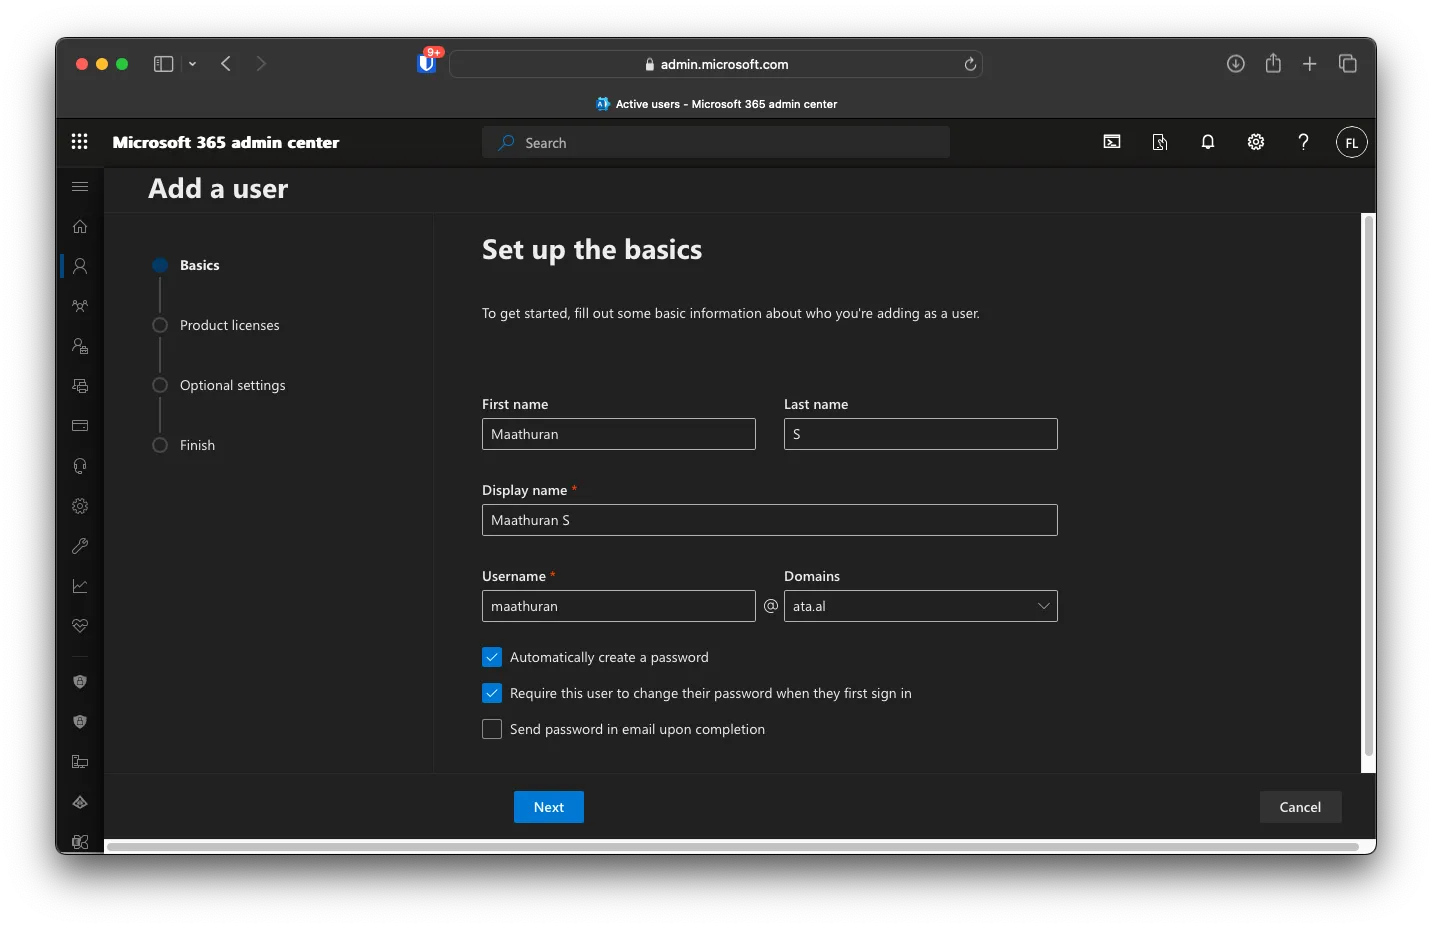
Under User -> Active User, click Add a User. Then, fill out all the required data
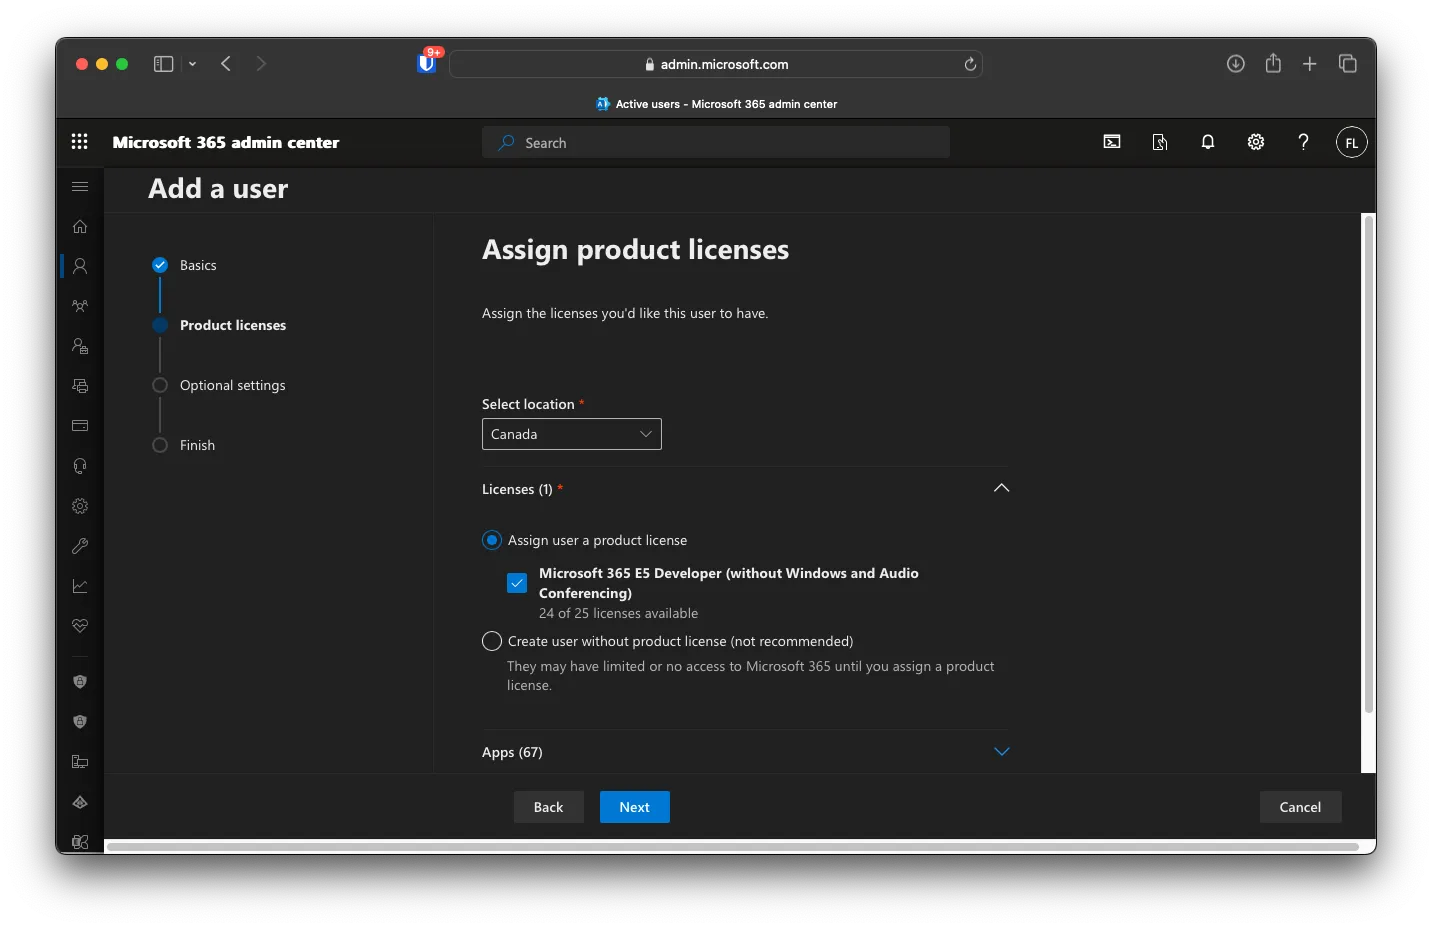
Add the E5 Licence, then click on Next.
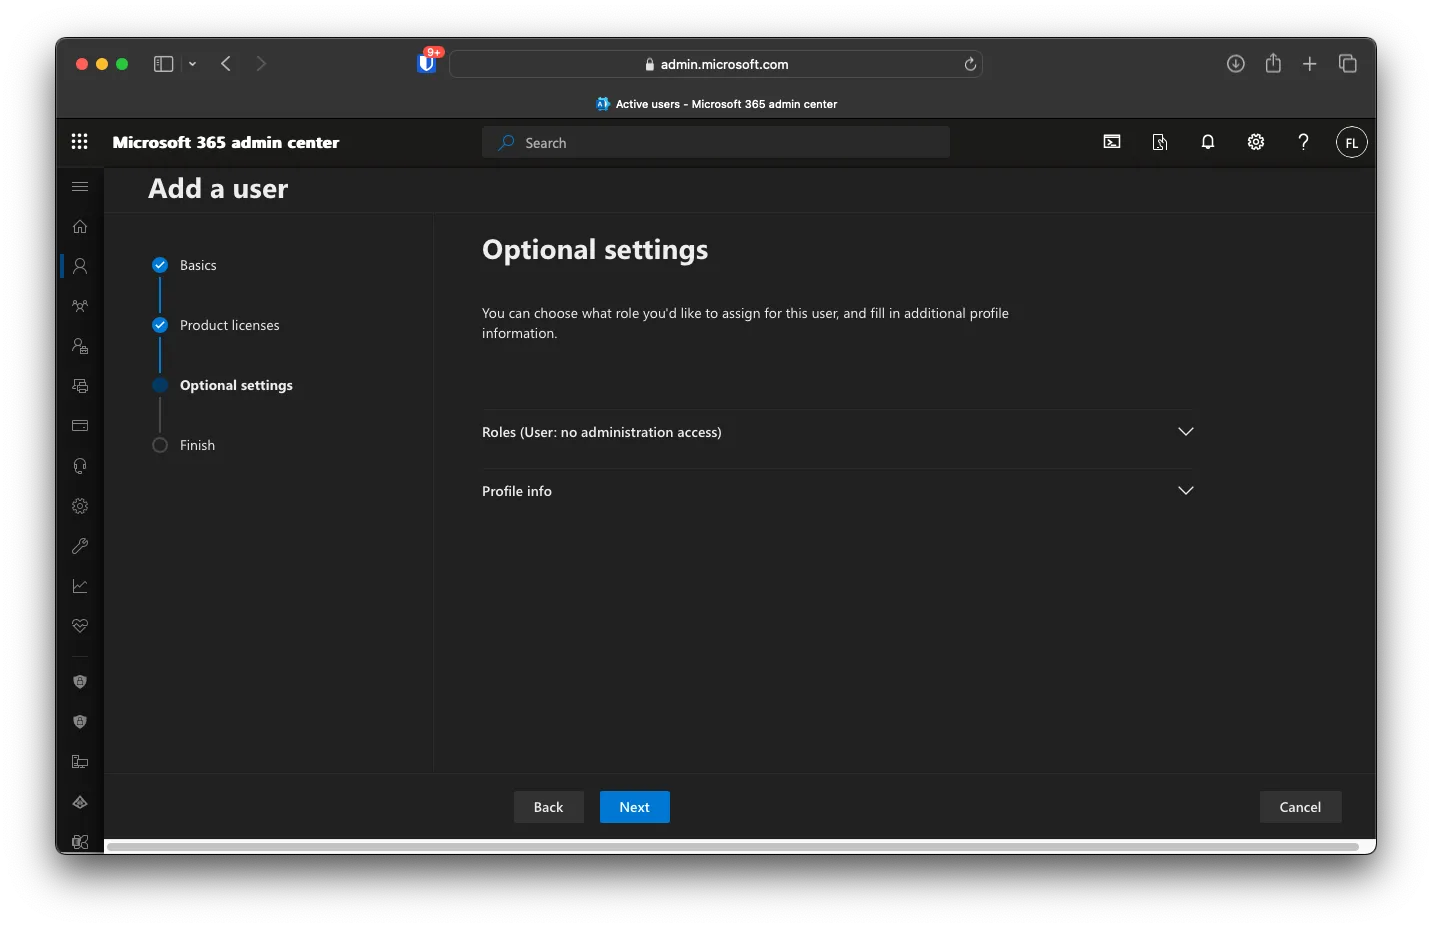
Skip the Optional Settings and click Next.
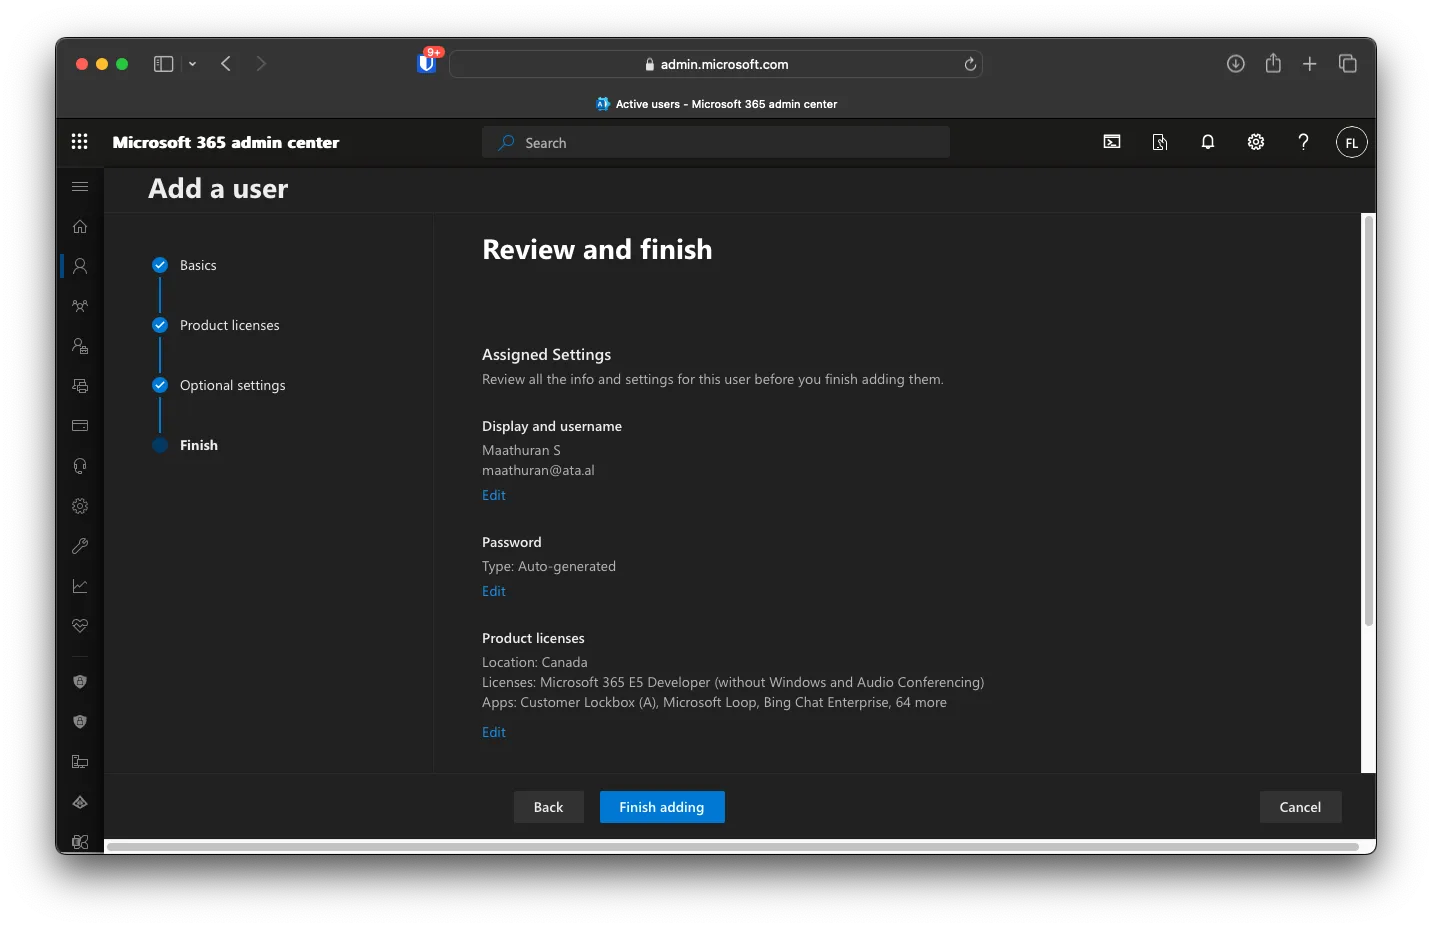
At the Last screen, click Finish Adding.
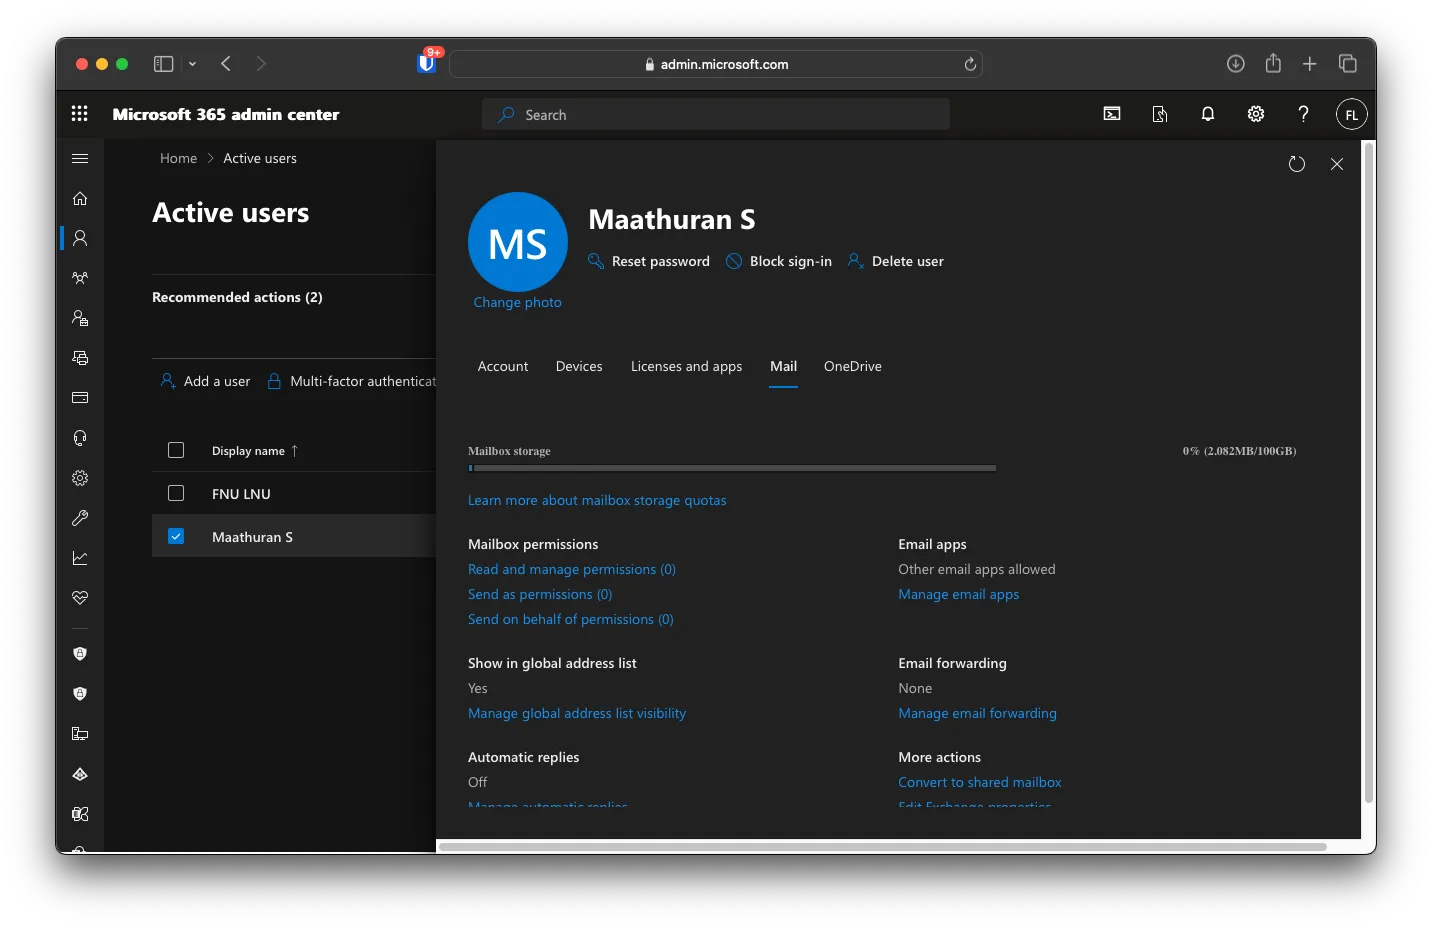
You should be able to see the new user created now
Password Huj701091
Creating a Catch all Mailbox
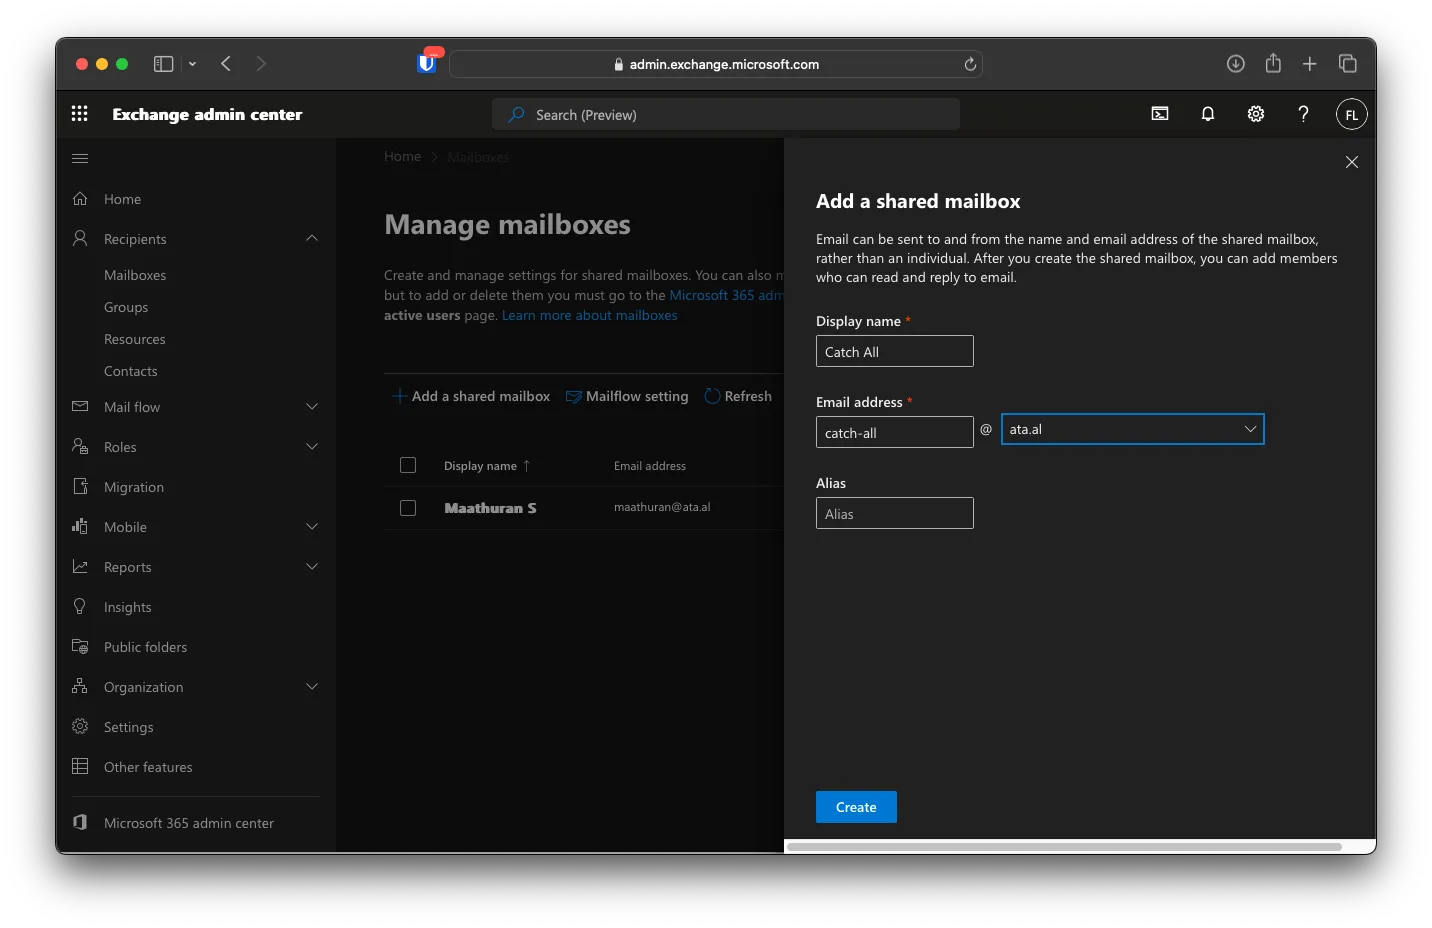
Under Exchange admin center, click Recipients -> Mailboxes -> Add a shared mailbox. Call it Catch All with the email [email protected]. After that, click on Create. It might take a minute to make the shared mailbox.
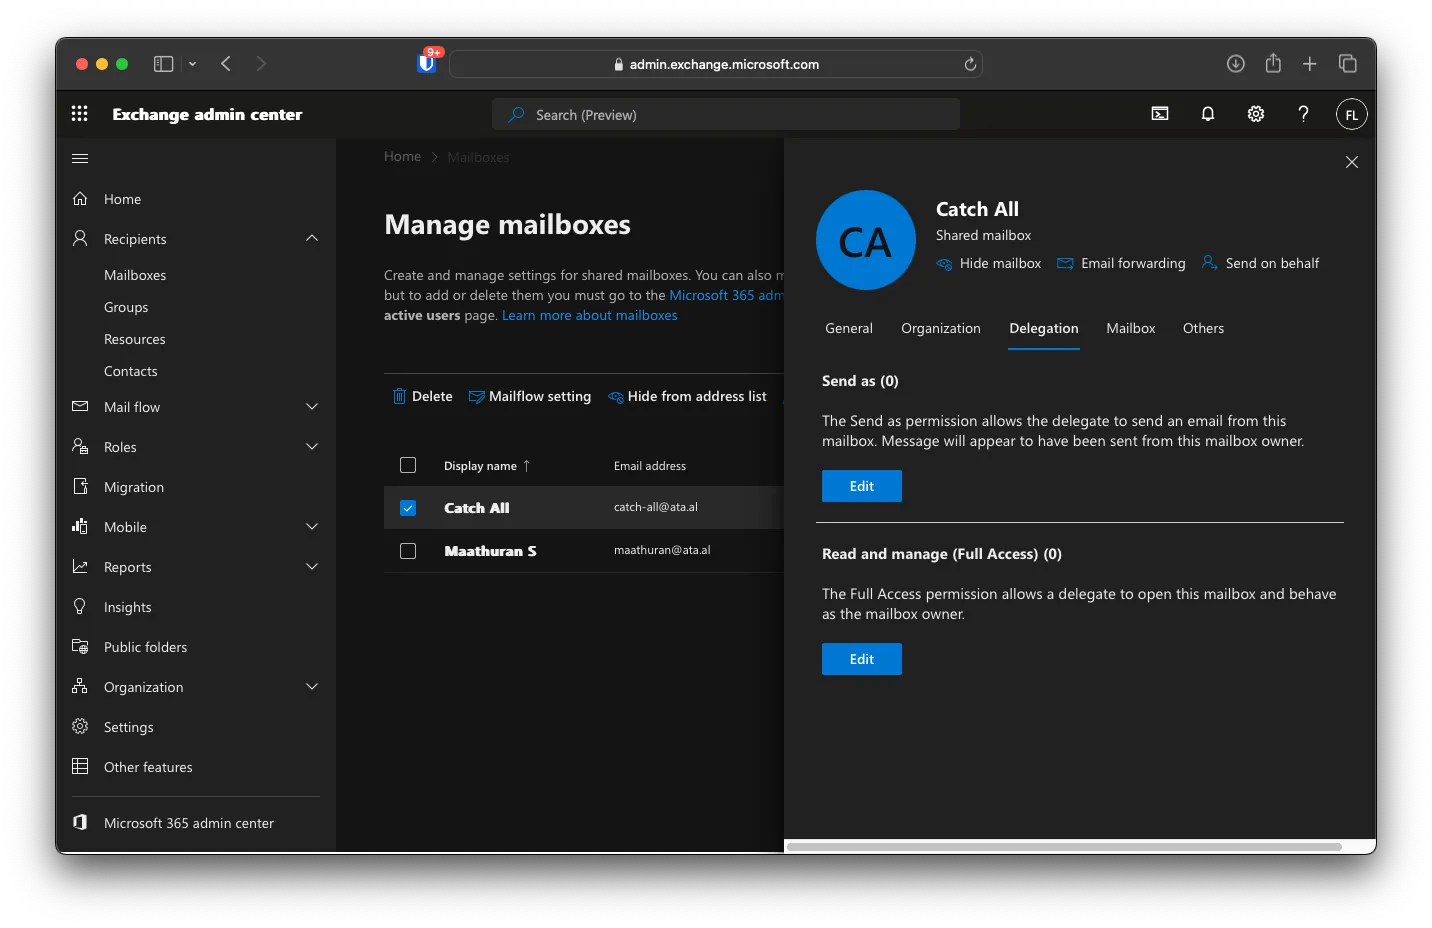
After creating the shared mailbox, click on it, then Selegations -> Read and Manege (Full Access) and add your mailbox.
Dynamic Distrubutiun Group
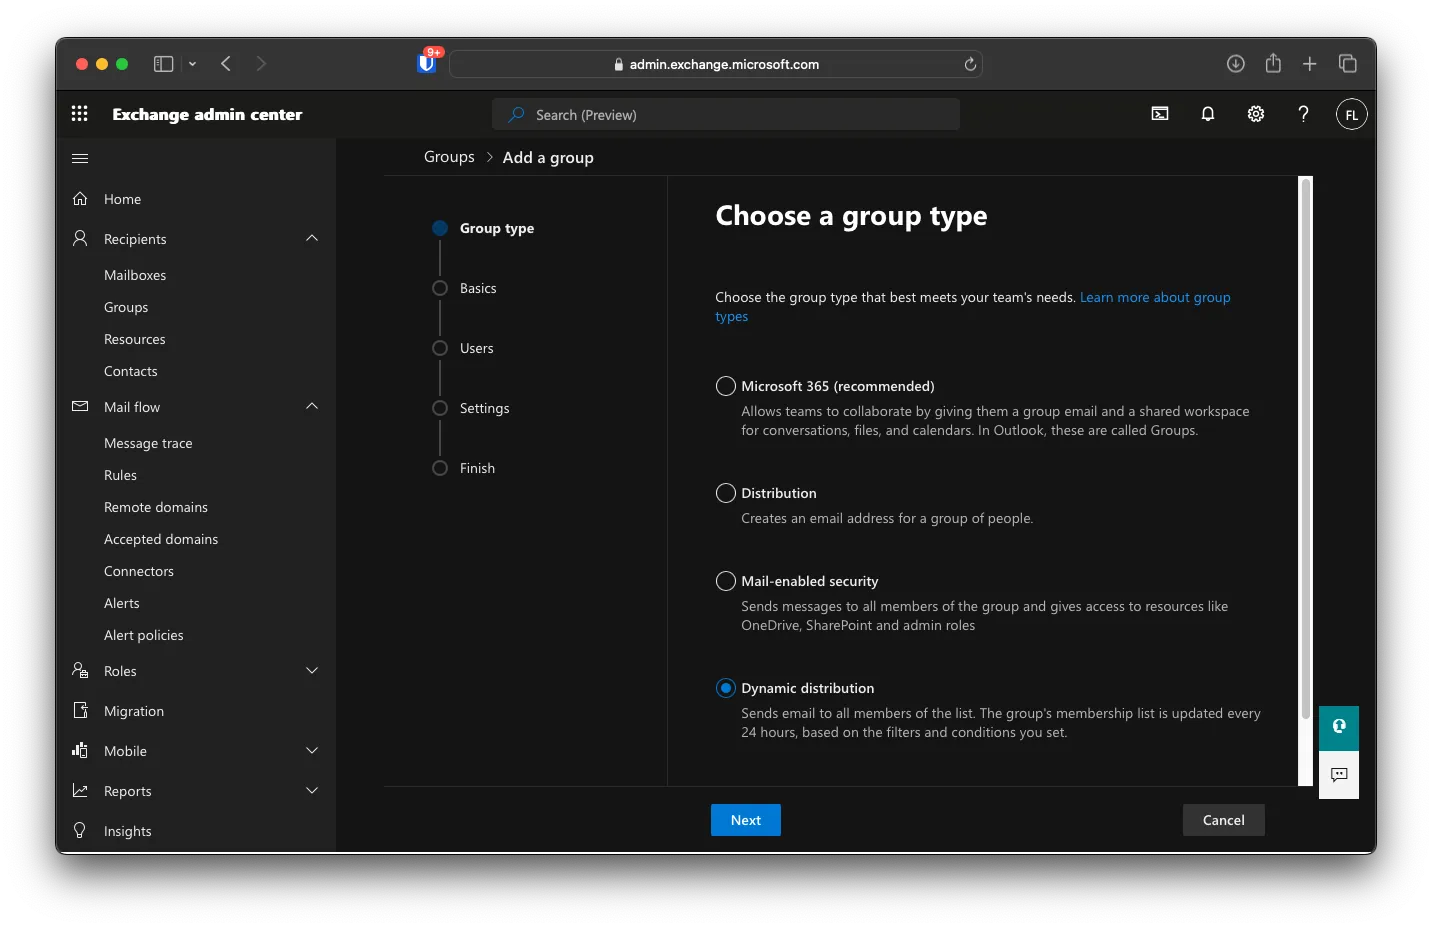
Under Recipients -> Group, click add a group, then select Dynamic Distribution.
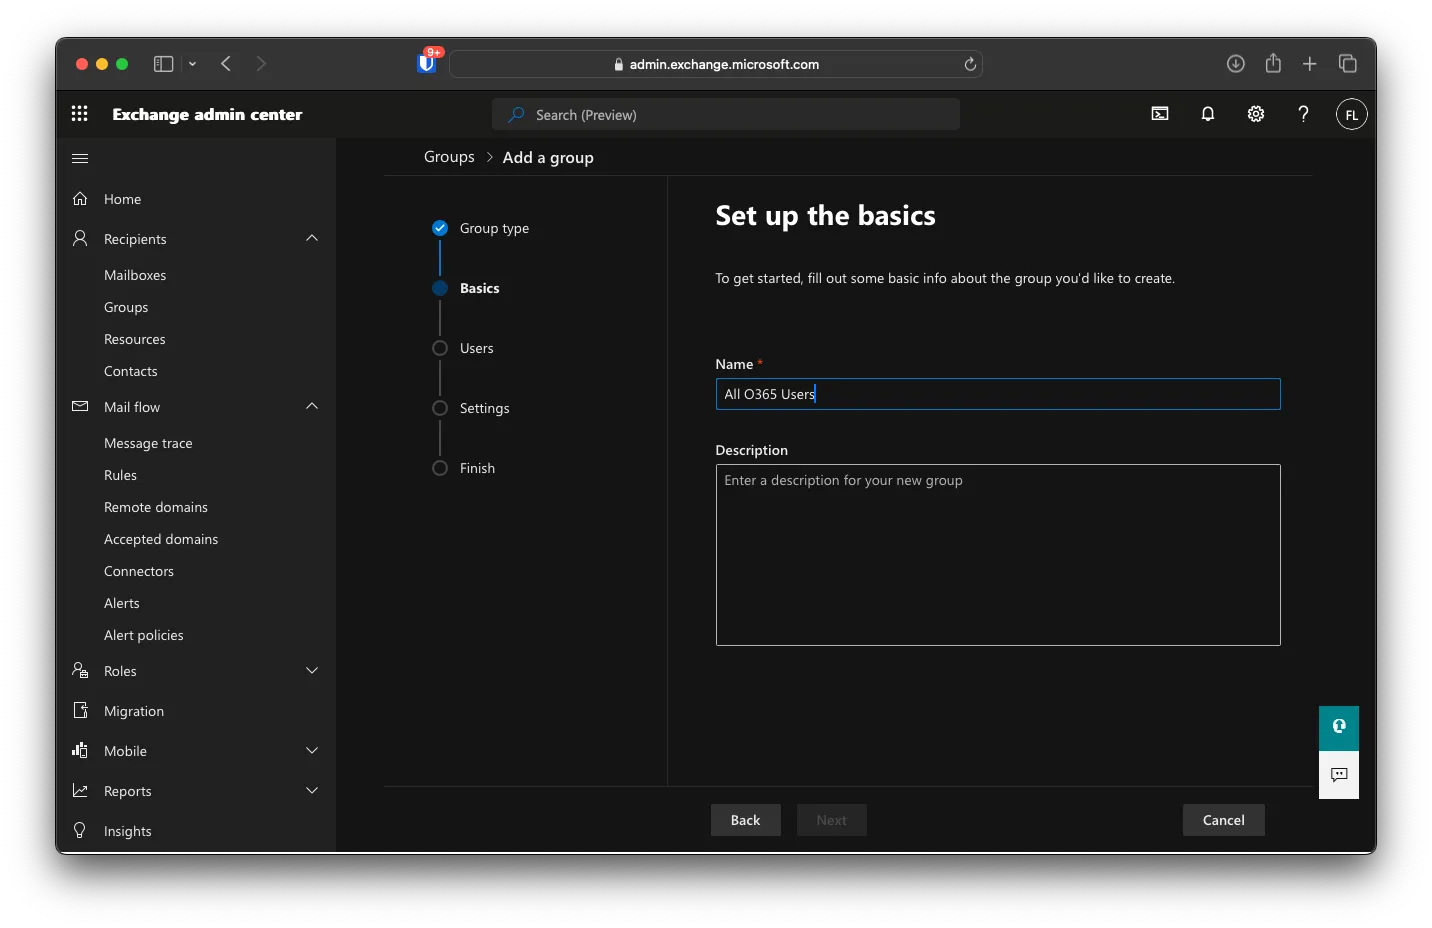
You can call it All O365 Users, then Next.
For Members, select All Recipients, then Next.
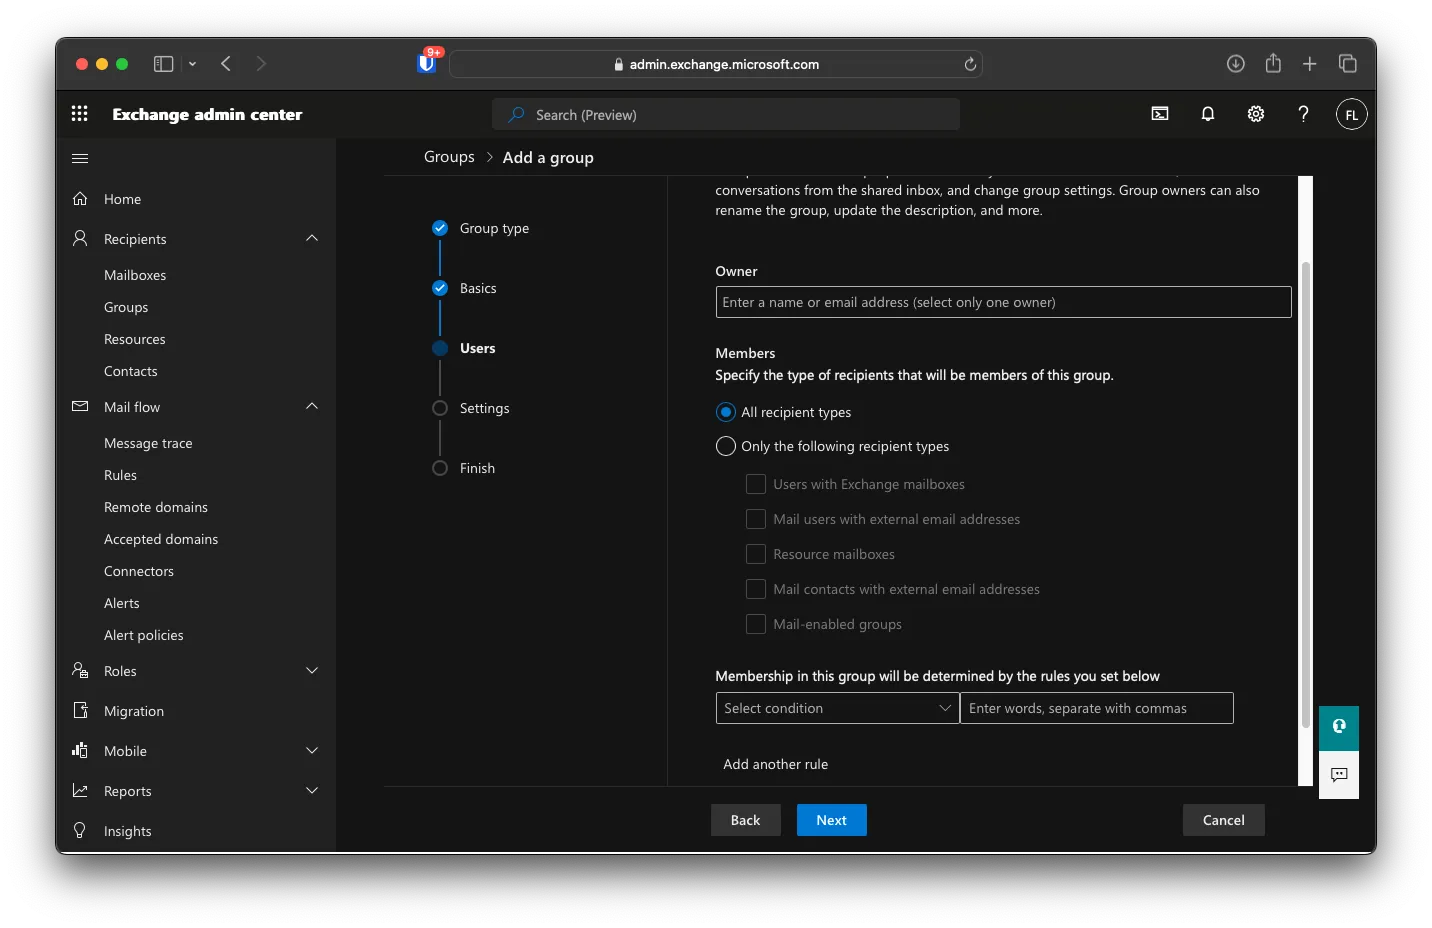
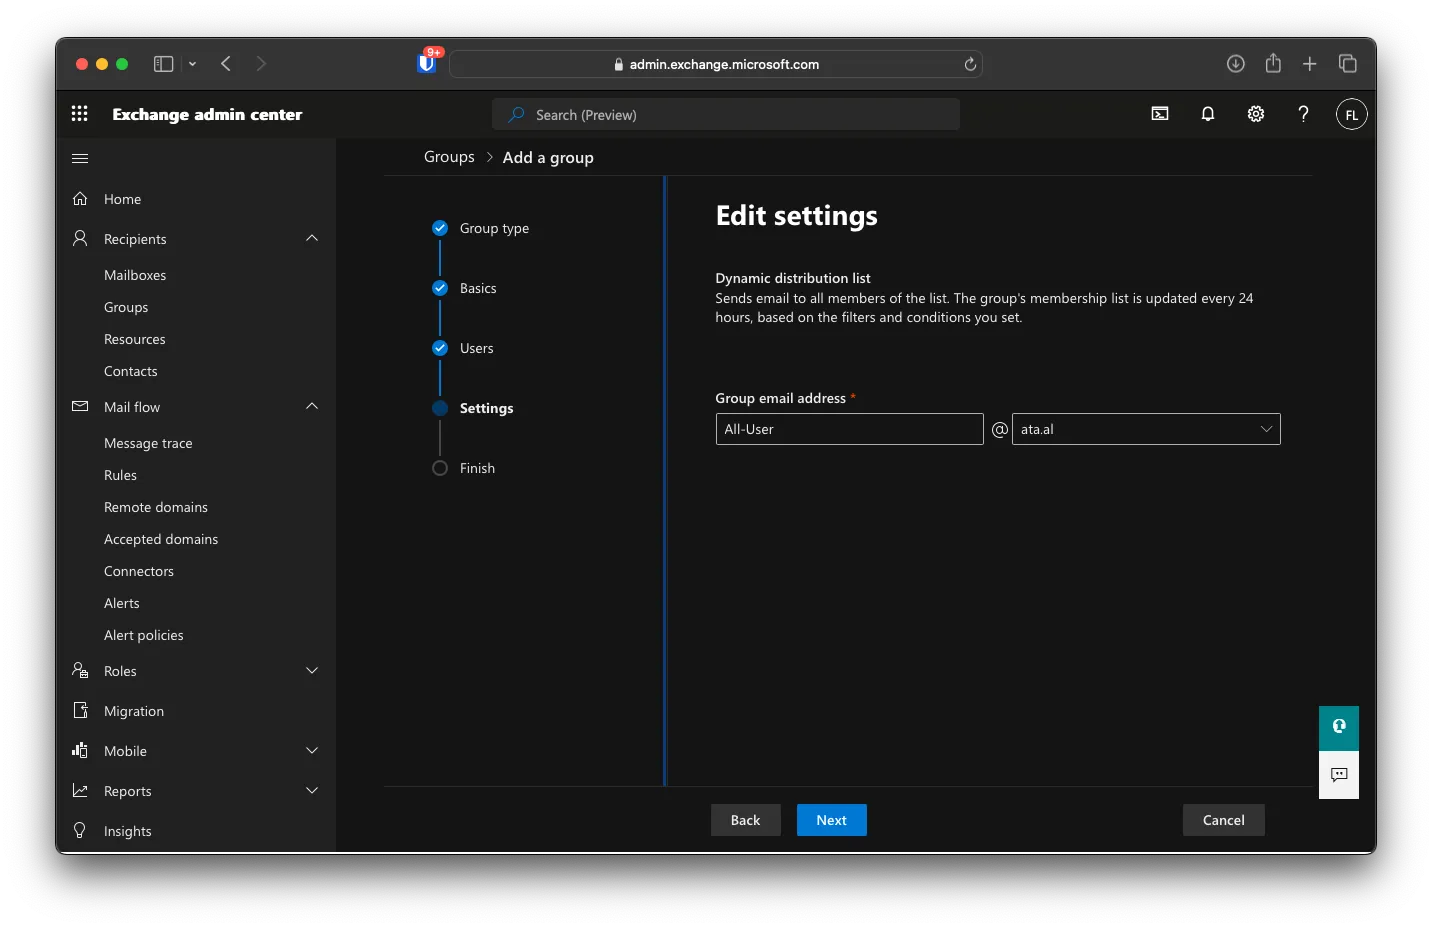
Under Edit settings, you can put [email protected] as the Group email address, then click Next.
You will be brought to a review screen. Click on Create Group
![]()
Click on Close after
Changing mail flow to not drop unknown mail
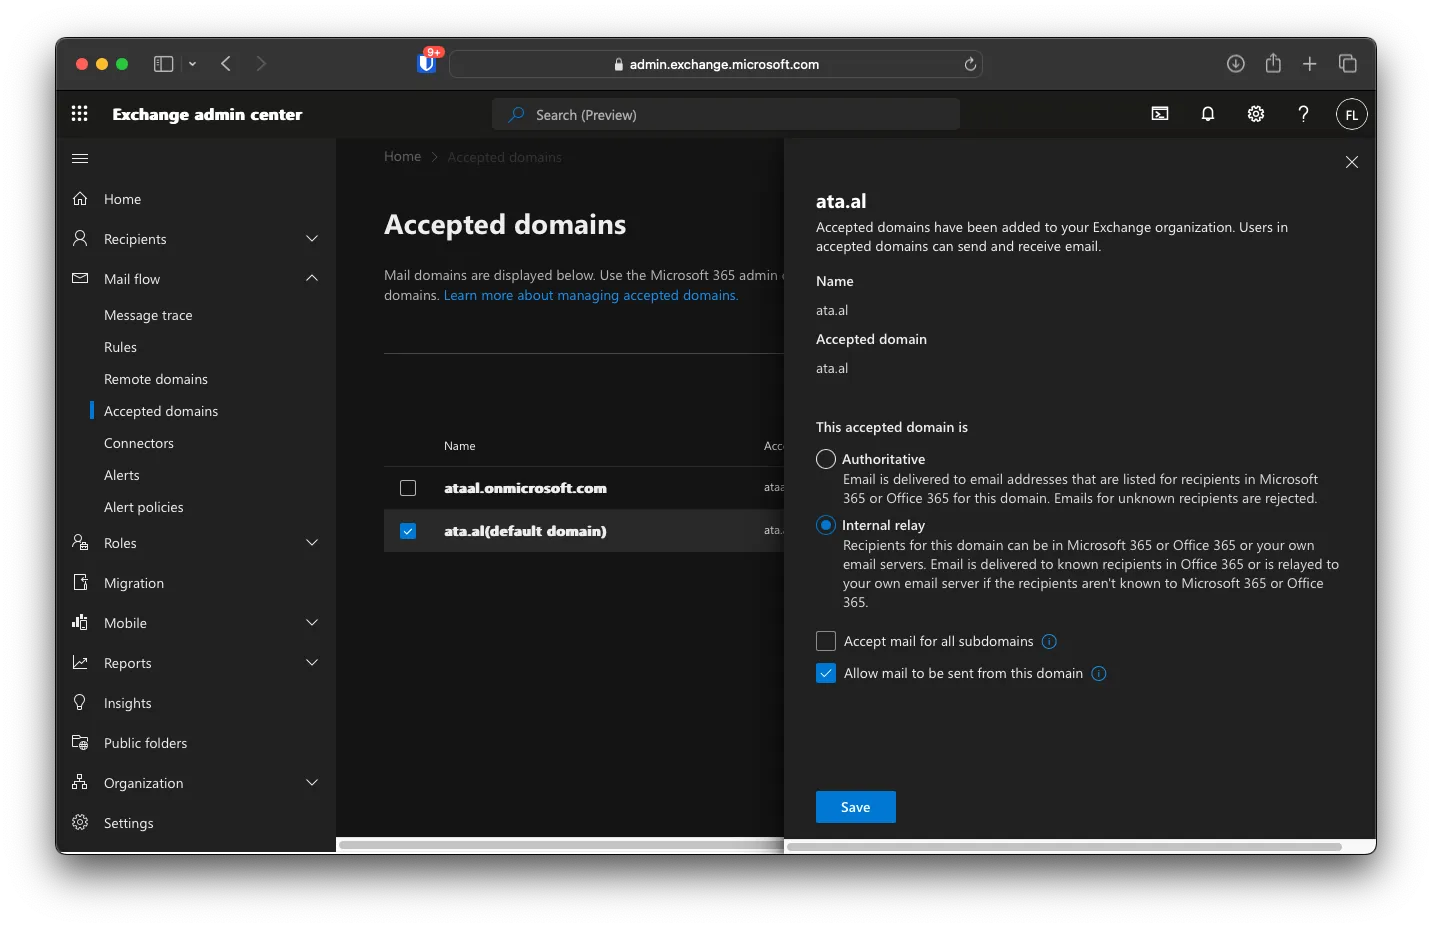
Under Mail Flow -> Accepted Domains, click on your primary domain, then change This accepted domain is Authoritative to Internal relay, then click on Save.
Mail Transport Rule
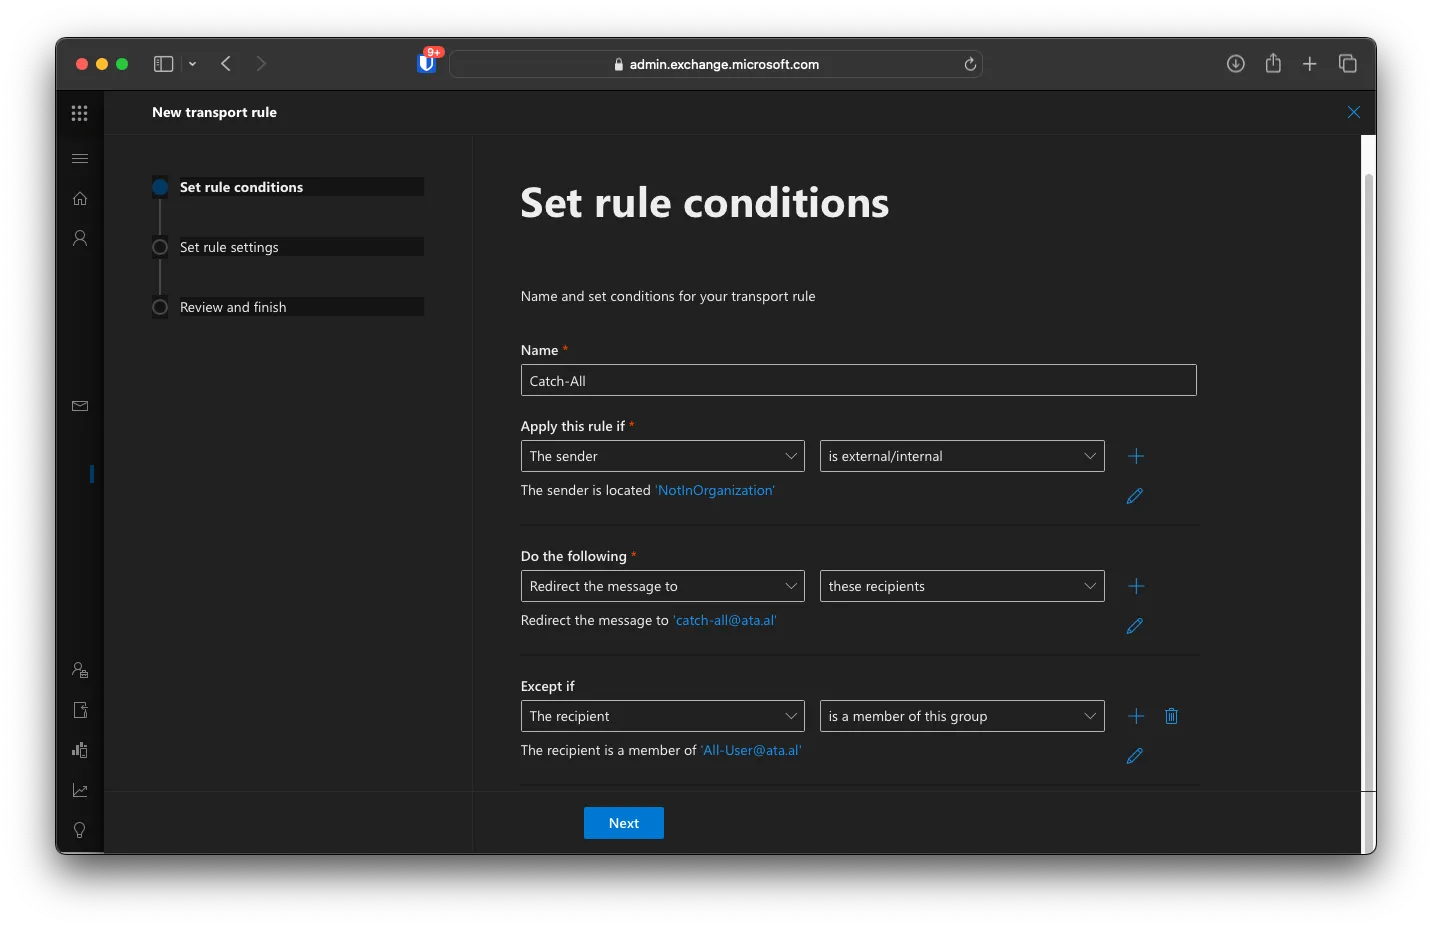
Under Mail Flow -> Rules, click Add a rule, then Create a new rule and call it Catch-All. For Apply this rule if, set it to the sender -> is external/internal, and the sender is NotInOrganization. Set Do the following to Redirect the message to -> these recipients and Redirect the message to [email protected]. for Except if -> The Recipient -> is a member of this group and select the dynamically created distribution list [email protected]. Like the image below, then click on Next.
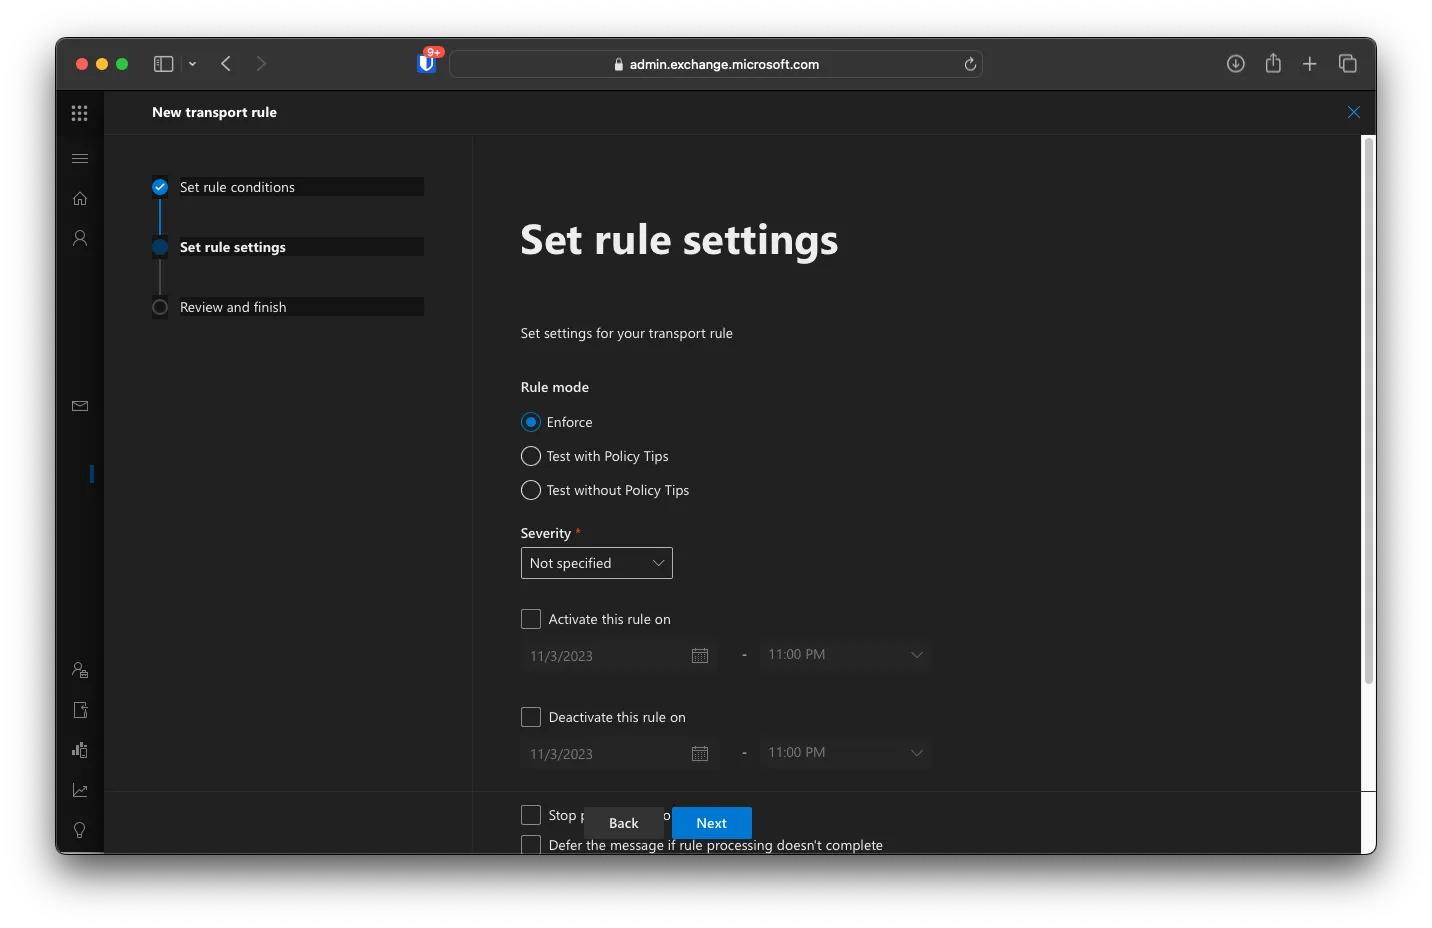
For Set Rule Setting, keep everything the same and click Next.
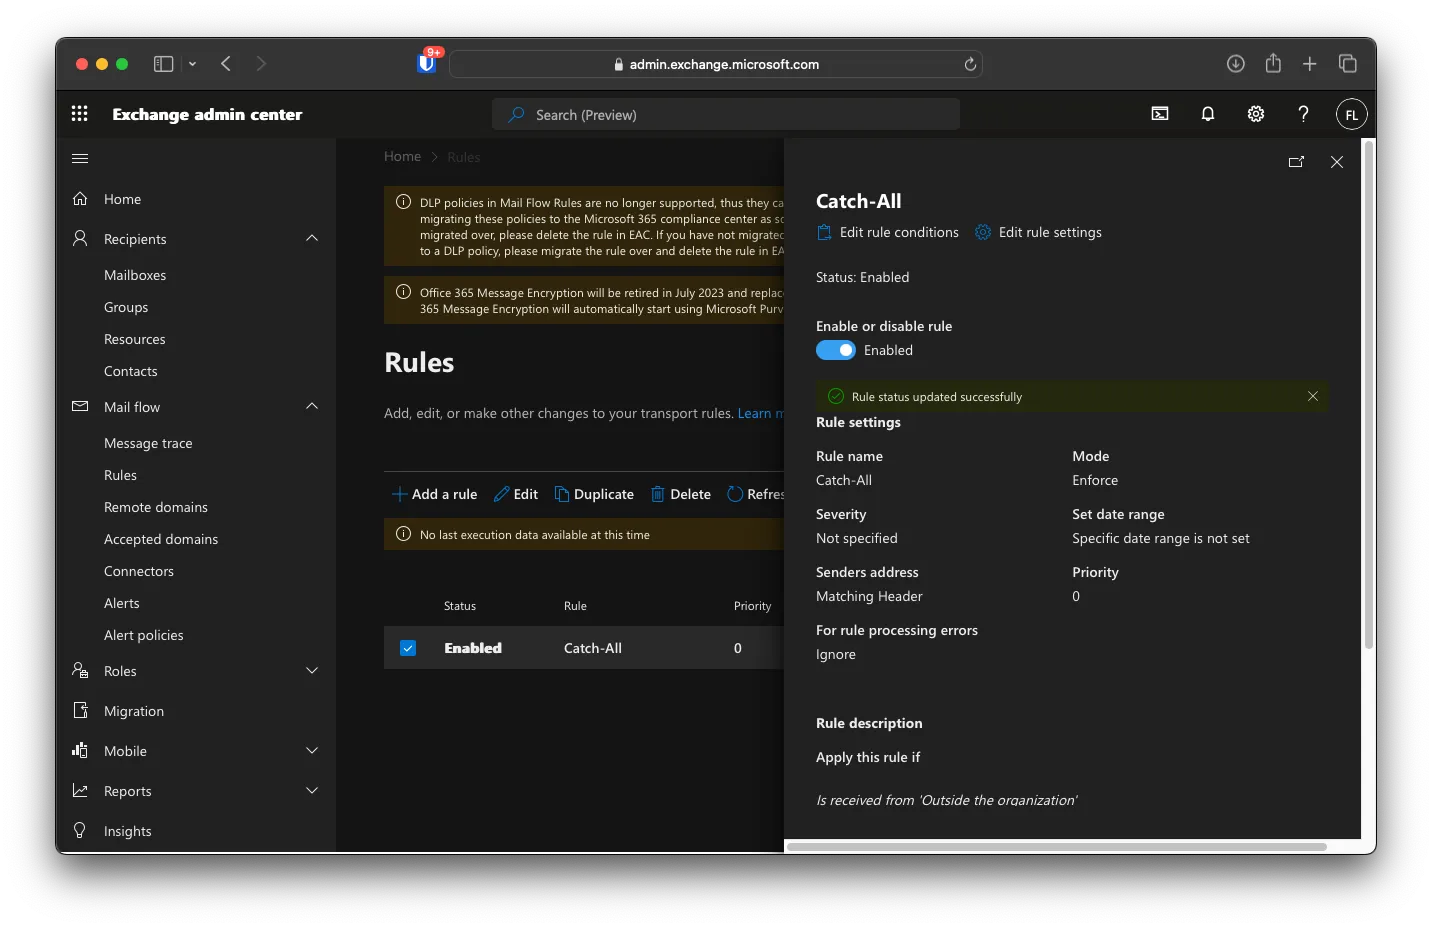
Click Finish then Done. After that, enable the new Rule
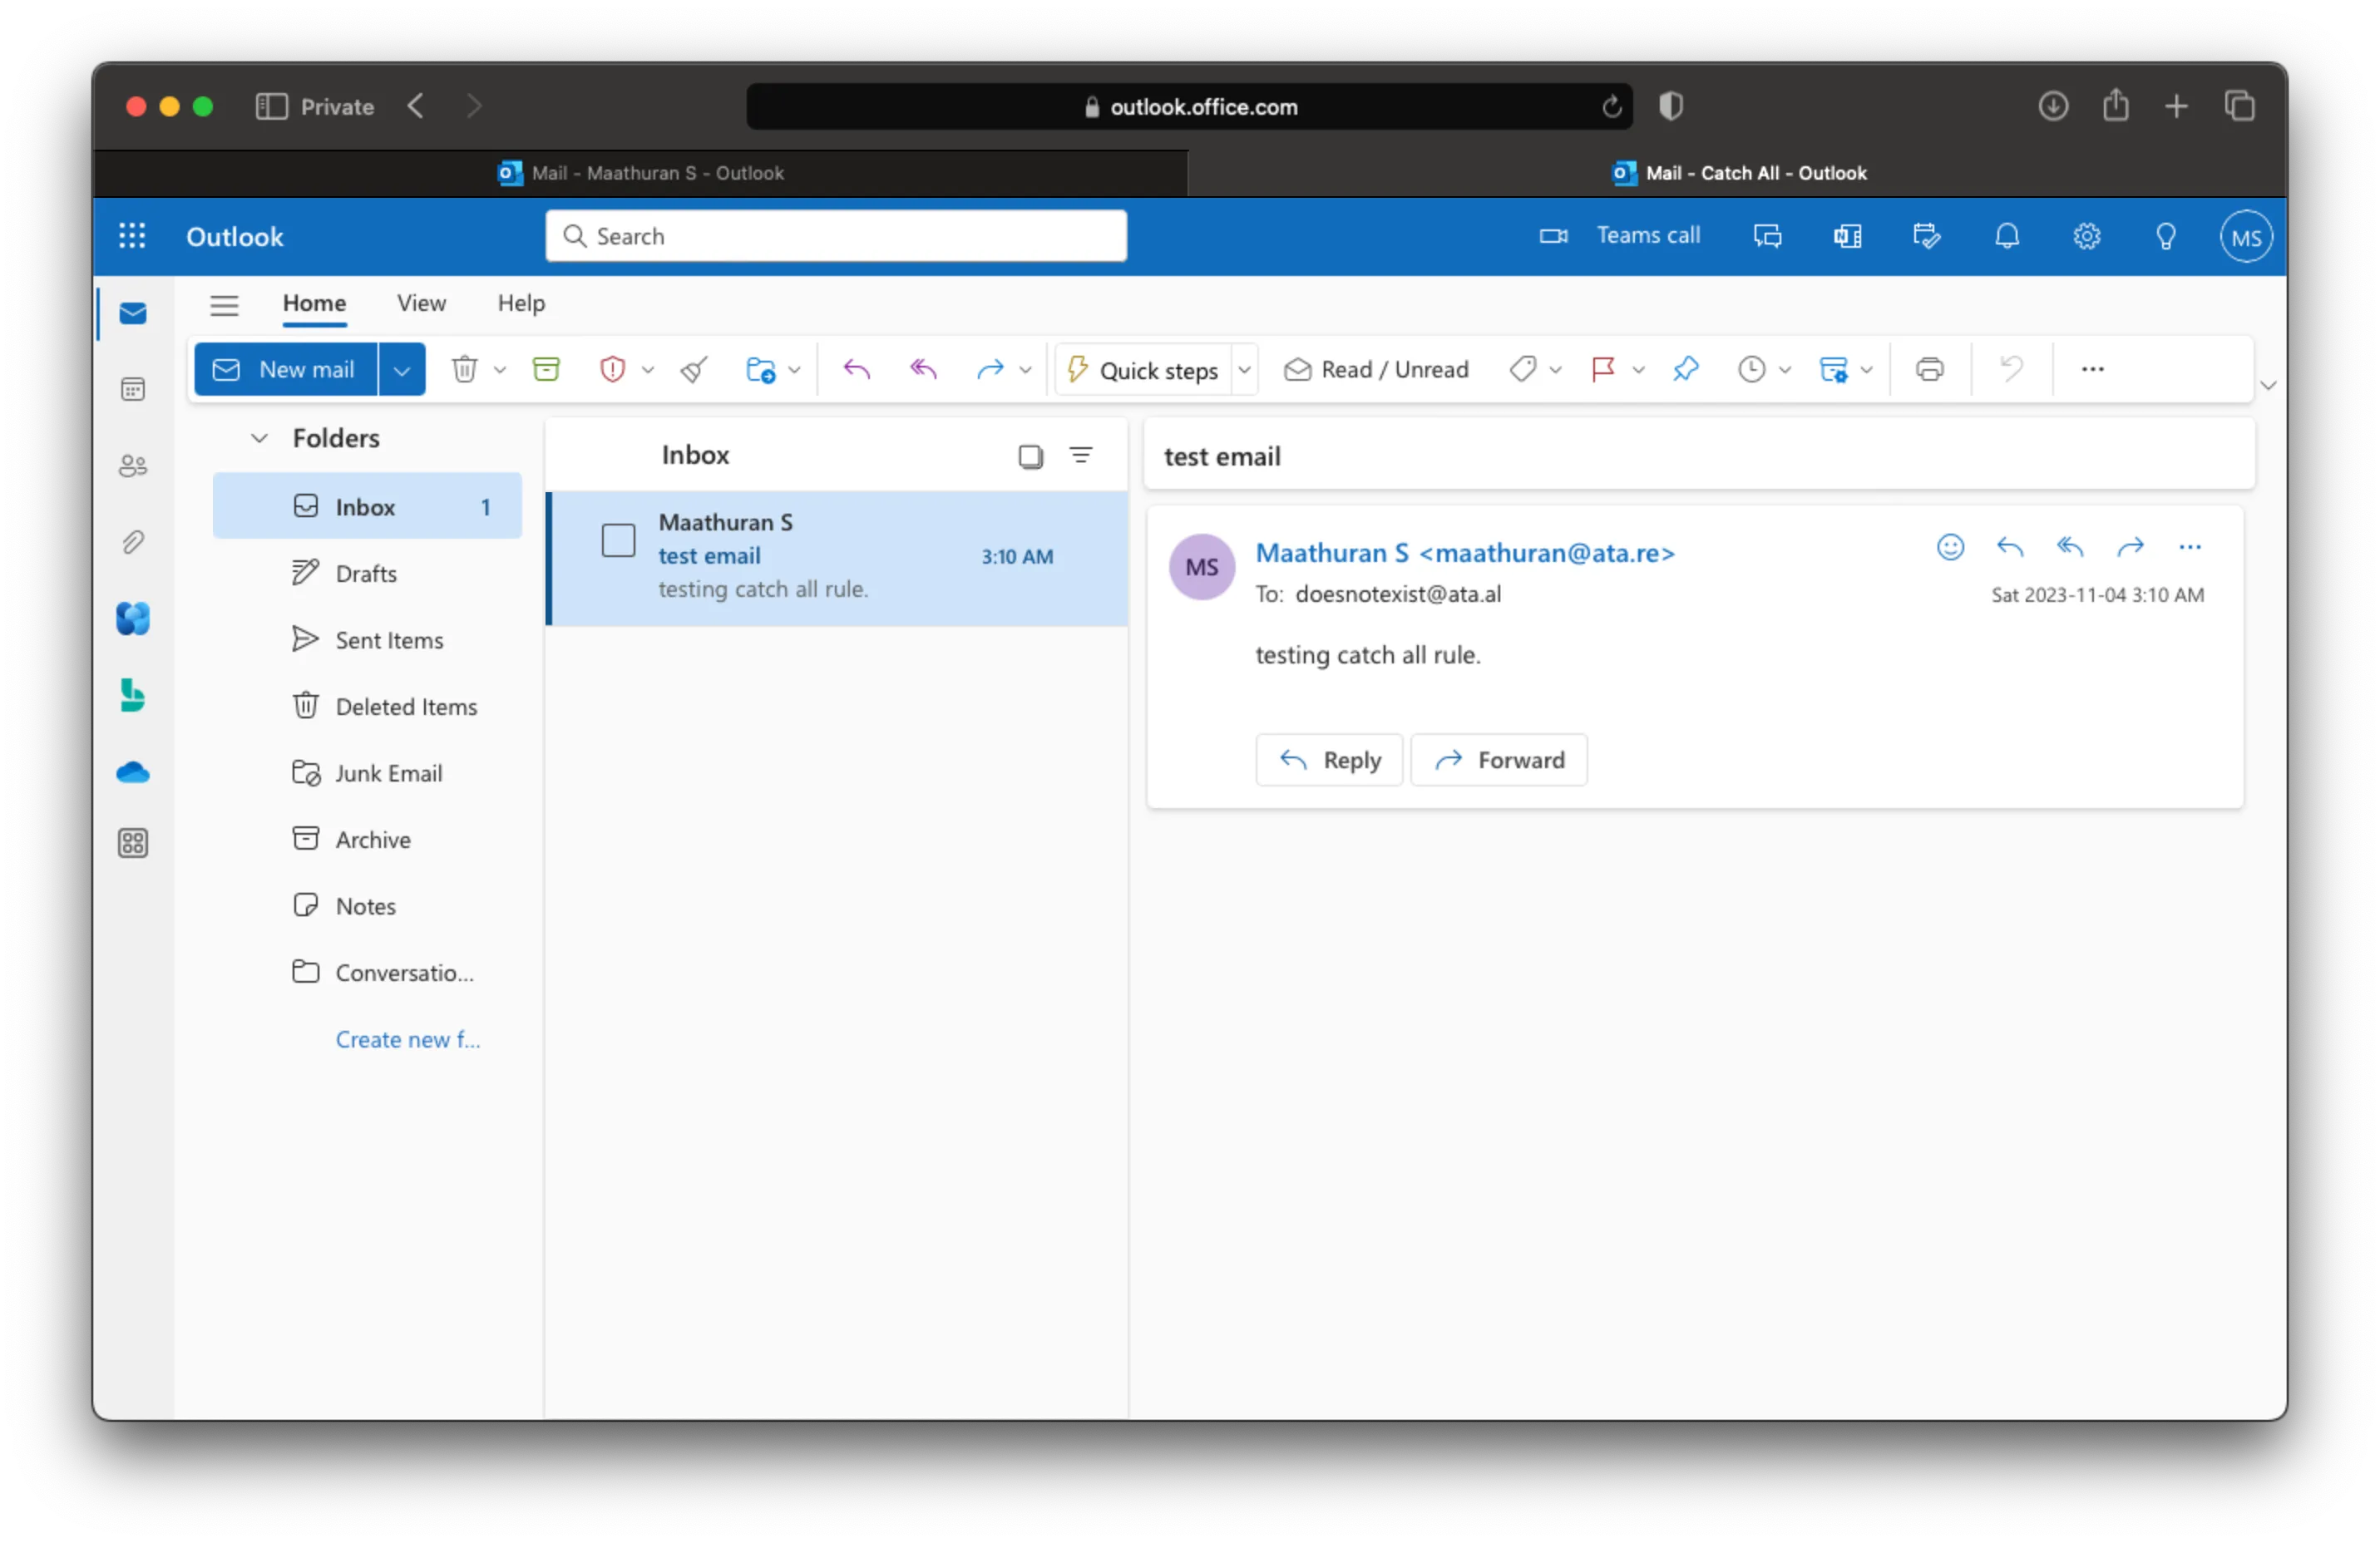
Testing Catch-All
Try sending a message to an email that does not exist. After a few minutes, you should see it in the new Shared Mailbox.